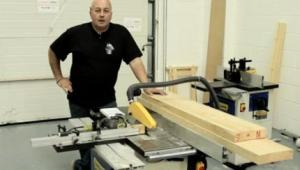
Bench bandsaws
Bandsaws generally have a larger depth of cut compared to an equivalent circular saw, and they also cut a far thinner kerf. They can cut both shaped and straight components, are excellent for joint cutting and intricate work and can also be used to produce veneers.
The disadvantages of the bandsaw are that its crosscutting ability is limited and its straight cutting consistency is generally not as reliable as a table saw. However, if the saw is well-maintained and equipped with a good-quality blade, you should achieve acceptable results.
In this feature we are looking at the smallest bench-mounted bandsaws, primarily aimed at the compact workshop where large timber sections arent often encountered. However, don’t be fooled by their diminutive size, as they’re capable of serious hard work.
The guide settings, the blade tension and blade tracking all have a considerable effect on the fi nal quality of the cut. On the cutting table, there’s normally provision for guide fences to be set up to help you steer the workpiece accurately past the blade.
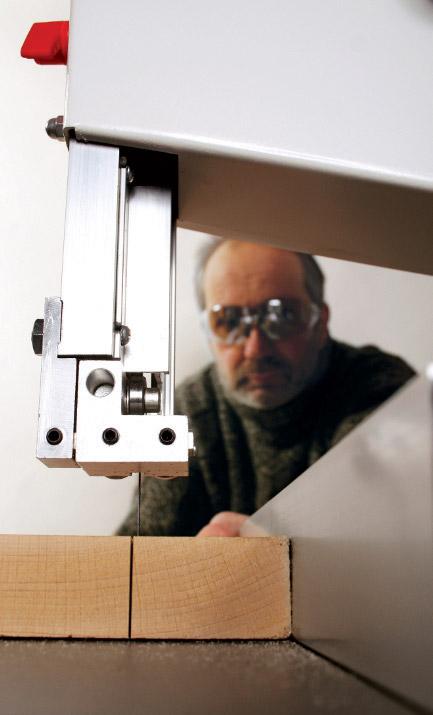
Always set the top blade guard as low as possible above the workpiece, so that only a minimal amount of blade is exposed. This not only protects the user. It also improves the accuracy of the cut, as the upper blade guides are on the end of the blade guard, and the closer they are to the cutting point, the greater the accuracy.
Avoid pulling the blade back out of a deep cut while the machine is running. This can pull the blade off the wheels. If you need to do this, stop the machine first.
Never try to cross-cut cylindrical workpieces freehand. It’s all too easy for the piece to revolve and catch in the blade, which can do major damage to the blade, possibly breaking it. Always use a V-shaped cradle to hold cylindrical work securely.
When using any woodworking machine, it’s wise to wear eye protection. It’s also particularly important to use a dust extractor, as otherwise sawdust can build up inside the casing. This will contaminate the wheels and guide bearings, affecting the accuracy and ultimately damaging the machine.
1] Disconnect the power supply and open both the top and bottom doors.
2] Loosen all the guide bearings and push them away from the blade.
3] Using the knob on the top of the machine, release the tension on the blade until it can be lifted off the wheels. Wear gloves for this, as bandsaw blades are very springy and can give you a nasty cut.
4] Remove the old blade from the casing and dispose of it.
5] Fit the new blade over the wheels and gently apply some tension. Turn the wheels by hand and set the tracking control (the knob on the back of the top casing) so the blade is running on the centre of the wheel. Increase the tension and spin the wheels again to make sure that the blade is running true. Remember that narrower blades need less tension than thicker ones.
6] Once the blade is tensioned, set the guide bearings. The thrust bearings at the back of the blade should be set as close to the blade as possible without actually touching it. This ensures that when the machine is running but not cutting, the bearing is stationary, but as soon as the workpiece is pushed into the blade, it is defl ected back onto the bearing which should then start to revolve.
7] The side bearings should be set so that their front edges are just below the bottom of the blade gullets and again, as close as possible to the blade without actually touching it.
8] Close the doors, connect the power and run the machine for a moment to make sure that all is well.
You’ll almost certainly fi nd that the blade supplied with your bandsaw is worse than useless. Manufacturers seem to fi t their machines with very poor-quality blades incapable of cutting with any kind of accuracy. Your fi rst job, on unpacking your saw, should be to remove the blade, throw it away, and fi t a new high-quality one. This will save you hours of frustration and irritation.
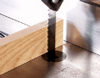
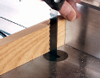
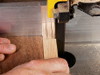
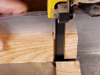
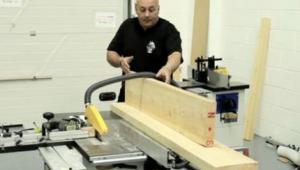
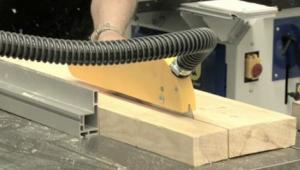
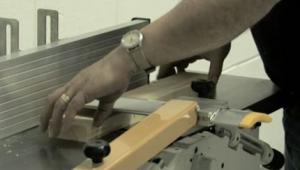
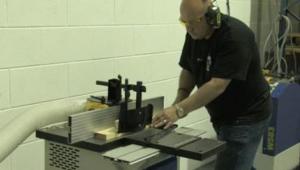
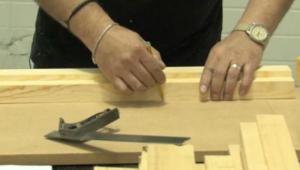
Start by marking out your workpiece in the normal way, photo 1. Cut the shoulders first. To do this you should use both the rip fence and the sliding mitre fence. If you don’t have a mitre fence, use a squared board and run it along the rip fence. Place your workpiece so the blade will cut just on the waste side of the line, photo 2. Set the rip fence against the end of the workpiece, photo 3, then position the mitre fence or the squared board against the rip fence and the face of the workpiece, photo 4. Cut the fi rst shoulder, photo 5, then turn the workpiece over and cut the second. Repeat this on any other components as required.
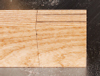
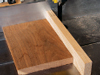
1] Mark out the tenon joint on the workpiece
2] Position the cut on the waste side of the line
3] Move the rip fence up against the workpiece
4] Place the squared board against the rip fence
5] Cut the fi rst shoulder, turn the workpiece and repeat
6] Re-set the rip fence and cut the tenon cheeks
Remove the mitre fence and re-set the rip fence to cut the tenon cheeks, photo 6. Make sure to cut on the waste side of the line, and set the fence so that the waste falls on the outside of the blade, and not on the inside where it’ll become trapped between the blade and the fence. Test the fi t of the tenon in its mortise and make any necessary adjustments.
- Log in or register to post comments


| Articles | Articles | Articles | More | Subscriptions | Resources |