Creative Kolrosing
Before edge tools were employed for carving, the ancients used various techniques to add simple designs to their artefacts, some of which are still in use today. Basic ornamentation of wooden objects goes back a long way, with the initial use of incised decoration developing into simple chip-carving. Once metal tools became available with a sharp cutting edge, this then gave rise to whittling, which in turn developed into woodcarving as we know it today.
Kolrosing & Scrimshaw
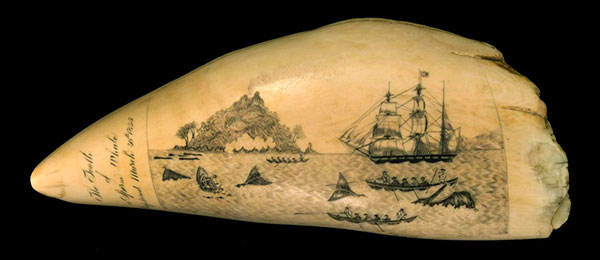
Needless to say, wood isn’t the only material humans have taken to decorating. Looking back, these vary from wooden handles to animal tusks, horns and other by-products used for daily work, such as whalebone. Probably the most common artefact to survive in a maritime nation, such as the UK, is ‘Scrimshaw’ decorated whale ivory or bone from the 19th century whaling industry’s heyday.
Less well-known outside Norway – and the Norwegian-American communities – is that this technique originated back in the Viking period, as depicted by the 12th century Lewis Chessmen carvings. This form of incised decoration is still practised in Norway and more widely by the Sami peoples as a ‘folk art’ throughout Nordic nations, where it’s known as ‘Kolrosing’ – a reference to the 19th century sailors’ use of coal dust or soot to colour their incised ornamentation.
The underlying technique for both decorations is the incision made by a sharp point, traditionally the artist’s’ own work-knife, which is highlighted by rubbing a contrasting powder into the cut – in the days of steam-ships and open fires, the omnipresent carbon from coal dust or soot was used. As Kolrosing was also practised by the Norwegian rural population and Sami people, ground birch bark was more traditionally used for illumination, although the modern by-product of the coffee boom – used espresso grounds – also works. This is, in effect, ‘wood engraving’ where the knife-point is utilised in order to highlight the required design, but like other forms of traditional incised work – such as stencil cutting – this has its limitations when following curves. A chip-carving knife was designed for this purpose, so works well and specialist Kolrosing knives are available online. Workable Kolrosing knife ‘kits’ – called detail carving knives – can also be purchased from a host of Chinese sellers on eBay.
MAKE YOUR OWN KOLROSING ‘KNIFE’
A Kolrosing ‘knife’ can be easily made. The form required is more akin to a pen with a sharp tip than a knife, as it needs to be able to glide round curves smoothly. A good source for a suitable start is the proliferation of inexpensive tools from China – their set of small carving tools feature a pen-like shaft.
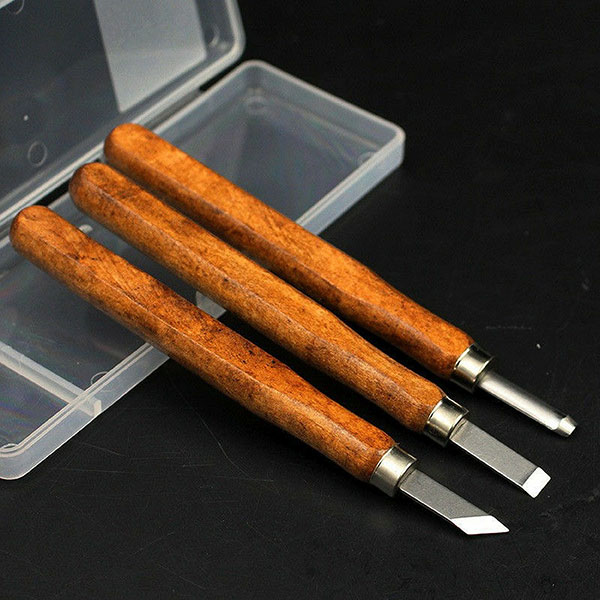
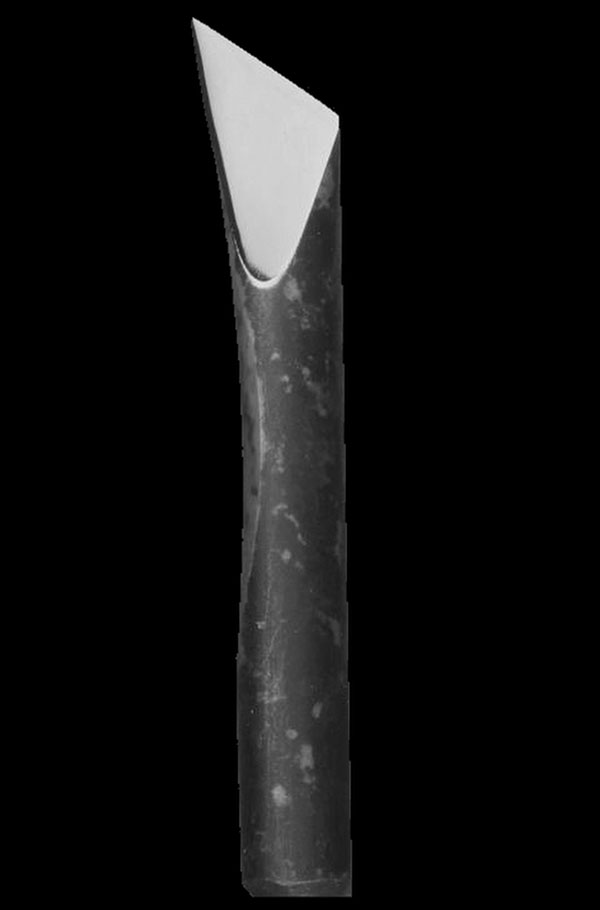
A suitable ‘set’ for conversion is the three-piece collection supplied with straight blade, skew blade and another tool, all in a plastic case. The first two can be used ‘as is’ and the ‘other’ blade replaced with a ¼in HSS drill bit.
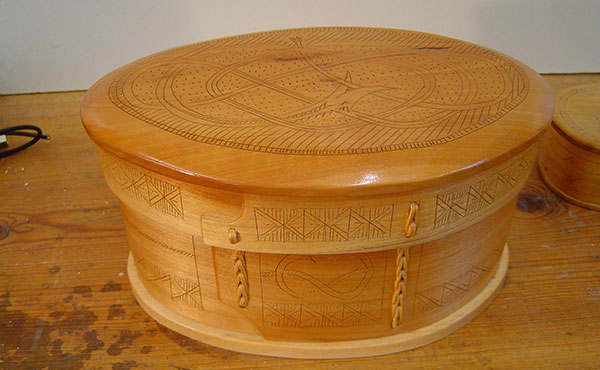
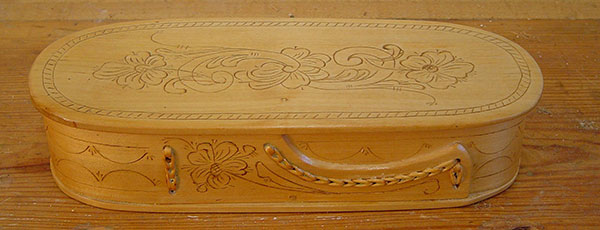
A ‘cutting gauge’ is ideal for framing lines. In Scandinavia, birch was traditionally used for utilitarian items such as small boxes and utensils and is one of the better woods for Kolrosing. However, any fine, light-grained wood is suitable, such as lime – basswood – in addition to many fruitwoods. Before transferring the pattern, the object’s surface requires fine sanding, then sealing, which makes it impervious to the ‘koling’ application.
Having sealed the surface, you then need to re-sand at 320-400 grit to a super-fine sheen. This is best achieved using clear French polish, which will also accept most other finishes applied to the completed artwork. The pattern is then drawn or transferred to the wood and traced with the appropriate ‘knife’.
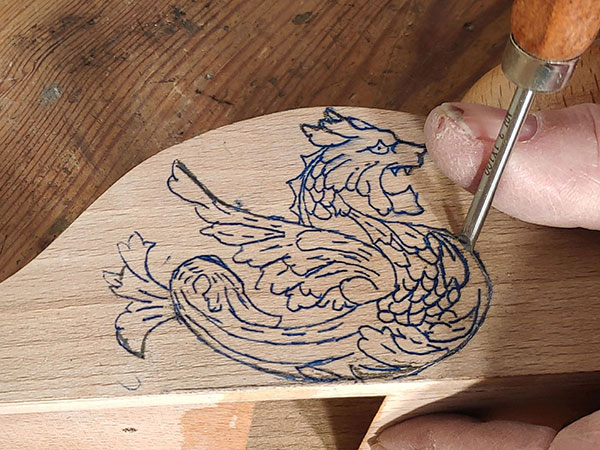
One benefit of using French polish as a sealant is that small errors can be ‘patched’ using an artist brush dipped in the polish, almost as a correcting fluid. I find the best knife for this task is probably the continental chip-carving knife, pulled towards you with care. However, for curved designs and free-hand work – such as Norsk Rosemaling patterns – a special ‘pen’ shaped knife is better suited, with the blade upright and pushed slowly away from you, under the control of your free hand with thumb placed on the blade’s rear.
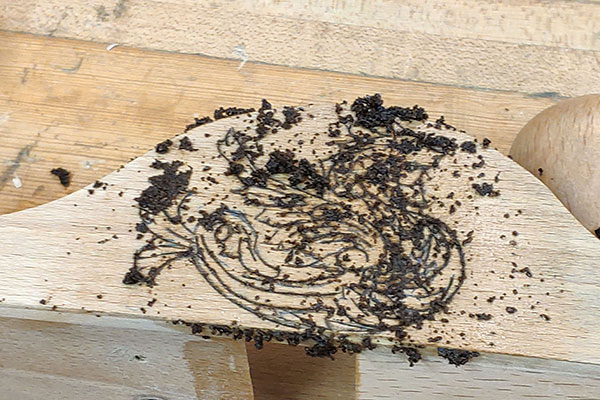
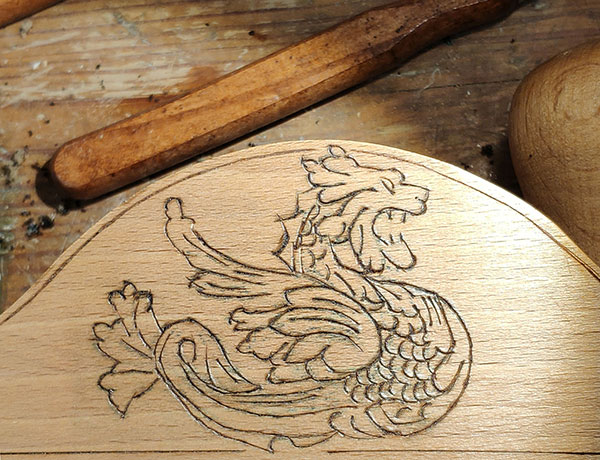
Because only the blade’s tip is used, it can therefore be controlled around curves while the shaft or object is carefully rotated. The coloured ‘koling’ is mixed with a finishing oil of your choice and best applied as a slurry – rubbed well into the incision, before removing any surplus with a rag. Leave overnight to harden, then finish with furniture wax. A similar effect can be achieved using a punched pattern, which is then filled with ‘koling’ for effect.
Kolrosing project
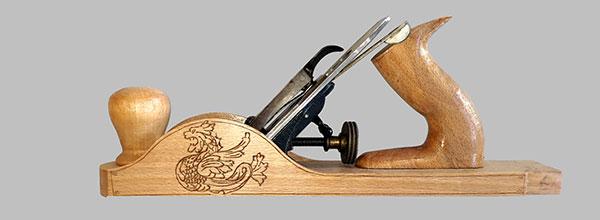
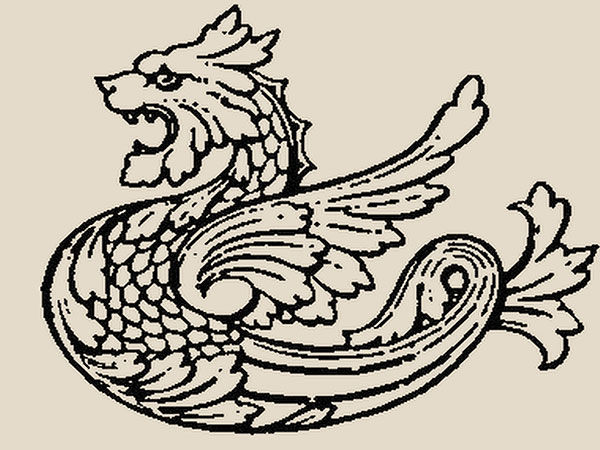
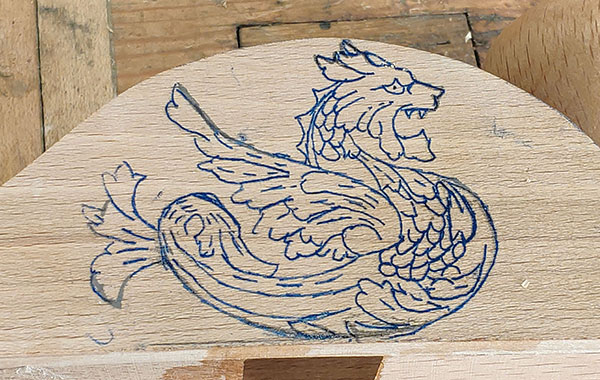
To demonstrate this technique, the project featured here is typical of Kolrosing’s common use – turning a craftsman’s hand tools into an individual item of beauty. The pattern, based on that of a traditional dragon, is superimposed onto the body of a No.3 ‘transition’ plane – a wooden-bodied plane with metal Bailey-style frog. This dragon pattern, derived from a folio published in London at the end of the Victorian era from a ‘pamphlet’, includes a series of traditional drawings that were commonly found throughout Europe at the time, especially in the repertoire of Victorian revivalists.
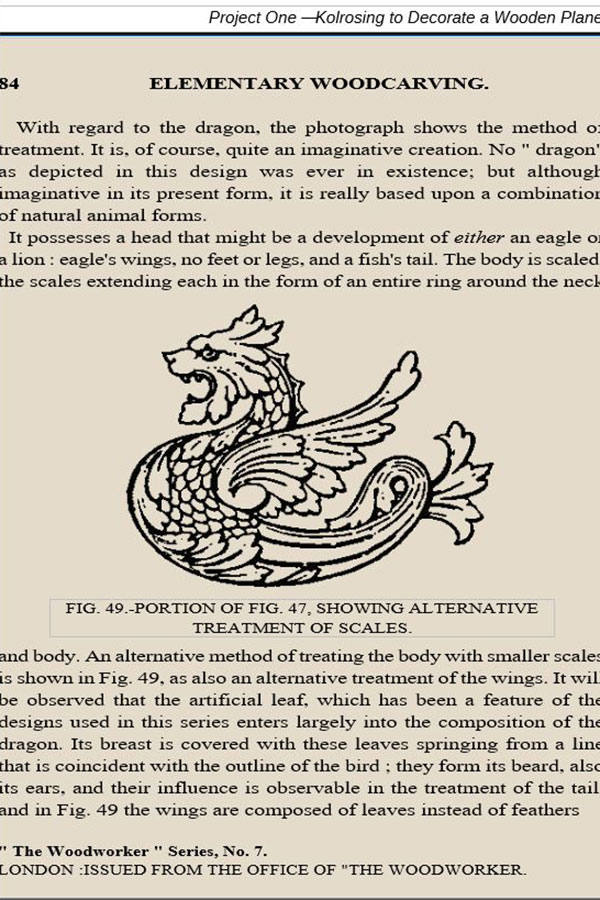
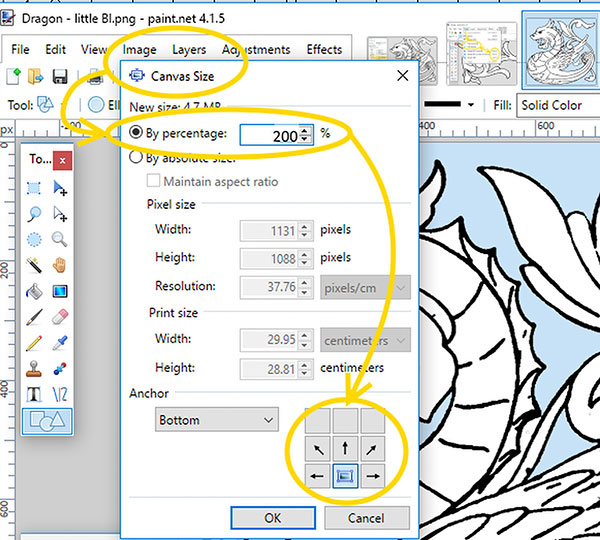
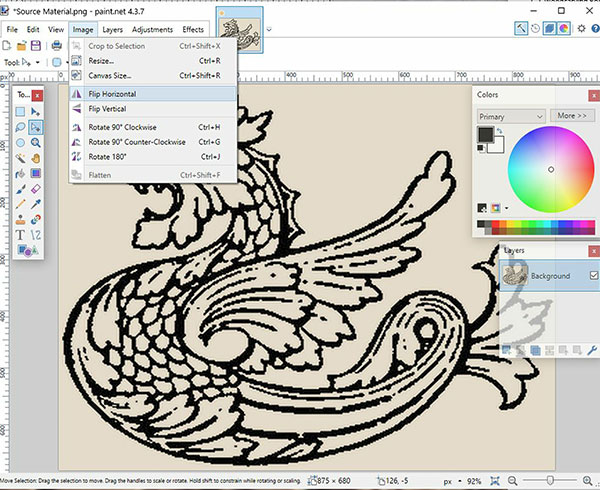
Adapted in order to make it symmetrical, it fits the wooden transition plane’s side profile, with a mirror image used for the other side. The original pamphlet gives guidance on how to adapt the ‘dragon’ into either an eagle or a lion, but I’ve gone with the original version. For a full description detailing use of the free software, Paint.net®, described here, see book sidebar below.

TIP
Laser printers ‘heat-fuse’ ‘ink’ – toner – to the paper, so as an alternative to carbon paper, if you print the image in reverse, then trim it to size, a hot iron can be used on the back – blank – side of the laser printer copy, in order to reactivate the toner before transferring it to the blank
Amateur Woodcarving – by Iain Whittington
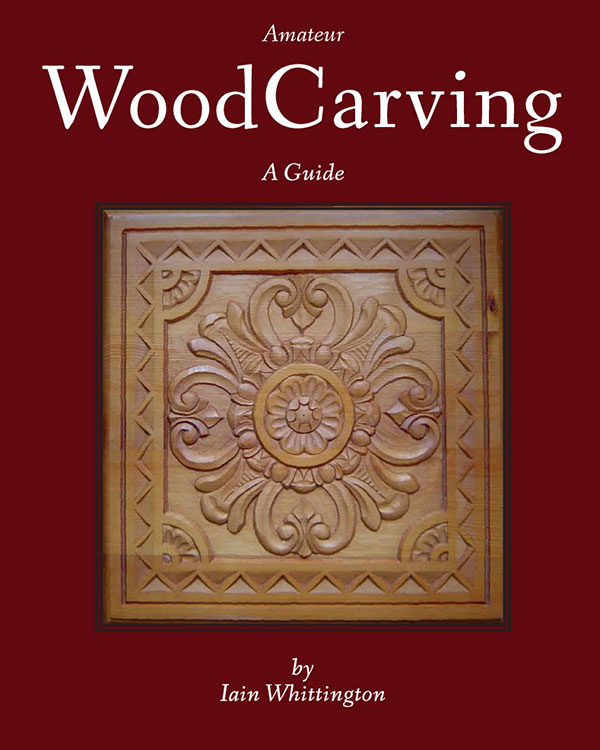
This article has been compiled from original information given in Iain’s book. Here, you’ll also find detailed instructions on the use of a computer and ‘Freeware’ for the preparation and manipulation of plans for Kolrosing, chip-carving and decorative carving.
Amateur Woodcarving was published with the support of GMC Publications, with all proceeds going to SSAFA – ‘The Armed Forces Charity’. Available in most book shops or via www.amazon.co.uk
- Log in or register to post comments


| Articles | Articles | Articles | More | Subscriptions | Resources |