Revolving bookcase
It was only when my daughter asked if I could make her one that I discovered revolving bookcases! Despite having been a woodworker for nigh on 60 years, I’d never come across one. My daughter had just moved into a new flat in Viborg, Denmark, and although lovely, it’s quite small. She wanted a space-saving bookcase, which would also double up as a coffee table, or somewhere to put a reading lamp. So it seemed that a small revolving bookcase would fit the bill.
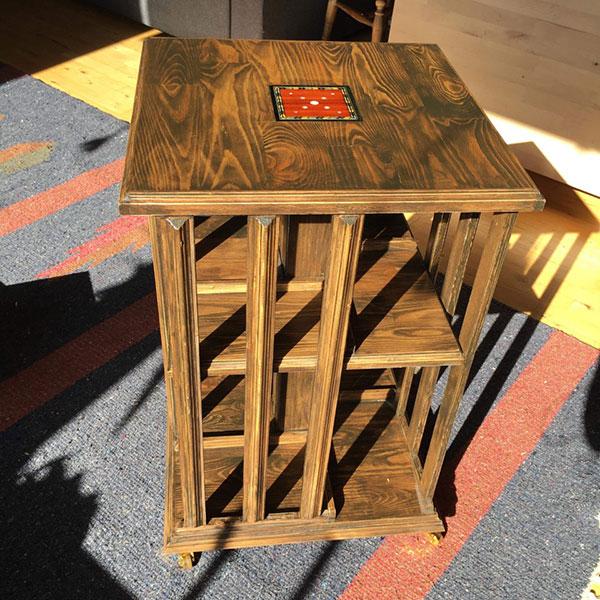
Once my curiosity had been piqued, I found that, to my surprise, revolving bookcases, known as ‘zhuan luntang’, have been documented as far back as 544 AD, in imperial China, with its invention credited to a man named Fu Xi. Descriptions of revolving bookcases have been found in 8th and 9th century Chinese texts and early examples were placed into Buddhist temples in the Song Dynasty under the Emperor Taizu who ordered the mass printing of the Buddhist Triptaka scriptures. An illustration of a revolving bookcase is depicted in Li Jie’s architectural treatise known as the Yingzao Fashi (photo 1), but in the UK, it seems these became popular in late Victorian and Edwardian times. They were often made from oak or mahogany and could be mounted either on castors or a pedestal.
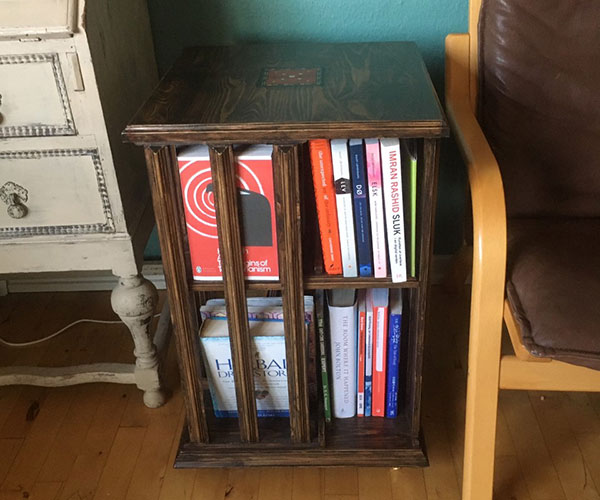
How can I have missed all of this for so long? The example I’m describing here is mounted on castors to help keep the height to a level that will allow it to be used as both a coffee table or lamp-stand, as well as a bookcase.
Construction
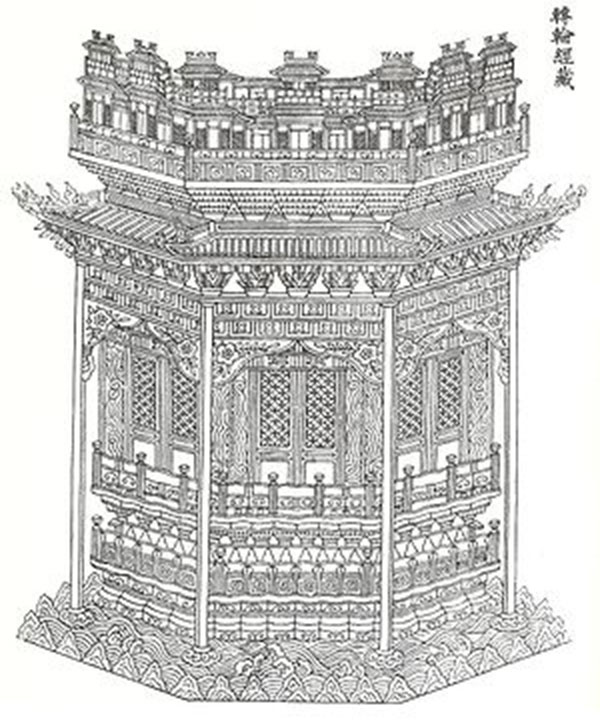
I began by planning the overall height of the bookcase, which was to be around 640mm, and made the central pillar from two pieces of 4×2. Each of these measured 570mm long and were glued together to make a square section. I then thought about what the distance should be from floor to bottom shelf to underside of the middle shelf, followed by the measurement from floor of the middle shelf to underside of the top. These were 32mm and 230mm respectively. This would allow larger books to be stored below, and smaller ones above. To support the middle shelf, I put in half a dozen 8mm dowels and allowed half the lengths to protrude (photo 2).
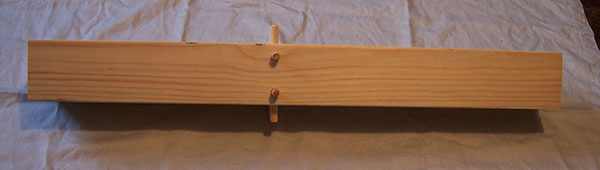
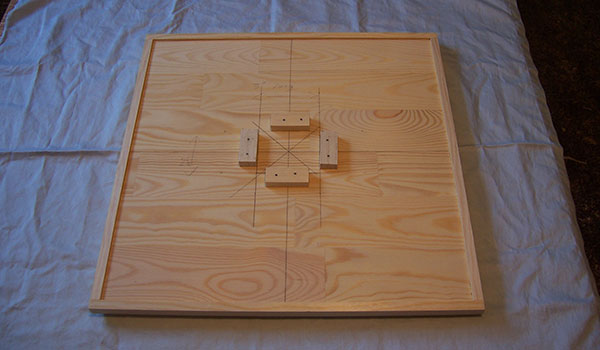
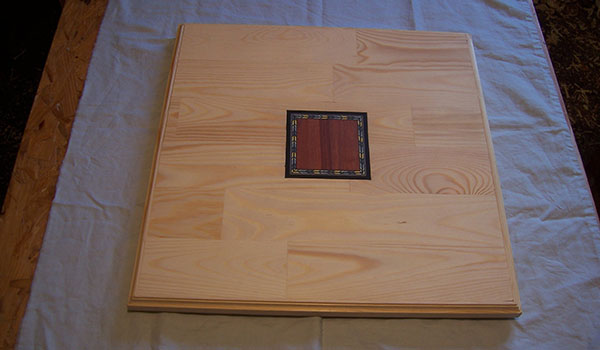
Next, I bought some ready-made furniture board, which was 19mm thick and large enough to make three shelves from, 420mm square. I began with the top, which I edged with some home-made 19mm moulding, mitred at each corner (photo 3). It was then necessary to work out where the top end of the pillar should sit.
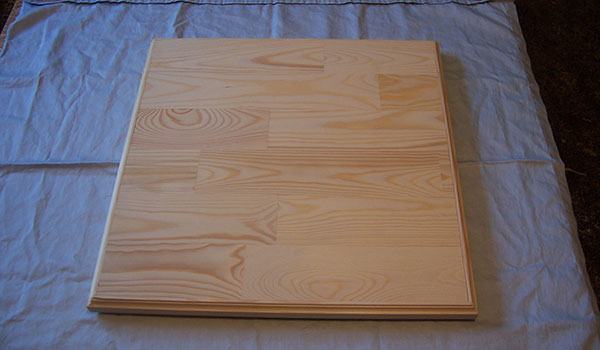
I pinned and glued four small locating pieces of pine to aid this, knowing that I’d later be working ‘upside down’ as it were. My intention was to cut a square socket into the upper surface of the top, 4mm deep, then drill and countersink four holes to allow screws to pass through into the pillar end. I’d then cover the socket with some marquetry, but more on this later (photo 4).
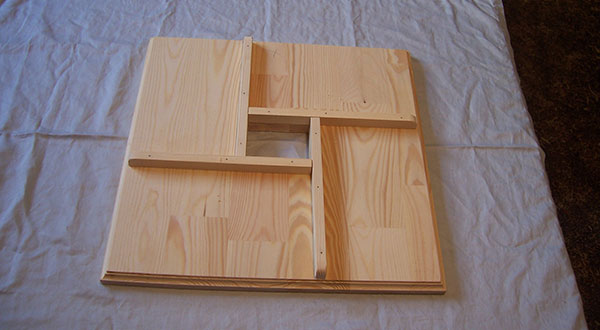
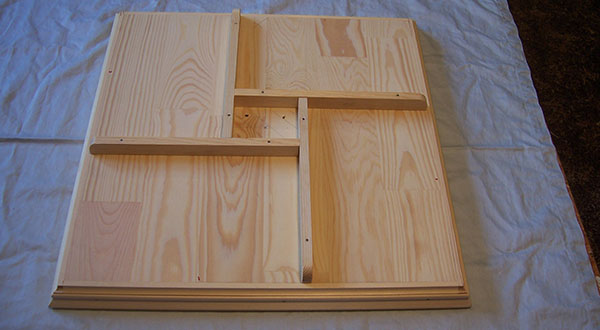
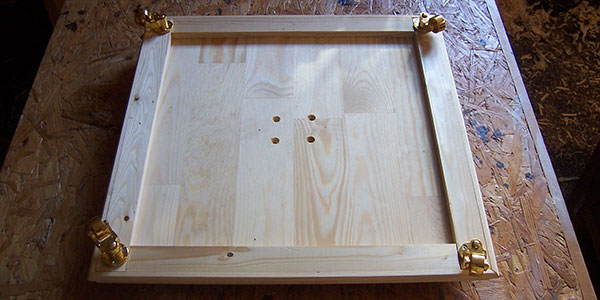
Working in similar fashion, I then made the middle shelf, edged with moulding, but this time with a square hole cut in the centre to allow the pillar to pass through and sit on the dowels. Once this was achieved, I pinned and glued four rails onto the upper side of the shelf. These were made from ‘doorstop’ and designed to help keep the books from sliding around (photo 5). It was then time to construct the base, which when seen from above was identical to the middle shelf, but this time without the square hole in the centre (photo 6).
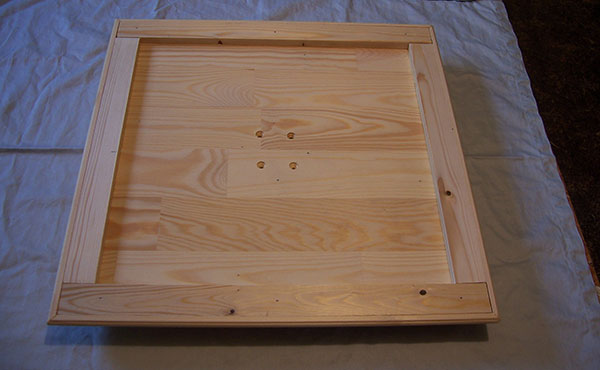
To give the illusion of greater thickness in the base, I used some lengths of doorstop to run around the under edge and drilled four holes towards the centre; these would allow the base to be attached to the bottom of the pillar with screws. These holes didn’t need to be covered with inlay as they wouldn’t be seen in the finished piece (photo 7).
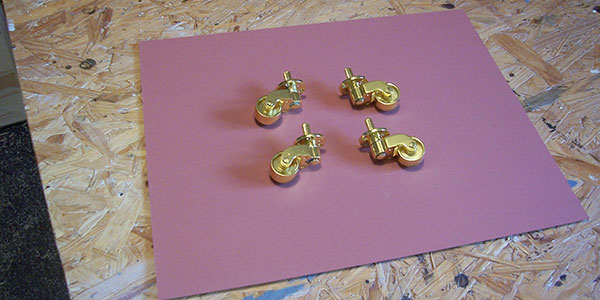
I chose to use steel castors, which are brass washed, costing just over £12 for a set of four. Each castor had a 6mm shaft, around 25mm long, equipped with a flange and four small screw holes to secure them (photo 8). Once fitted, they swivelled smoothly and looked rather elegant (photo 9). By this time, I could cut out the inlay socket for the top using a scalpel to mark out the edges and a sharp 25mm chisel to level the bottom. A dry fit of the inlay looked promising. This comprised a square of padauk edged with some ebony and stained tulipwood purfling left over from a guitar I made some time ago (photo 10).
Going three-dimensional
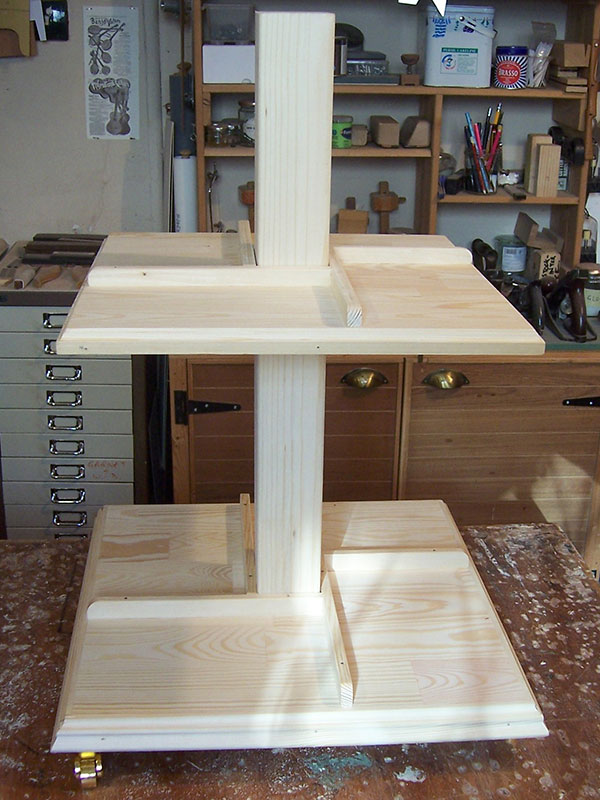
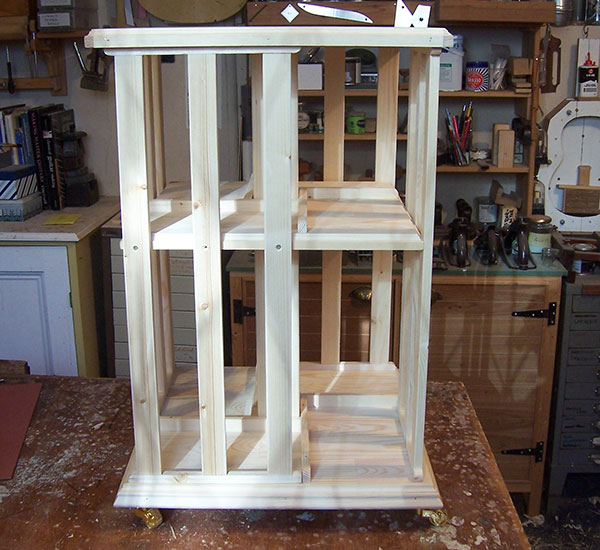
My first sense of how things might begin to shape up came simply as I attached the base to the bottom of the pillar and let the middle shelf slide down onto the dowels (photo 11). All was a bit wobbly at this stage, but I knew that when the slatted sides were made up and attached, the whole structure wouldn’t only become much more stable, but also very strong.
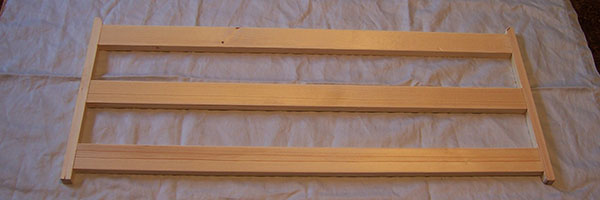
The bookcase needed four sides, so I used pine stripwood (photo 12). The end bars would be pinned and glued up into the underside of the top, and down into the upper side of the base. The longer bars of the sides looked a little plain, so I decided to add a strip of 19mm astragal moulding cut at 45° each end, to offer a little more interest. A dozen were required in total (photo 13). These would later be glued and pinned to the outside faces of the side bars.
After the top had been attached, the slatted sides could then be screwed to the edges of the middle shelf, which not only stabilised that part of the build, but also offered considerable strength to the bookcase. The screw holes were covered by the moulding.
The finish
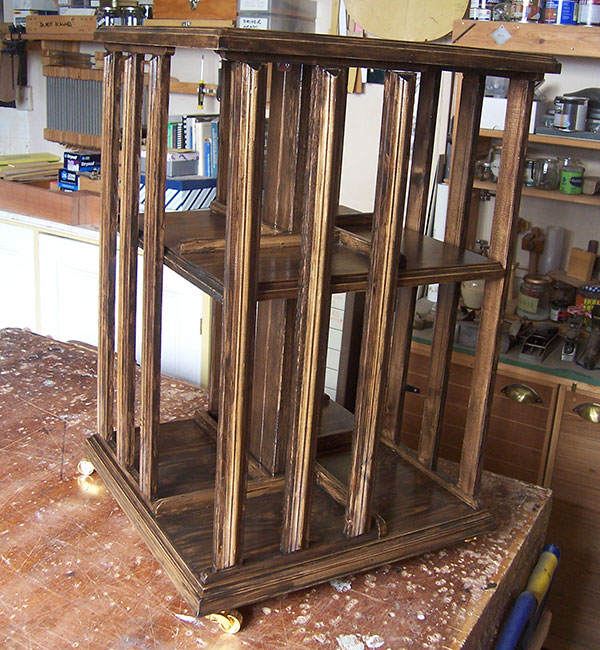
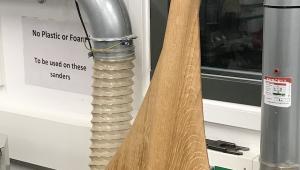
I would liked to have made the whole bookcase in oak or mahogany, but to keep costs down, pine became the preferred option. Nevertheless, I could still offer an ‘antique’ look by colouring it using Liberon water-based dark oak stain (photo 14), finishing with a good quality matt finish polyurethane varnish. The wood stain is applied using a brush and wiped over with a clean cloth to even out the colour. The PU varnish is rubbed back with 240 grit ‘flour’ paper between coats, which leaves a pleasant sheen. One advantage to using the dark oak stain is that it covers the heads of the pins used throughout the build.
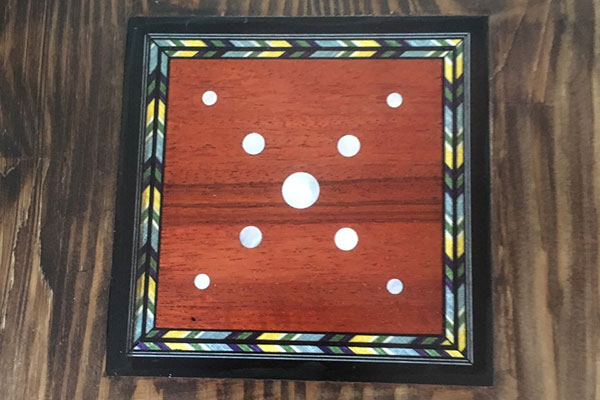
Just before applying the finish, I couldn’t resist adding some mother-of-pearl inlay work. I had a small box of mother-of-pearl dots in different sizes, which I’d used over the years in my guitar making, and they seemed ideal for creating a simple, yet pleasing design (photo 15). The bookcase is now safely at home in my daughter’s Danish flat, and sits well within its new environment (photo 16).
- Log in or register to post comments


| Articles | Articles | Articles | More | Subscriptions | Resources |