Setting up shop ~ part 2
Continuing on from part 1 of 'Setting up shop', Alan Holtham sheds some more wisdom on designing your own workshop.
• If you’re still struggling to get to grips with your layout, I’ve formulated the following summary for setting up a workshop, based on about half a dozen previous arrangements of mine in a variety of different situations. They’re presented in no particular order, and the list isn’t defi nitive; it’s just my personal experience.
• Big isn’t always beautiful. A small workshop is much easier to keep under control, will save a lot of walking about, and is cheaper to heat.
• A long, thin workshop is generally more effi cient than a square one, particularly with regard to the work triangle.

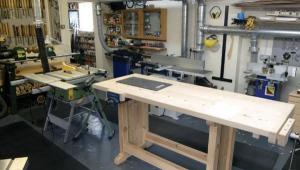
• Plenty of natural light is essential, but preferably not south facing where it can become dazzling. This needs to be supplemented with artifi cial light, photo 1, ideally daylight-balanced, with dedicated spotlights on certain machines such as the lathe.
• Woodturning is a very messy process. If possible, subdivide the space into a clean and a dirty area, and make provision for easy cleaning up. Think about safety, particularly with regard to the problem of dust and its extraction.
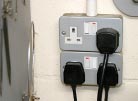
2] Install more sockets than you think you’ll need. Metal is more robust than plastic
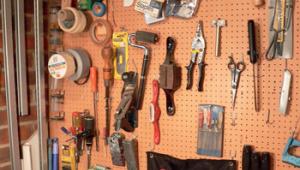
• Ensure that you have plenty of electrical sockets on a properly wired and protected circuit. Go totally over the top with sockets; you’ll be surprised how many you’ll need, and it will save time and frustration constantly plugging in and unplugging everything. Ideally, install the metal-clad type, which are much more robust than the easily-damaged plastic ones, photo 2.
• Although not as loud as many other types of woodworking, even turning can generate anti-social noise, so do install some form of insulation if you anticipate working long hours to complete that urgent commission.
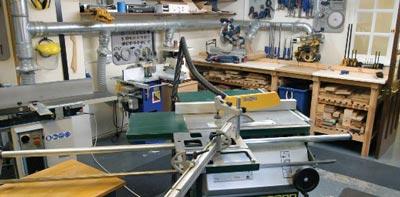
• Think about your likely work pattern before you start installing machines. Drawings and scaled cut-outs on a plan are fi ne, but they can’t beat actually trying things out in situ. Be fl exible in your mind as regards the eventual layout, and try machines temporarily in place for several weeks before you fi nally install them.
• Think ahead, and try to allow for future acquisitions; it saves having to repeatedly juggle things around every time you buy something new. Also, try and minimise any unnecessary upgrades by buying the right machine in the fi rst place. The cheapest is rarely the best, so build in some spare capacity and buy good quality in the first place.

3] Small plastic drawer units are cheap and ideal for storing small fixtures and fittings

4] Put up plenty of shelving as well for timber and finishes
- Log in or register to post comments


