Shop made jig for pocket hole assembly alignment
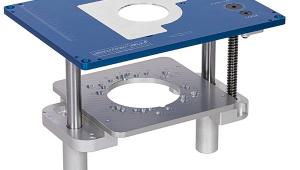
I first became aware of pocket-hole techniques after watching Norm Abram use a very expensive system to cut them. Norm’s system was clearly way out of my league, a huge piece of standing machinery with integrated router, drill and clamp, it was way more suited to a production environment than my humble shed but the technique looked very simple.
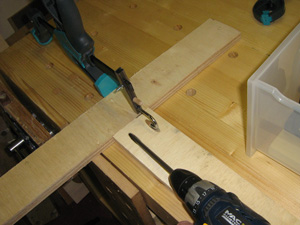
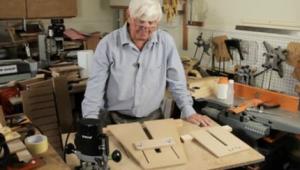
I splashed out on a Trend pocket-hole jig and sure enough cutting the holes was simplicity itself, my problems started when I came to assemble the components. The Trend kit includes a face clamp to hold the parts together but even so my joints always seemed to move as the first screw was driven home.
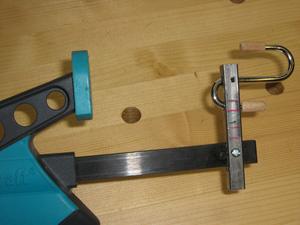
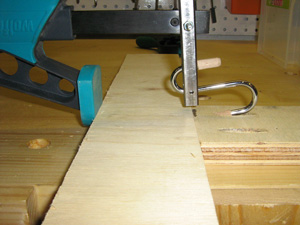
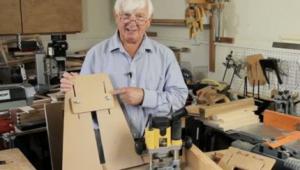
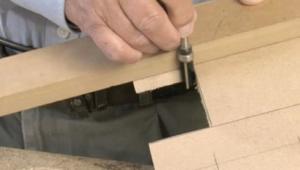
I then discovered that it’s possible to buy a specialised clamp, a bit like a big pair of vice grips or a face clamp but with a point which located in the pocket hole slot itself. The price however seemed high. I looked at the concept and thought “Mmm maybe I can make one of them. All I need is a clamp with a point at one end and with a small amount of swivel so that the parts pull square and aren’t forced out of line by the clamp.”
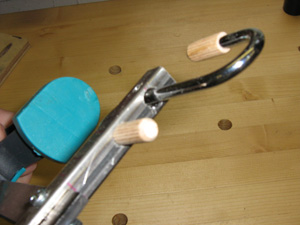
It turned out to be very simple to do. Take one quick clamp, any design as long as it has a hole at the end. Add a piece of square tube and a piece of round bar and the job is done. I used a kitchen hook, the sort you use to hang pans from a rack for my round bar, anyone who normally works with metal could make a much neater job but this works well. The hook just floats in a couple of holes in the tube. I cut and drilled an 8mm beech dowel to make the point. Total time to make 1 hour and most of that was drilling and filing the slot in the tube to fit the clamp.
- Log in or register to post comments


| Articles | Articles | Articles | More | Subscriptions | Resources |