10 inch Saw Stand
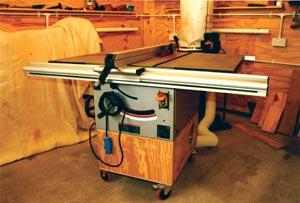
The top and bottom are 675x535x18mm plywood with an 18x6mm rebate routed all around and 18x6mm groove routed centrally across the width. The ends should be cut to 535x286mm, again with an 18x6mm rebate in both ends to take the sides. Fix together with PVA glue in the base, adding the ends to the base first and then fitting the sides. Use clamps every few inches and check the frame is square.
Now fix the centre support – chamfer the ends of the board to slide in from thetop. Fix in place with screws through the sides. Leave the clamps on for about 30 minutes. Any tacky PVA can be wiped off with acetone but make sure you work in a well ventilated area and wear gloves.

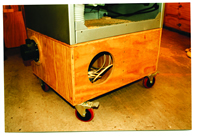
Now you have an open topped box with a divider across the middle. Before adding the top, fit the strengthening pieces along the bottom with more glue and a nailer. These pieces provide a strong fixing for the castors.
Fit the top, nailing through into the centre board. I used a 56lb weight to keep the top dead flat, or use screws. Now you can punch down any protruding nail heads below the surface. Trim any overhanging edges with a router fitted with a flush trimming cutter.
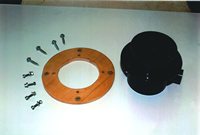
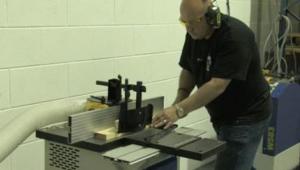
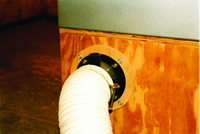 Fitting the extraction port.
A 178mm diameter collar with a 102mm centre hole is needed to connect the extractor socket to the base. Bolt the socket to the collar with 5mm nuts, bolts and washers. You can now connect the hose and screw the whole lot to the base end. Don’t use glue so that it can be removed for maintenance.
Rutlands 01629 815518
- Log in or register to post comments


| Articles | Articles | Articles | More | Subscriptions | Resources |