Carve your frame with pride
Would you like a job where you can’t go wrong? No measurements, no joints to fit, no face side or edge to plane square; one where if you do take a bit too much off it can easily be rectified; any gaps invisibly filled and finishing is simple? Welcome to an aspect of woodcarving. Not all carving, admittedly: no anatomical detail that requires artistic training, no repetitive moulding where every detail is visible, no trying to copy the great past masters. That said, this method can be satisfying and, if not exactly spectacular, when it’s finished you can say with pride, I did that.
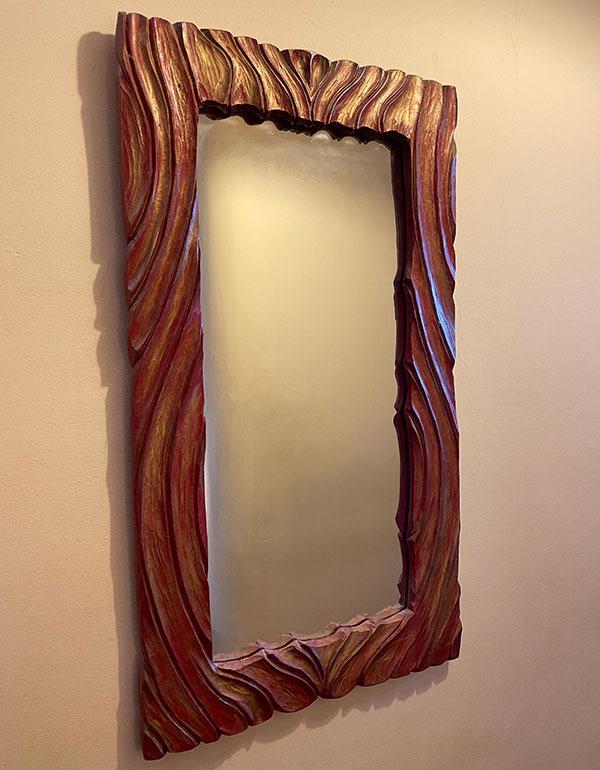
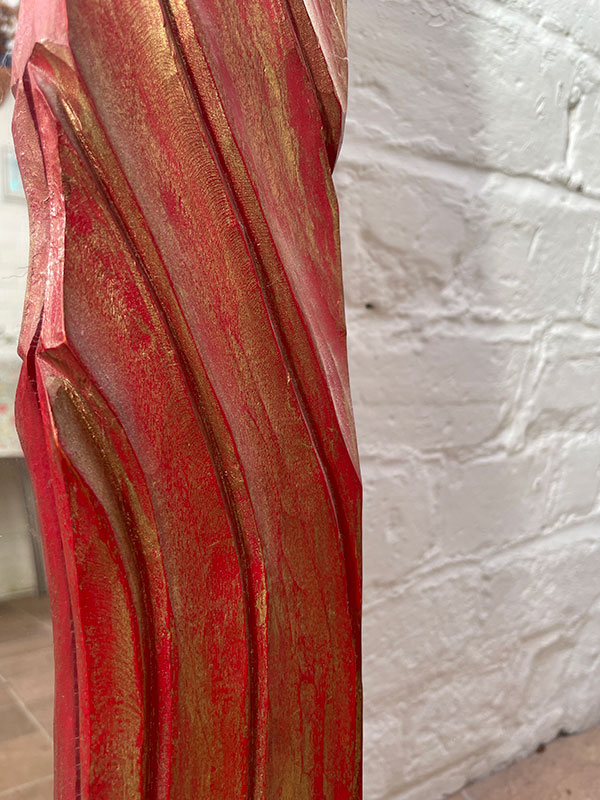
I made this mirror frame after I’d fallen prey to arrogance and ignorance in attempting an earlier job – a 4ft high statue of Christ – where I should’ve had more knowledge of the human form. But using the tools, creating nicely flowing lines, is in itself enjoyable work. Some lime was left over from that particular job – 25 × 75mm in varying lengths – and we needed a mirror in the hall, so I made a frame.

OK, cut joints are required for the four corners, but they can be as simple as being dowelled. Timber? Lime is traditionally the best but anything fairly closed-grained and not too hard will suffice. The one I made is about 790 × 430mm overall, but the choice is yours. And then you can begin. Well, that is, if you have the gouges. What will you need? I’ll start by telling you what you don’t want: front-bent, back-bent, skews and definitely not chip carving tools because you’re going to give them a good thump with a mallet on the end of the handle. As usual, you get what you pay for. Three, maybe four, narrow to medium width, nothing too dramatic in the way of a sweep – or curvature – and one of them a small V-tool. That should do you in terms of a first attempt, and such tools can be readily found online.
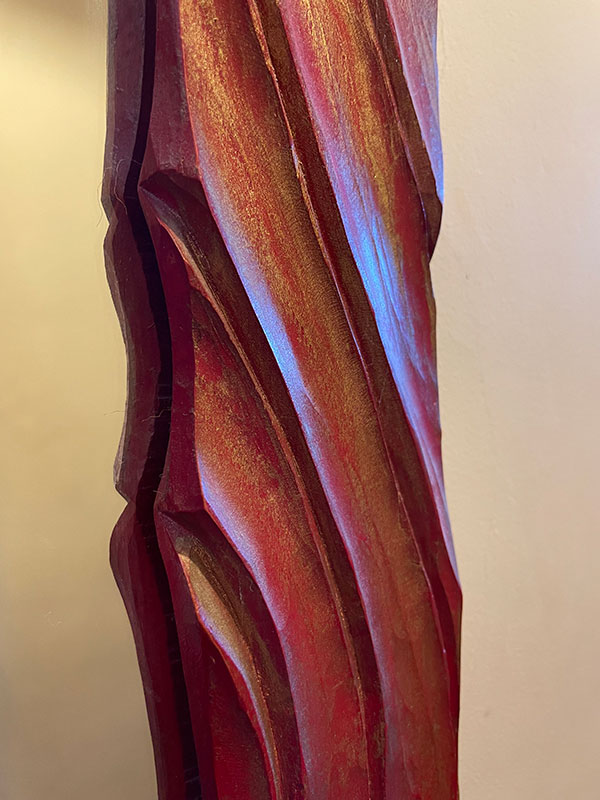
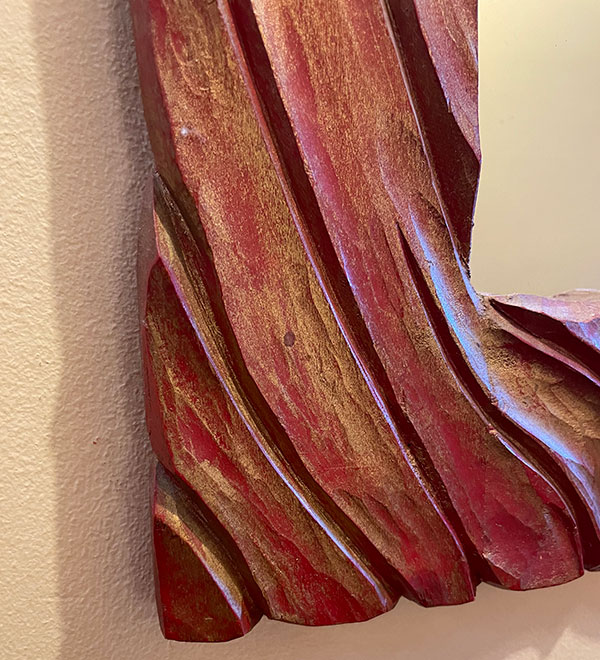
Next, apply cutting edge of gouge to wood surface, take mallet and hit. Then, stop, look and think. How has the grain reacted? Does it make sense to continue in this direction? Does it look good? Shall I repeat with the same tool or change? Deeper? Or not? Some element of chance creeps in. At the top of my frame is a roughly heart-shaped design. I didn’t intend this when starting out and didn’t really think about it until after the project was well under way.
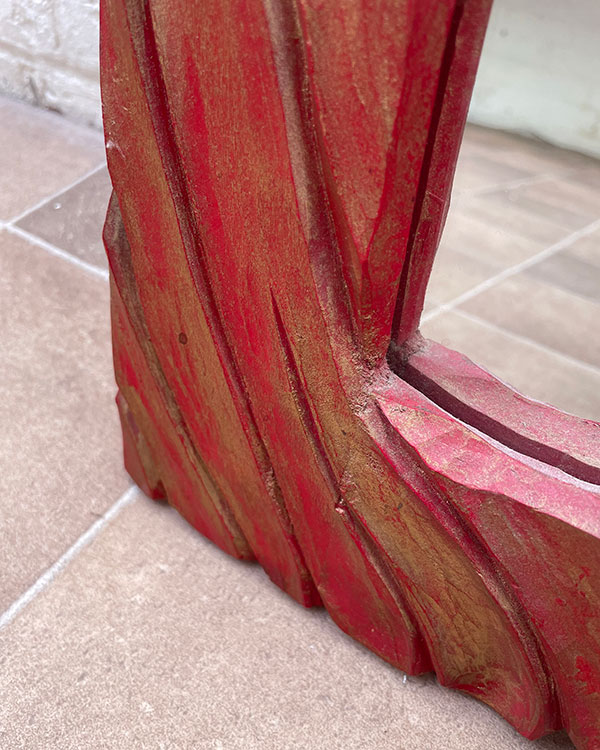
Finishing was simple: one coat of red paint, whatever was in the workshop at the time, and one coat of Liberon gilt cream. The mirror is fixed with four small brackets.
Faults? As if! OK, the inside bottom left corner is a bit dodgy but you’d really have to be rather pernickety to comment.
TIPS
1. My advice is to start with an existing mirror rather then buying one specifically
2. This idea can also be adapted for a picture frame, or as decorative edging on shelves
- Log in or register to post comments


| Articles | Articles | Articles | More | Subscriptions | Resources |