Videos

Sort By:  Post Date TitlePublish Date
Ben Plewes  |  Mar 26, 2011  |  0 comments
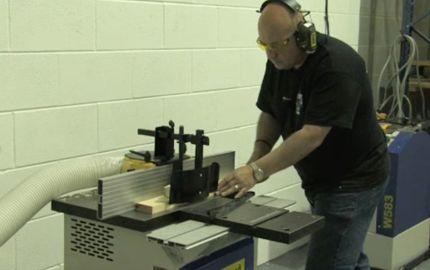
In this video series Ron Fox walks you through some basic jigs for use with the router that can drastically increase your productivity. Ron Starts by outlining the use of each jig before showing you how to make them.
Ben Plewes  |  Mar 25, 2011  |  0 comments
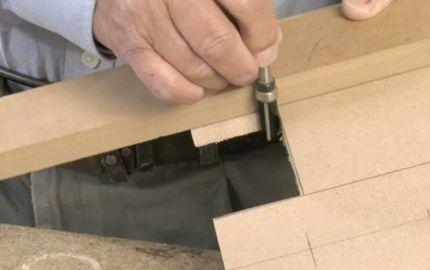
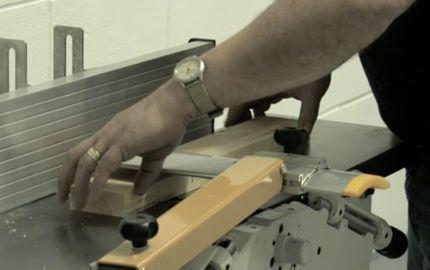
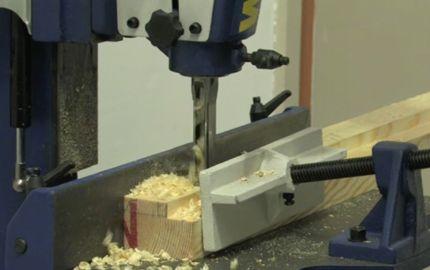
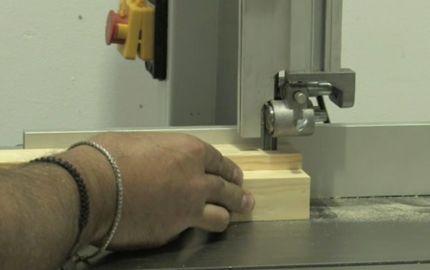
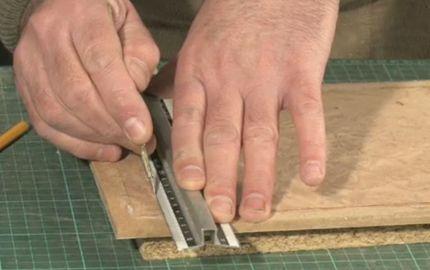
Following on from the first part of this new series Ron uses a set of 'shop made straightedges to make accurate cuts during the construction of a hinge jig.
Ben Plewes  |  Mar 18, 2011  |  0 comments
In this video series, Good Woodworking's Andy King explains the benefits of a good workshop layout while making a mortice and tenoned frame and panel.
Ben Plewes  |  Mar 17, 2011  |  0 comments
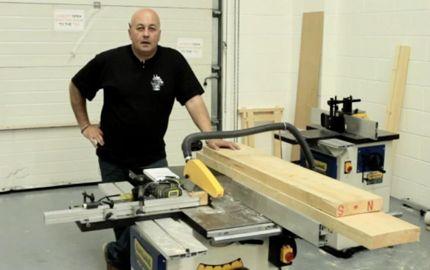
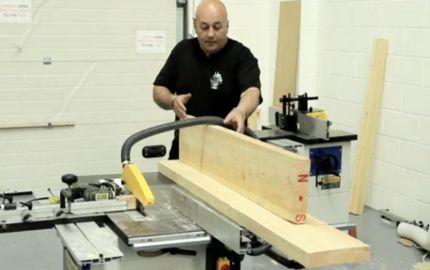
Andy starts this second instalment with an explanation of softwood timber grades before proceeding to outline the frame and panel project that will be completed during this series.
Ben Plewes  |  Mar 16, 2011  |  0 comments
The next stage is to convert the timber at the table saw in readiness for the planer thicknesser and spindle moulder.
Ben Plewes  |  Mar 15, 2011  |  0 comments
This video focusses on using a planer thicknesser to square up and dimension timber.
Ben Plewes  |  Mar 14, 2011  |  0 comments
After thicknessing his stock, Andy turns to the spindle moulder to create the grooves and rebates.
Ben Plewes  |  Mar 13, 2011  |  0 comments
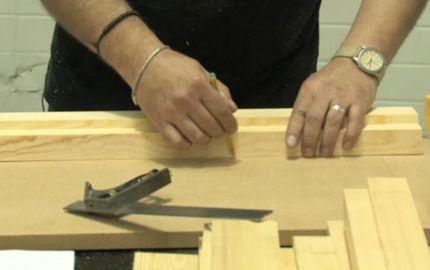
In this episode Andy demonstrates his tried and tested method for creating a workshop rod - an invaluable aid for speeding up and improving the accuracy of any number of woodworking projects.
Ben Plewes  |  Mar 12, 2011  |  0 comments
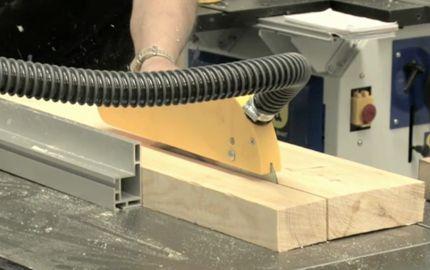
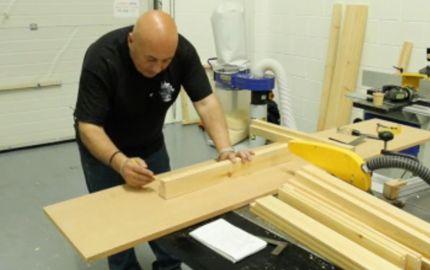
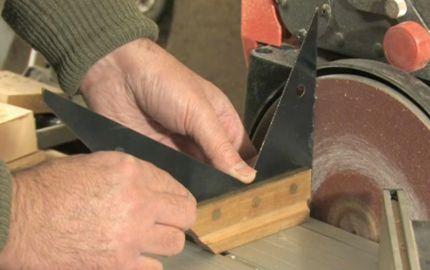
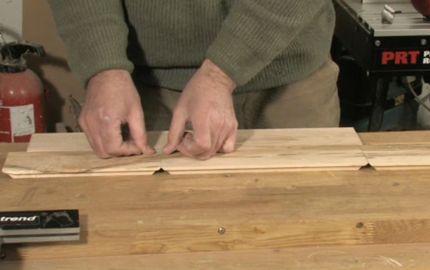
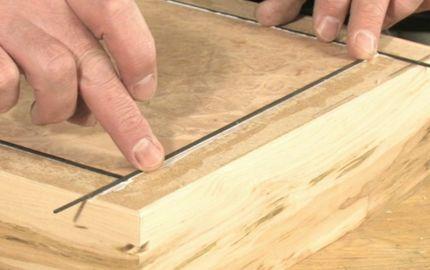
After creating a workshop rod the next stage is to mark and create components from it. In this video Andy demonstrates how to do this quickly and effectively.
Ben Plewes  |  Mar 09, 2011  |  0 comments
Next, mortices are marked from the rod before being cut at the morticer.
Ben Plewes  |  Mar 08, 2011  |  0 comments
In this final part Andy wraps up the series by cutting the tenons and fielded panel then assembling the project.
Ben Plewes  |  Feb 28, 2011  |  0 comments
After rough cutting the mitres Peter accurately trims them to size. This video demonstrates Peter's unique method for doing this.
Ben Plewes  |  Feb 27, 2011  |  0 comments
Peter shares a neat trick for when it comes to glueing up the mitred box.
Ben Plewes  |  Feb 26, 2011  |  0 comments
In this installment Peter demonstrates how to adhere burr veneer to the top of the box.
Ben Plewes  |  Feb 25, 2011  |  0 comments
The next stage is to veneer the top of the box by adding stringing and a border.

Pages

X