Dip pen wand: the magic of writing

I wanted to share a project which has continued to be incredibly popular among many groups of people. I thought the piece shown here may be something most haven’t seen before and as I really enjoy showing the steps behind the making of my projects, I thought I’d take you through the process here.
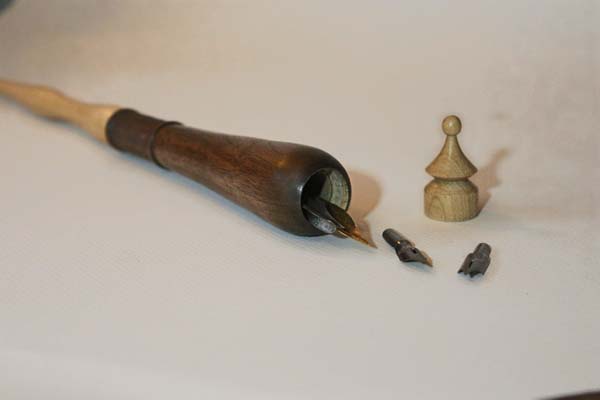
This project is essentially two or three small projects in one: an ergonomic dip pen – a very practical item prized for its versatility by calligraphers and artists; a box to store a variety of nibs; and a lid for the dip pen, which when combined, also doubles up as a fun prop wand.
This project includes some tools and techniques which are less common, but a version should be viable for most turners without the need for kit such as texturing tools or wood stains. Throughout this article, I’ll highlight areas where you can adapt the design if you so wish, but a word of warning before we start: a key factor to success in completing this project is following the order of steps. The end result relies on some relatively tight tolerances, achieved thanks to plenty of experimentation, and I’ve found this to be the best way with my turning.
TOOLS REQUIRED
• Wand shaft & pommel: these can be taken from the same blank, the dimensions of which are 370 × 22mm
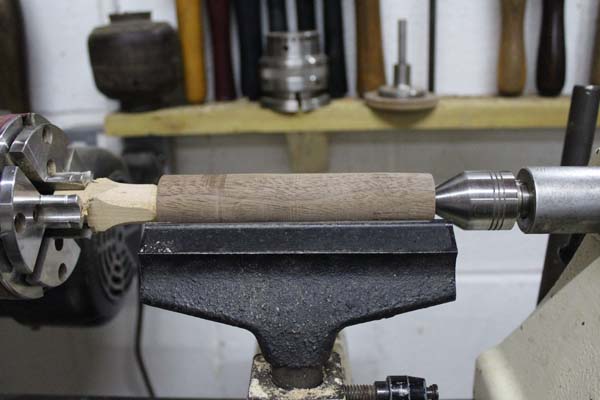
• Handle blank: 140 × 30mm
For the pen
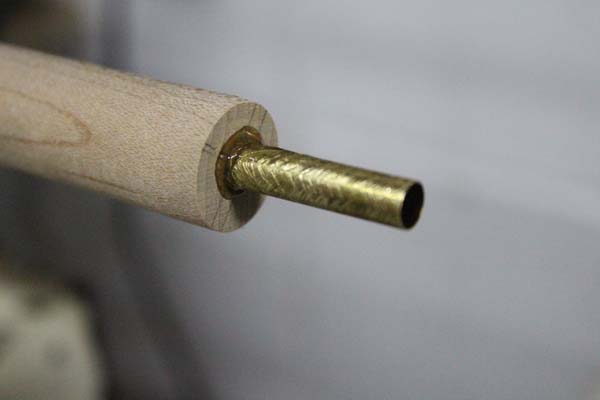
• 7mm brass tube
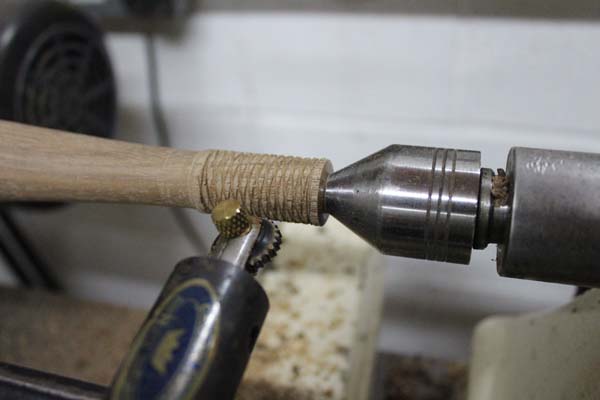
• Rose ferrule
• 7mm drill bit
• 15 & 19mm Forstner bits
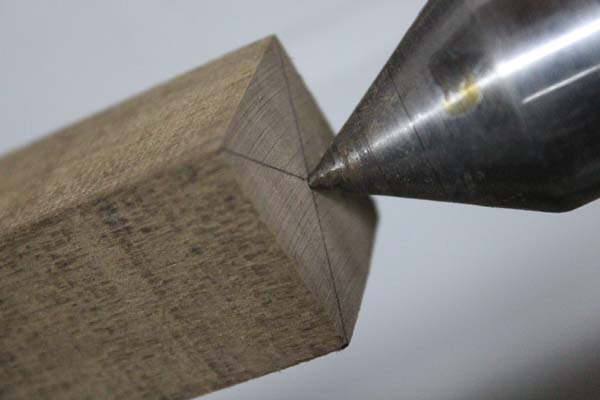
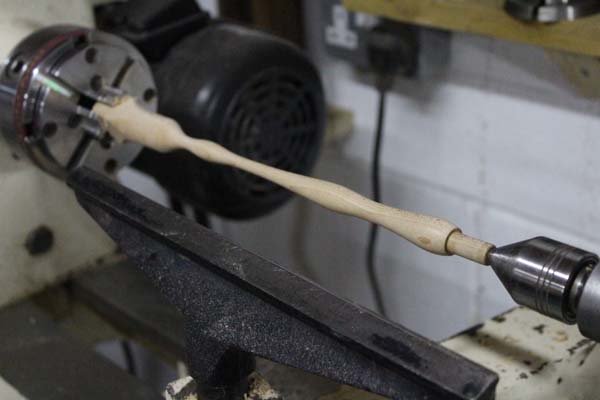
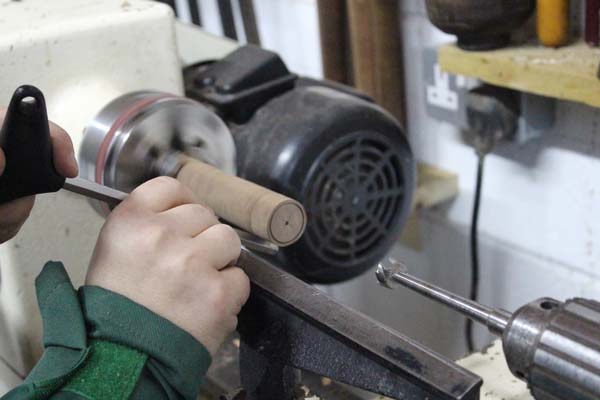
Roughing out the handle

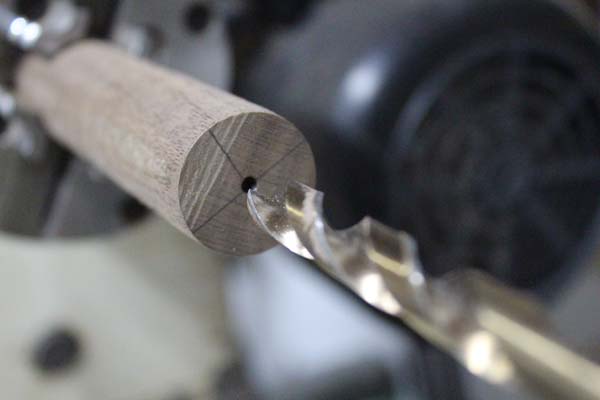
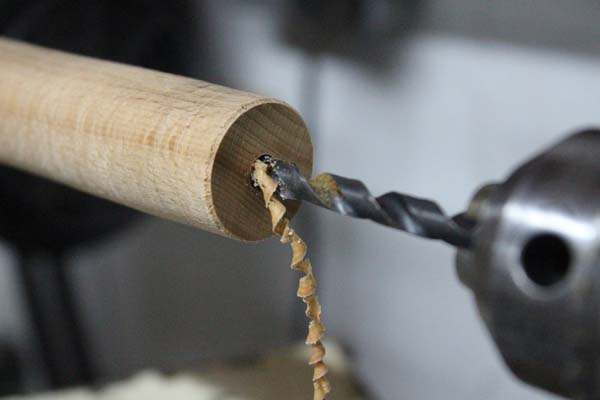
Drilling holes in the handle
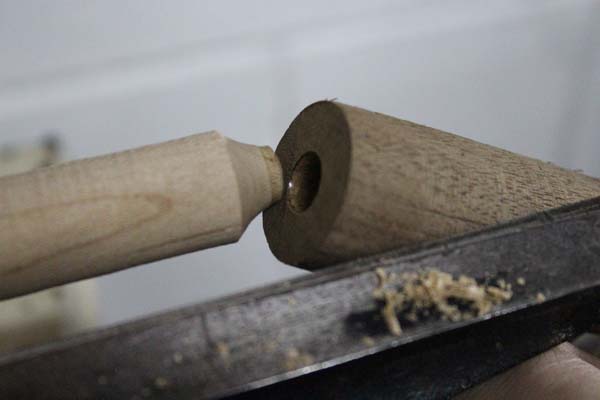
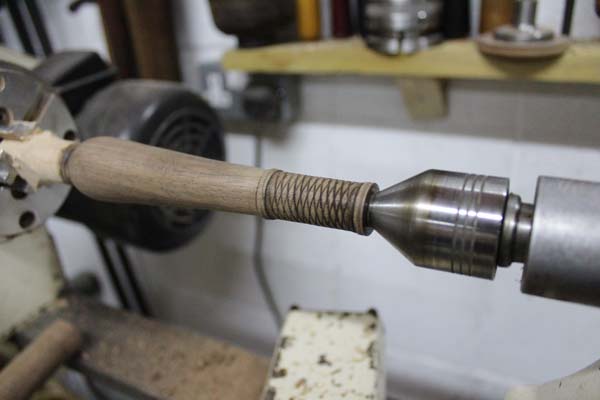
Making the pen
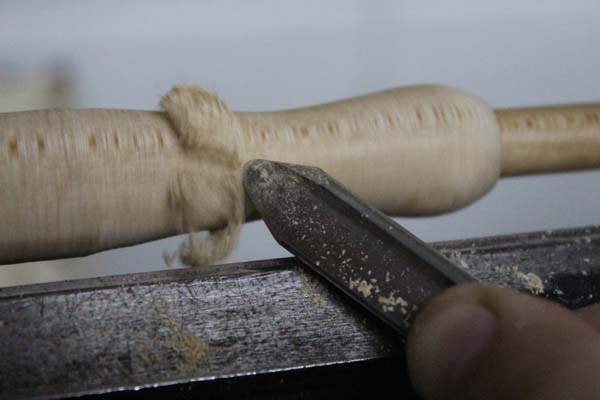
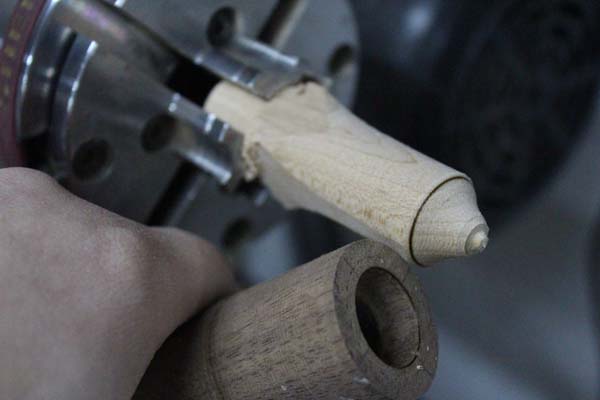
Making the handle & pommel
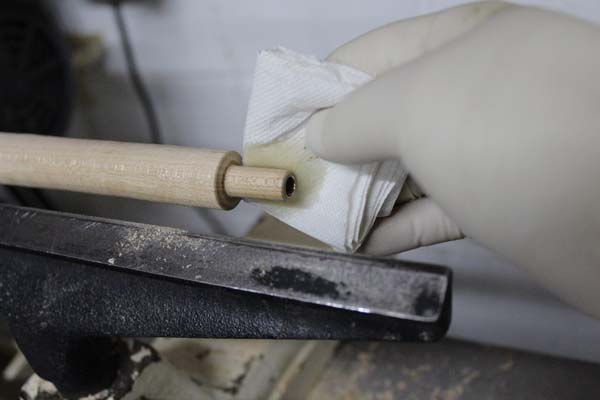
Finishing/antiquing the handle

TIP FOR DEALING WITH VIBRATION
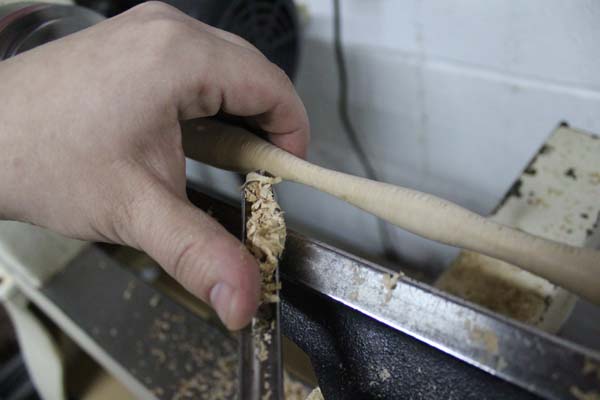
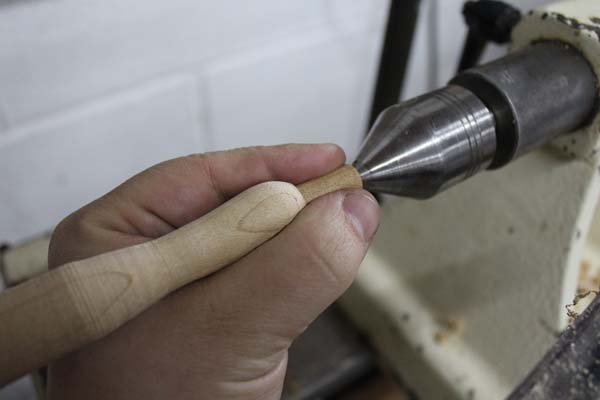
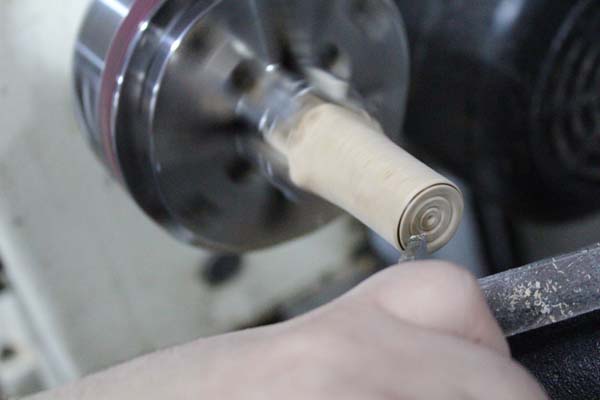
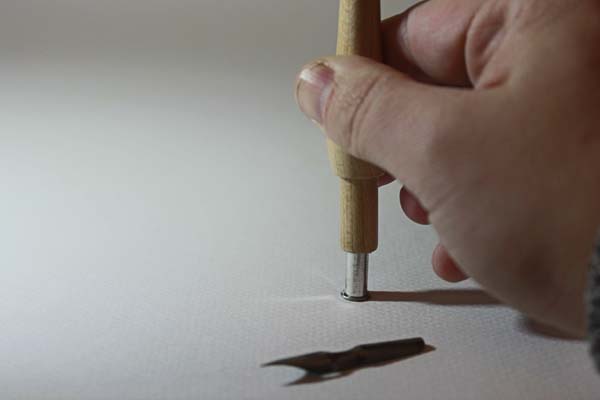
A tip for those with vibration issues: when I was learning to turn with thin parts like this, my dad showed me how to support the work with one or more fingers, which helps reduce vibration, if it has a chance of occurring. Be careful here and ensure that your fingers are well out of the way and not in a position whereby they could get caught, such as the toolrest. I turn close to 1mm for the tip and sand smooth; this is essentially the most delicate part of the whole project. It’s worth bearing in mind who the end user will be: if it’s a young child, then go for a less sharp point, but if you’re making for a collector, then a sharper point is likely to be a stand out feature
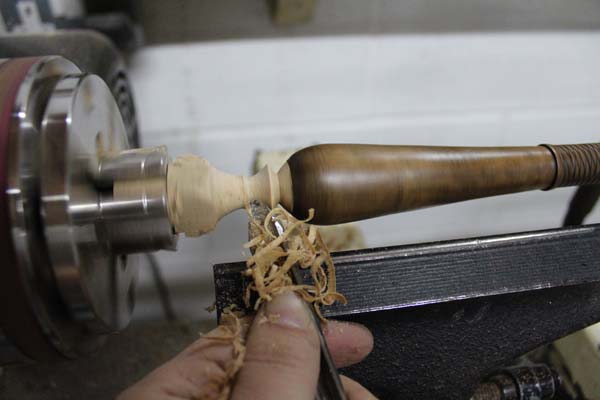
Finishing the pommel
Installing the hardware
TIP FOR RECENTRING YOUR WORK
A helpful tip for recentring your work, if it has been knocked out of centre, for example, is to lower the lathe speed and slightly loosen the chuck before running the lathe and inserting a stout tool between workpiece and toolrest. As the work rotates, the tool will push it back into alignment. Once the piece is realigned, you can reposition your toolrest, tighten the chuck and increase lathe speed as required
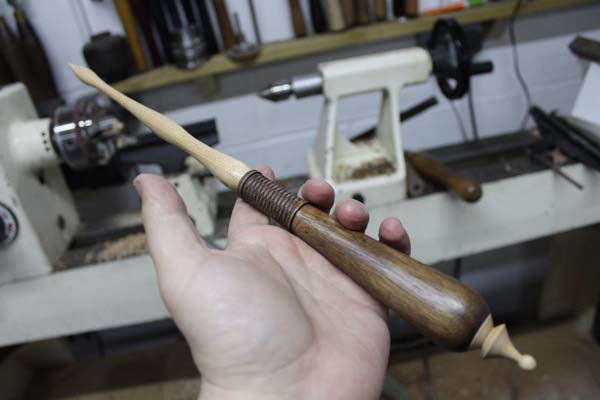
Finished dimensions & design alternatives
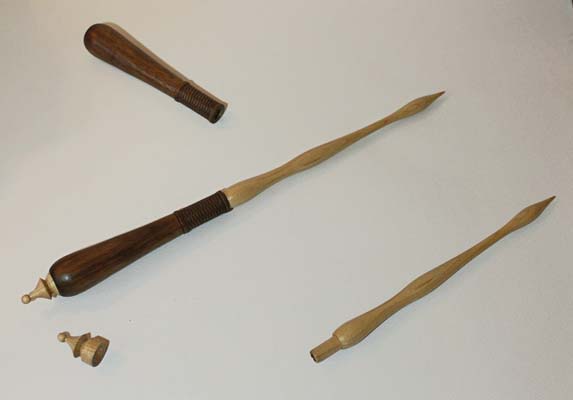
Even though the dip pen wand here uses a rose ferrule, which could potentially be more difficult to find, there is an alternative method. To work around this, you could adapt the project to accept a ball-point pen, a crow quill – a type of nib that doesn’t require a rose ferrule – or just omit the pen part and instead create an interesting gift. The finished dimensions of the project and its components are:
Full length: 370mm
Dip pen wand (not including nib): 225 × 16.5mm
Box lid: 35 × 19mm
Handle: 140 × 29mm
- Log in or register to post comments


| Articles | Articles | Articles | More | Subscriptions | Resources |