Farmhouse chair
I’ve always had an interest in Windsor chairs – that is, those with a solid seat where the spindles, arm supports and legs are affixed by drilling or tenoning. As a hobbyist woodworker, I decided that I wanted to make one. I started with a ‘smokers bow’ type, entirely of ash, the seat made from two planks glued and dowelled together, then a ‘farmhouse’ type chair detailed here.
The farmhouse chair is often referred to as a ‘Granddad’s’ chair, although I’m not sure why – perhaps people picture an old gentleman relaxing in one beside an open fire in a country cottage? These chairs, in various designs, have been around for a couple of centuries. Original examples would have been made in beech, ash and fruitwoods, with a solid elm seat. In the 19th century, elm was plentiful and selected due to its ability to resist splitting when drilled with several holes. Over time, however, its tendency to warp has become apparent, especially in modern centrally heated houses.
Original chair
Farmhouse chairs, with their high backs and wide crest rails, can be quite comfortable and further enhanced by blankets or throws draped over them. I wanted to make my chair with an elm seat due to its lovely figuring, but it is hard to come by, especially in wider planks. I decided to use ash for the seat and chair parts, but the largest planks I could locate at 50mm-thick were 457mm wide.
As I wanted the seat to be slightly wider, I had to deviate from my original plan, and ended up settling on a large, square piece of cedar, over 0.6m square and 50mm-thick. I bought the timber not knowing whether or not it would be suitable. When I came to make my chair, the seat ended up around 495 × 482mm after moving some imperfections – unfortunately a knot had to remain. I turned the legs, stretchers and spindles from ash. I’d seen three ring leg profiles on many old chairs, so loosely copied these.
The back spindles were made heavier than original examples to avoid a flimsy construction. The curved crest rail was steam-bent using a jig based on one from Mike Abbott’s book, Green Woodwork. The seat was hollowed and shaped using an inshave, convex spokeshave and curved scraper. An angled drill guide was used to bore the holes. Using cedar for the seat didn’t present any problems during assembly as the chair was sturdy and taut when completed.
New arms & finish
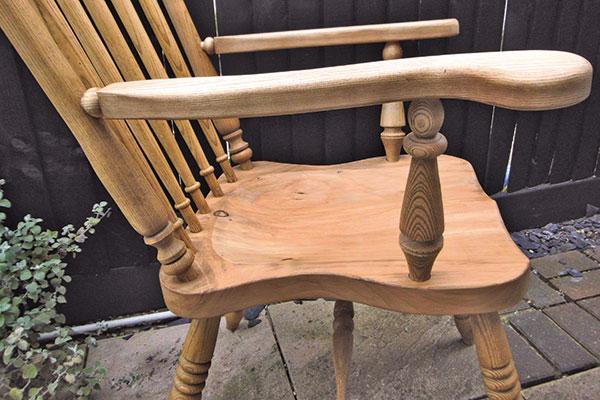
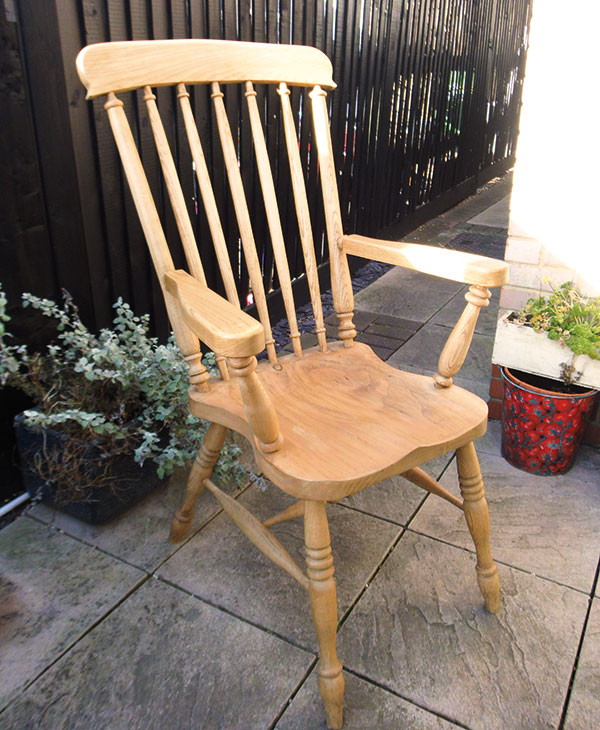
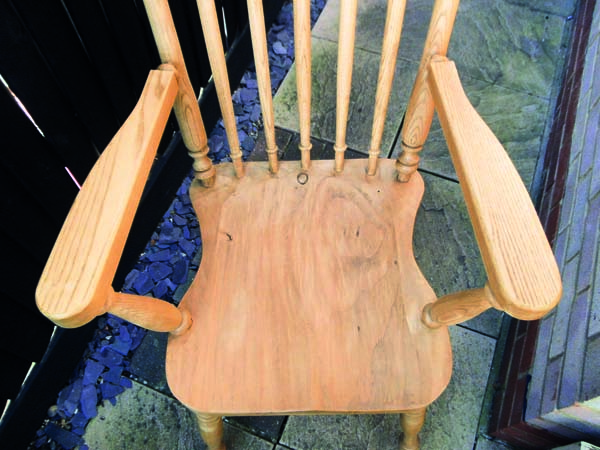
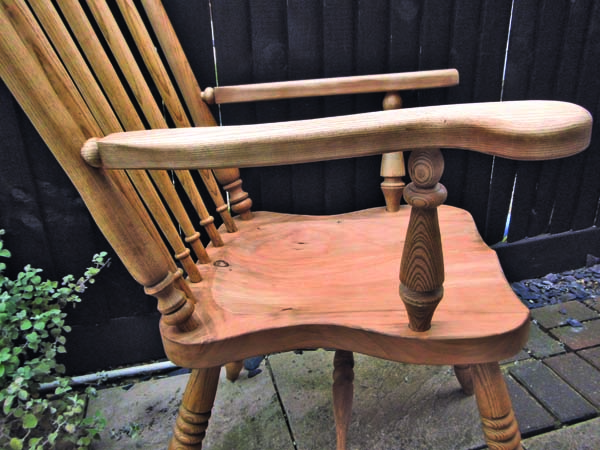
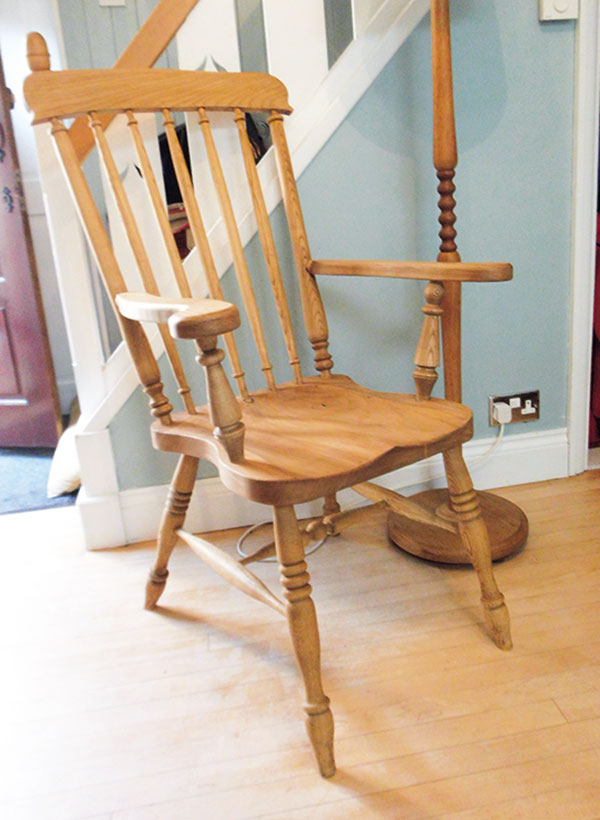
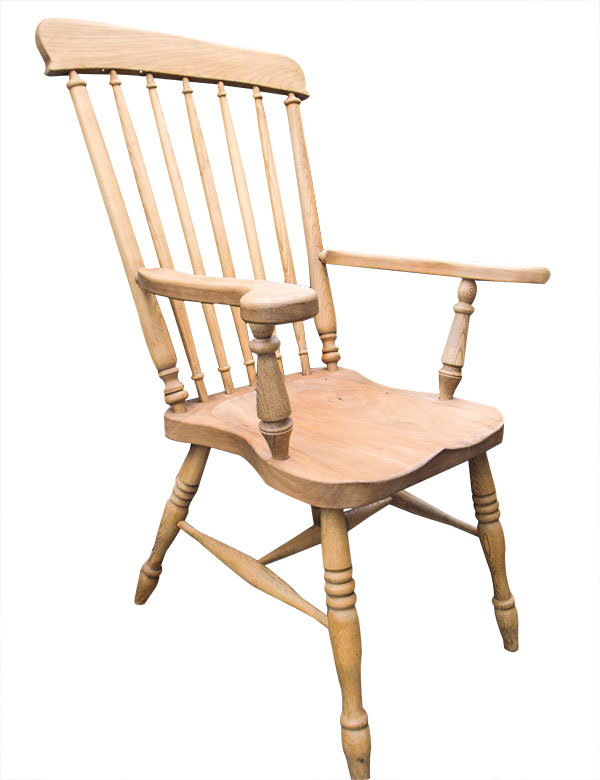
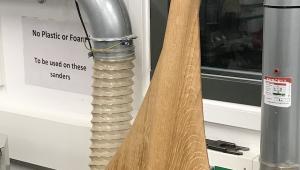
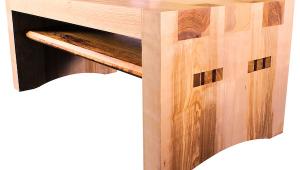
Over the next couple of years, in between other woodworking projects, I made two more chairs. Two aspects of my original chair’s design bothered me, however: the 50mm-thick straight arms looked out of place (photo 1) and the coloured beeswax used to finish the piece was patchy and unnatural looking (photo 2), especially on the seat. So I set about remedying both of these problems. I carefully sawed off the arm rest spindles and under arm supports and stripped the finish from the seat using scrapers (photo 3).
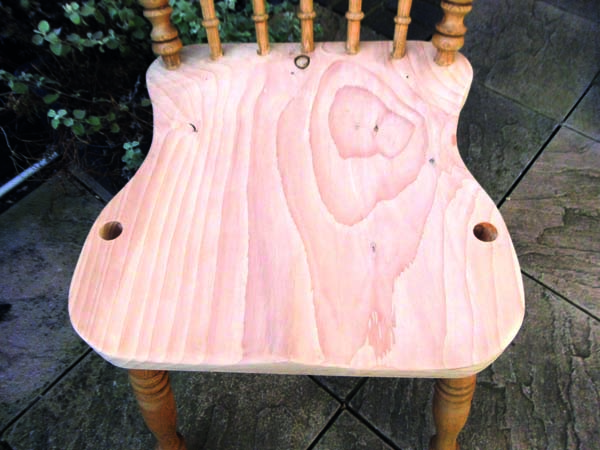
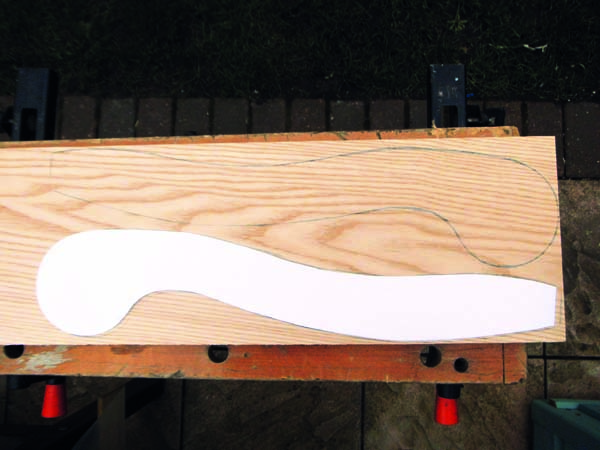
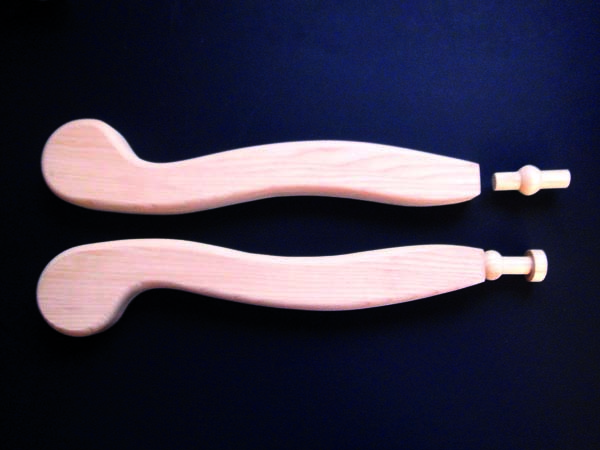
A piece of ash was selected and planed flat using a No.51⁄2 jack plane, then reduced, using a thicknesser, to 38mm thick. Using a card template, I created a more pleasing shape for the arms, which I then cut out (photo 4); these were then shaped with a spokeshave, file and abrasives (photo 5). Two small, turned spindles were drilled into the ends of the arm rests, attaching them to the back uprights. Once the drilling angles had been established, holes could then be drilled in the back uprights and seat.
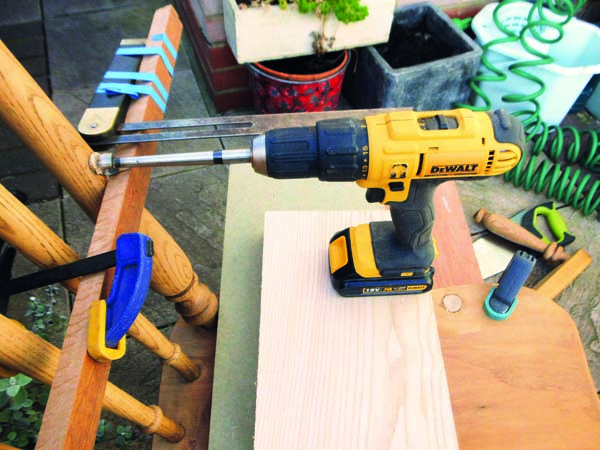
As my cordless drill has a flat base with the chuck axis parallel to it, drilling the uprights was made easier having built up the height with blocks of wood (photo 6). The original sockets were drilled slightly oversize with a clean finish – 26mm for the seat, 19mm for the arm.
Two points to mention here: firstly, the drilling angles need to be accurate: 1 or 2° difference may not be noticeable, but any greater discrepancy and the chair will look unbalanced. Secondly, it’s definitely worth investing in good quality Forstner bits. I bought a couple of Clico ones and find they cut very cleanly and easily. After assembly and gluing, I finished the chair with three coats of medium oak-coloured liquid wax. Overall, I’m pleased with the altered design and am equally happy that it now enjoys regular use in our back room.
- Log in or register to post comments


| Articles | Articles | Articles | More | Subscriptions | Resources |