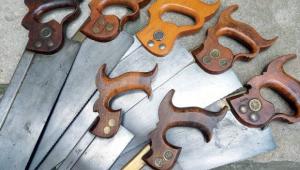
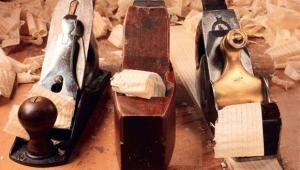
Knife work
In this day and age, I’m certainly not the only amateur to have approached woodworking the wrong way round. Most vocationally trained, professional woodworkers will have started their interest and careers by learning the basics with saw, mallet, chisels and very little else. As time goes by, they’ll progress into relying more heavily on machinery to do the same tasks, but the traditional skills they learned will still be there.
On the other hand, I plunged straight into the machinery side of things. I missed out on the learning of those basic skills; you might think that this wouldn’t be a problem with the availability of reasonably priced machinery these days, but with this comes certain limitations. Most machine-made furniture has a very machine-made ‘look’ to it and, although up until now I’ve been fine with that, I find myself increasingly wishing I’d started from the traditional side of woodwork. That’s why I’m currently trying to learn more hand tool skills – and acquire some quality equipment while I’m at it.
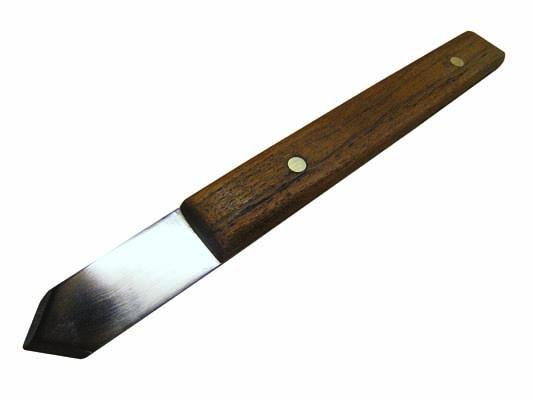
One of the first things I want to tackle is cutting dovetails by hand to finally get rid of that annoying machine-cut look to projects. I started by listing all the tools I’d need to do the job and asked various relatives to buy them for me as gifts, with the exception of one thing: I’d inadvertently ordered a right-handed marking knife because I’m right-handed, not realising that the handedness concerns whether you’re cutting up to the left- or right-hand side of an edge. To compound matters, the one I bought was as blunt as a butter knife and the edge-holding qualities very poor. All of this became apparent on Christmas Eve, by which time it was obviously too late to order another one. Luckily, there’s a Cromwell Tools branch near me where I thought I’d be able to find the necessary bits to make a better knife myself.
Preparing materials
I came back from Cromwell’s with the only material they had in stock – a length of 1mm thick, 25mm wide gauge plate, or precision ground flat stock, as it’s sometimes called. I had an iroko offcut for the handle as well as some brass rod, which was left over from a previous project (photo 1).
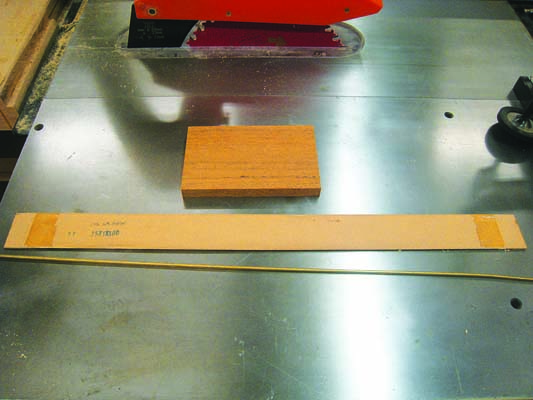
After picking up various tools and deciding on the length I thought I’d need, I arrived at measurements of 140mm for the handle and an extra 50mm for the blade. The blade’s width would be a little wide for comfort if left at 25mm, so I started by machining the iroko, then cut the metal back to match it.
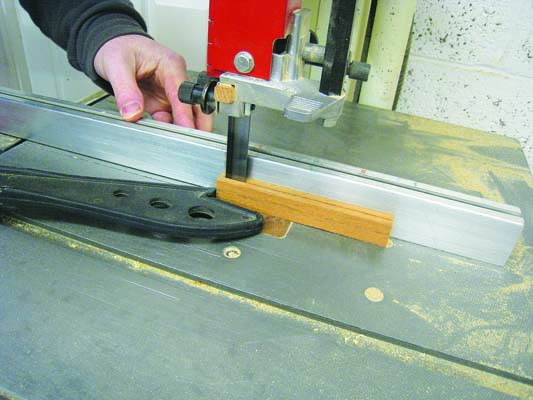
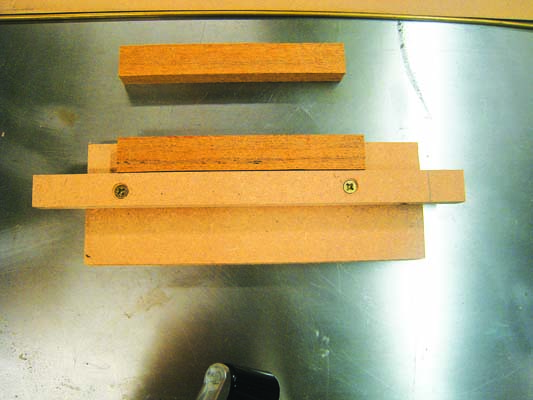
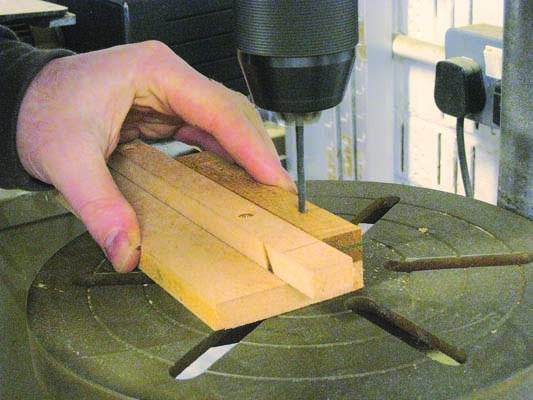
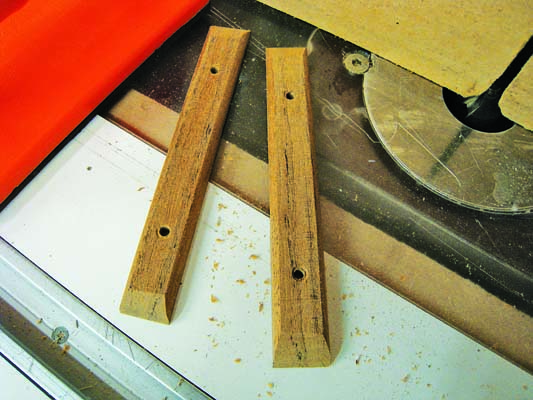
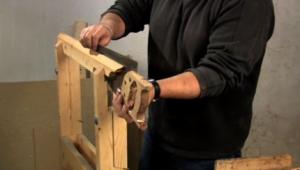
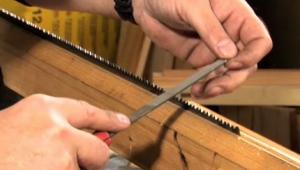
After ripping and planing the iroko down to correct thickness, I cut the dimensioned piece in half on the bandsaw (photo 2). I used this piece as a spacer and made a quick MDF jig to hold all the pieces together while I machined the metal (photo 3). Using a hacksaw, I cut the metal roughly to length by hand, and with all three pieces held together, I drilled holes all the way through for the brass rods (photo 4). I needed to do this now before hardening the metal.
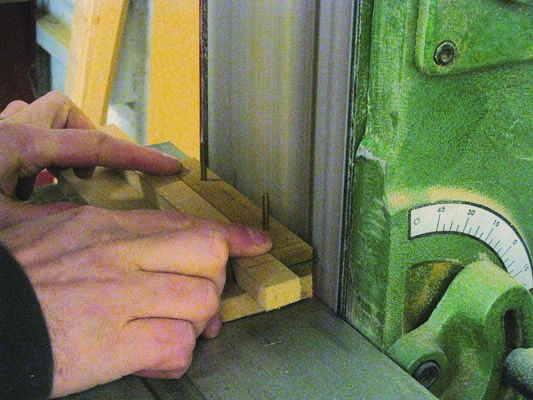
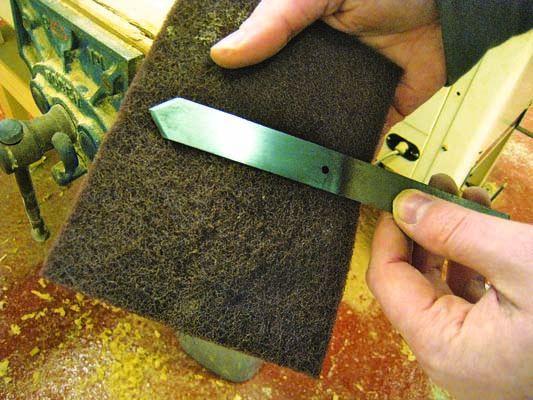
With the brass rods holding all three pieces in place on the jig, I simply sanded the metal back to the handles (photo 5). I never run my extractor when sanding metal, just in case an errant spark happens to set fire to sawdust collected in the bag.
Making a point
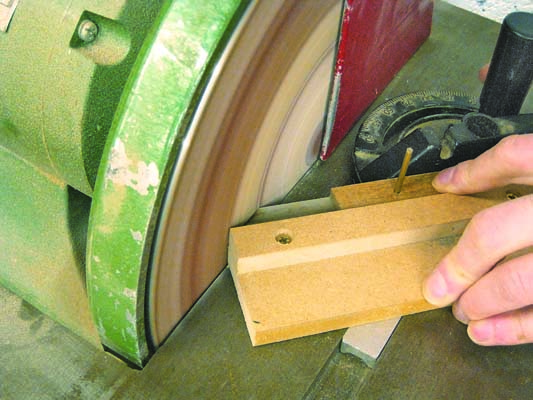
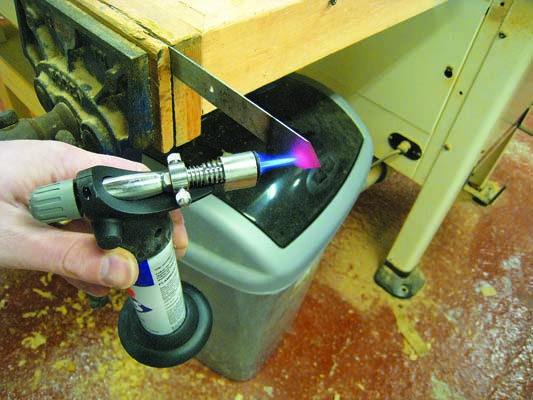
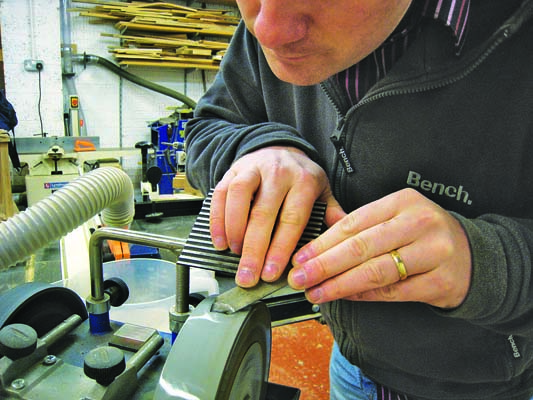
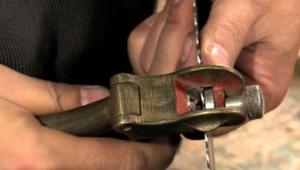
To roughly cut the point at the end of the blade, I used my disc sander along with a mitre gauge set at an angle slightly greater than 45º; this would help me get right into the corners during use (photo 5). Having disassembled the pieces, it was time to harden the steel. With the blade clamped in a vice and a bucket of hot water underneath, I heated the metal until it glowed cherry red. Photo 7 is a little misleading as while it shows the correct colour, I couldn’t get enough heat into a large enough area, so resorted to using a larger blowtorch borrowed from a friend. To help the heat along, I held a heat-resistant brick behind it.
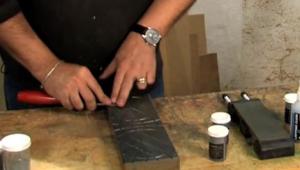
To harden the work properly, the steel should be kept at cherry red for one hour per inch of thickness, so in this case, just two and a half minutes. After heating I simply opened the vice, dropping the hot metal into the water to quench it. This process left the metal black and for the next step, it’s important you’re able to see the colour of the metal, so I rubbed the black off using a Hermes Webrax pad (photo 8).
Next was the tempering, which is exactly the same process as before except you only heat the steel until it turns the colour of straw, before quenching it once more in hot water.


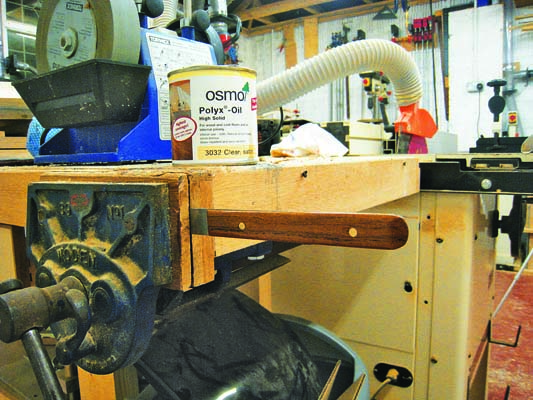

Using my Tormek grinder, I ground in the edge with a general mounting jig, set to 25° (photo 9). I used the side of the stone to initially polish the blade’s reverse (photo 10). Finally, I rounded over the edges of both sides of the handle on a router table (photo 11). With a sporadic dab of epoxy on the handles, I used a punch to mushroom over one end of two brass inserts. Once driven into place I cut the excess off, leaving them about 1mm proud and once turned over, mushroomed over the other side (photo 12). With the blade end clamped in the vice, I applied a Polyx oil finish (photo 13).
The only thing left to do was to try out my new knife. Well, it sits comfortably in the hand and creates a nice, fine point, so I’m more than happy!
- Log in or register to post comments


| Articles | Articles | Articles | More | Subscriptions | Resources |