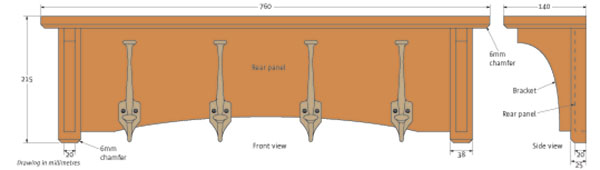
Mission-style coat rack

Takes: One weekend
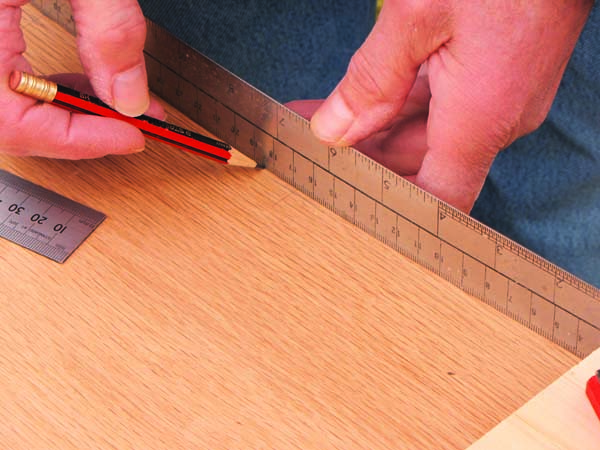
Tools you’ll need: Marking tools, straightedge, bench and block planes, spokeshave or sanding drum, drill and bits, jigsaw or bandsaw, router and bits, biscuit jointer, hand saw or circular saw
Although I’m more familiar with traditional Shaker furniture, I’ve always found a certain appeal to Mission furniture. It has an understated elegance to it, predominantly featuring straight lines, with very few curves. Originating in the Spanish missions of California and America’s southwestern states some 100 years ago, the Mission style was pretty much the equivalent of what was being produced during the Arts & Crafts period in Britain. It was usually made from oak using quartersawn boards and frequently stained – or fumed – a darker brown to highlight the timber’s medullary rays, which would really stand out.
Timber choice & construction
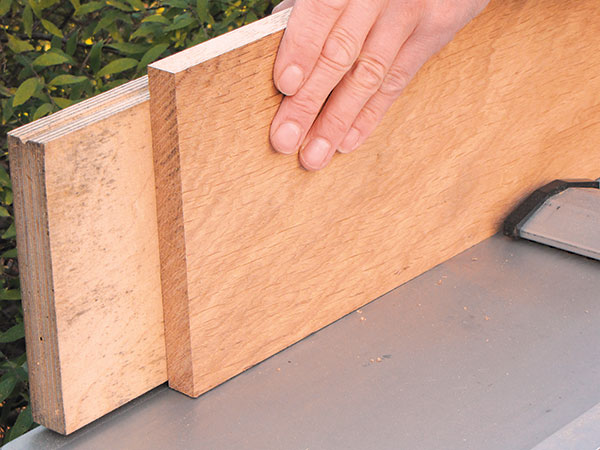
I still have an assortment of European and American oak boards in the workshop bought over recent years when the opportunity seemed too good to pass up. It’s obviously best to build any project from exactly the same batch, as a mix of different timbers might not match up. I used a mix of offcuts from a couple of boards, and the visual difference is actually hard to see.
If you’re faced with an obvious colour variation, one solution is to bleach the timber once you’ve completed the project. After rinsing off the bleach and allowing the oak to dry, lightly sand and then use a suitable stain to gain an even colour. Always experiment on offcuts first, though.
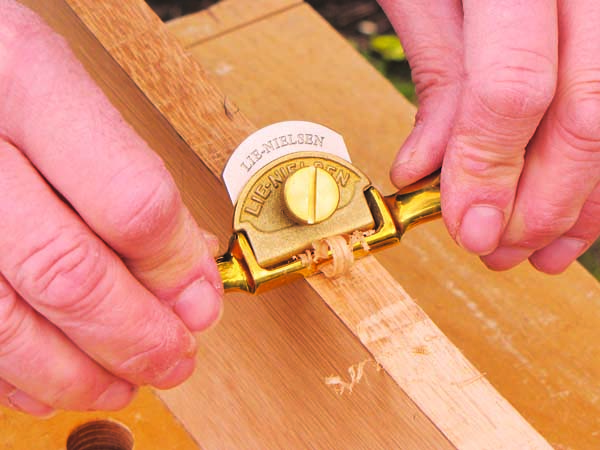
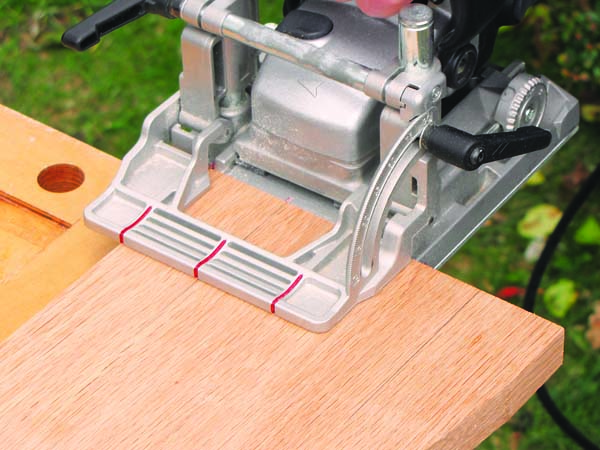

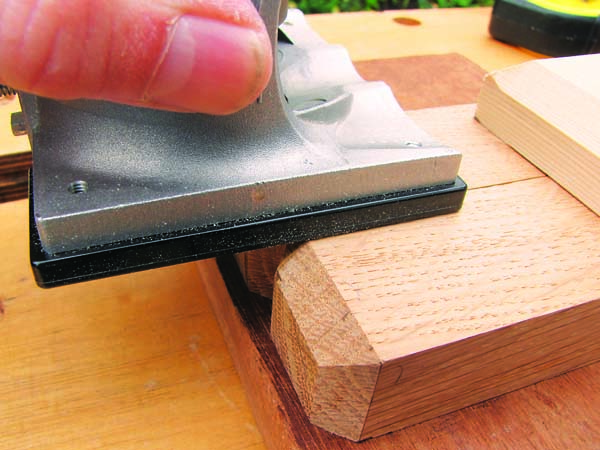
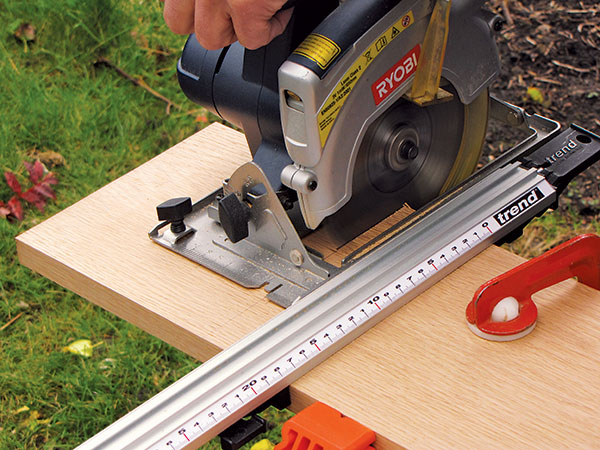
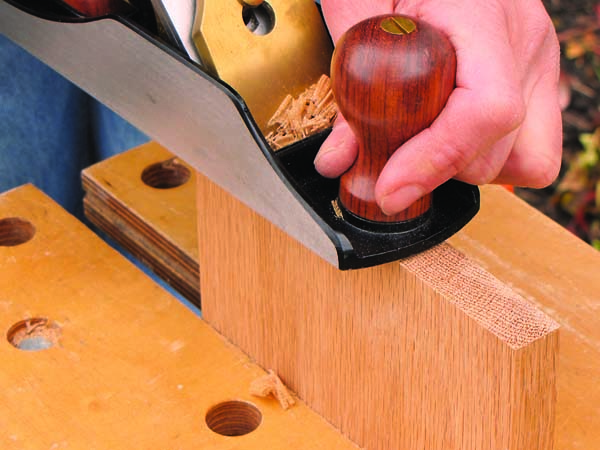
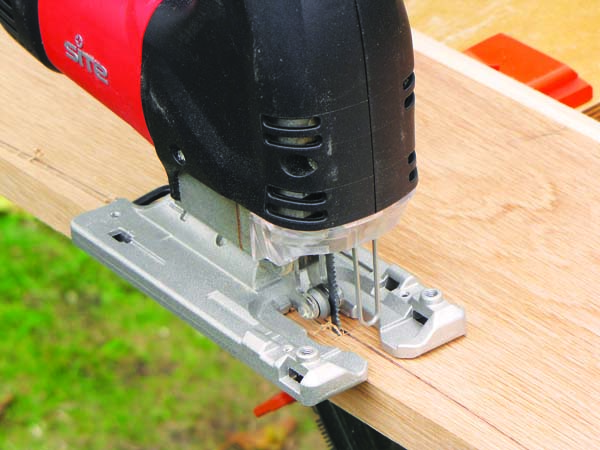
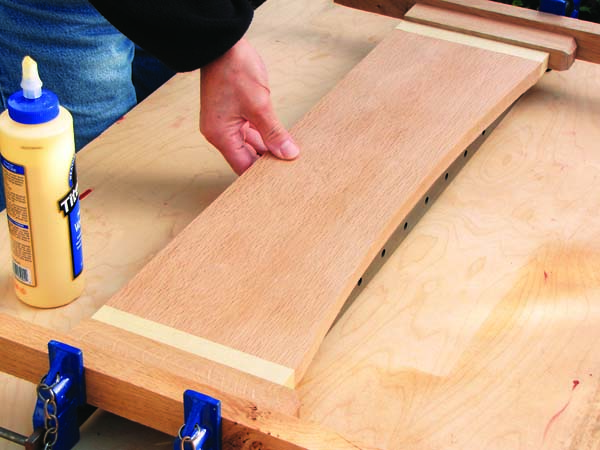
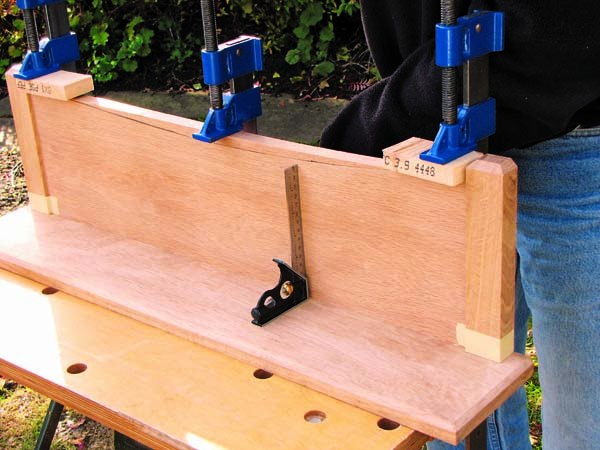
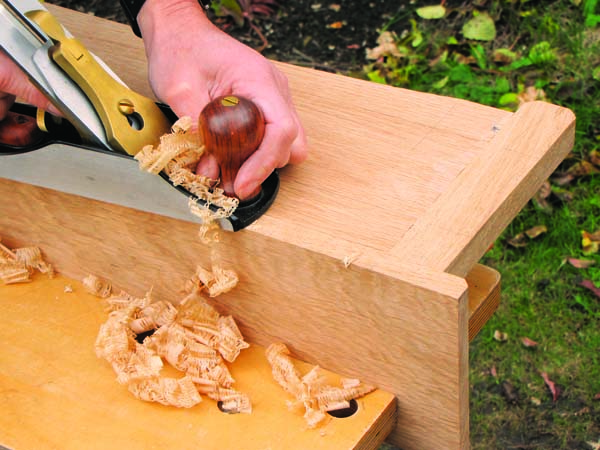
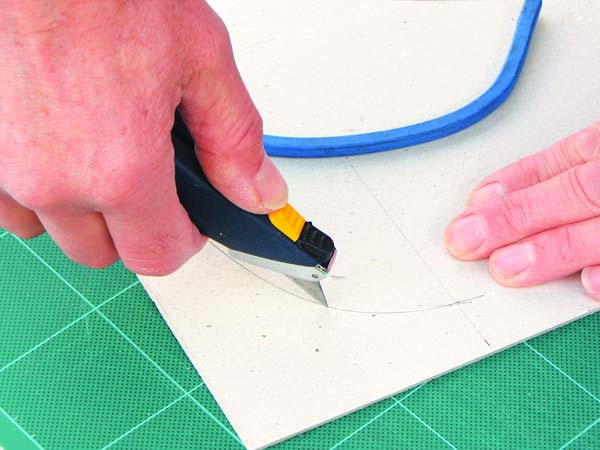
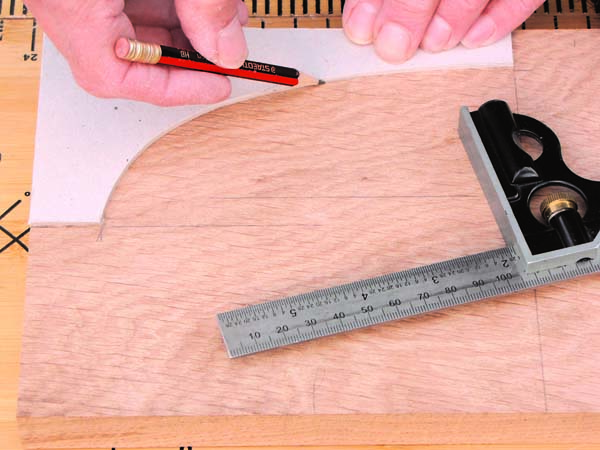
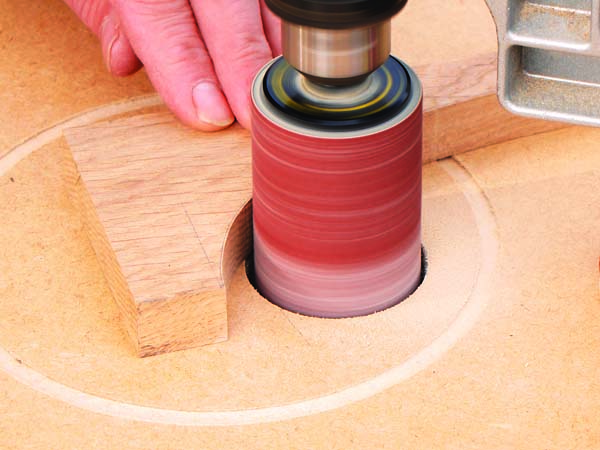
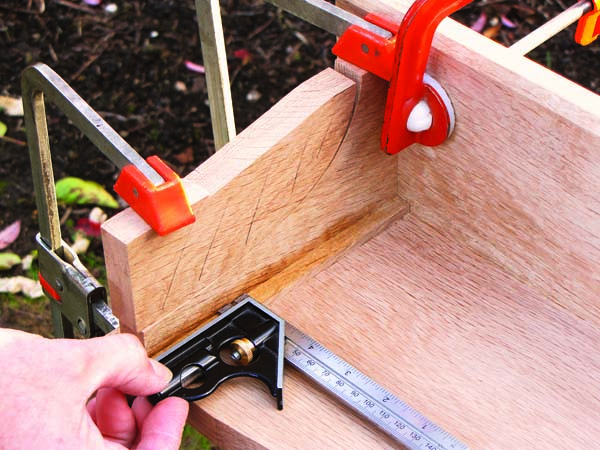
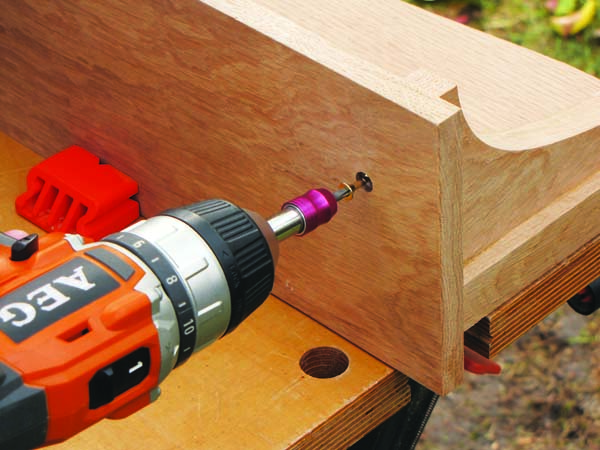
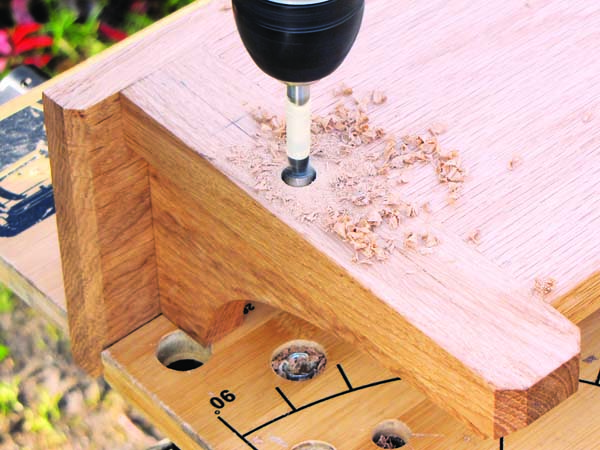
Construction of the coat rack is pretty easy, making use of biscuits for jointing. The most awkward part is probably forming a consistent curve to the lower edge of the main panel. It’s harder to produce a shallow curve than one with a tighter radius. After cutting with a jigsaw, I used a spokeshave to clean up the curve, though this is much easier to do in softwood. The most reliable method is to first cut an accurate template from 6mm ply or MDF, taking time to get this precise. With a suitable bearing-guided cutter you can then rout the oak to the exact symmetrical curve, with no cleaning up to do after cutting.

Hardware & finishing
It’s a good idea to buy the actual hooks before you start cutting any timber, as you may need to increase the height of the back panel to accommodate them. I got mine from The Door Knocker Company – www.thedoorknockercompany.co.uk – based in Shropshire, which sells a fascinating range of period hardware, so you should be able to find something suitable. To give the project some authenticity, I chose cast-iron hardware in its natural grey finish.
Unless you obtain hardware with a lacquered finish you should spray grey iron items before fitting, as they’ll rust with the slightest hint of moisture in the air. It’s not advisable to fit untreated iron to oak, either, as the tannin will react with the metal to create black stains. Use clear or black satin lacquer, depending on the effect you want. You can, of course, make the coat rack any length you like, increasing or reducing the number of hooks as necessary.
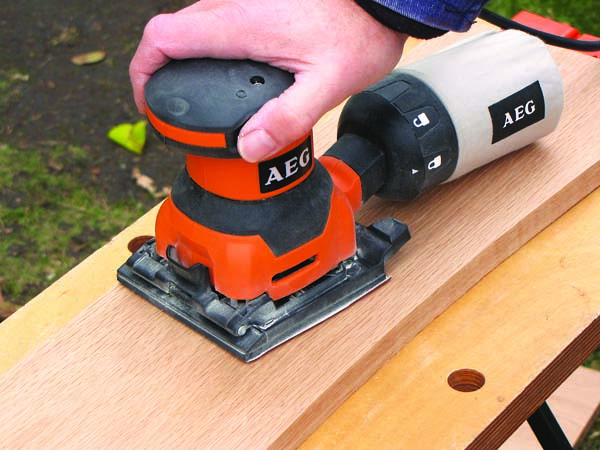
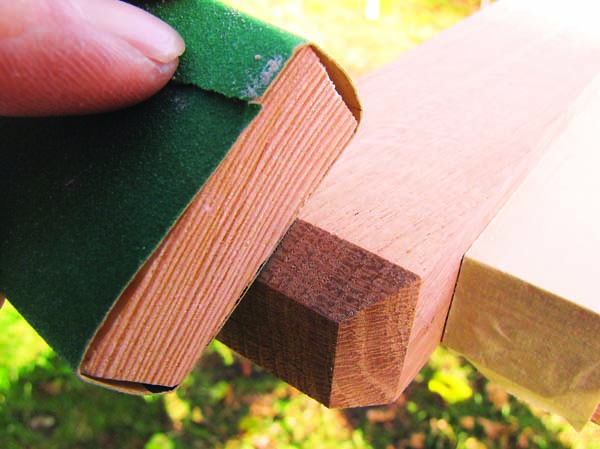
Finally, the rack can be sanded and oiled but remove the hooks first. I brushed on two coats of my current favourite finish, Chestnut finishing oil, wiping off the excess after a few minutes.
- Log in or register to post comments


| Articles | Articles | Articles | More | Subscriptions | Resources |