Mitre trimming jig

Mitre trimming jig
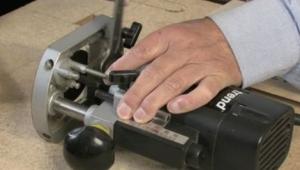
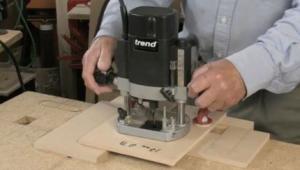
Click here for Part 1 – Making and using a mitre keying jig
Click here to watch a video of the mitre key jig in action
Click here to watch a video of the mitre key jig in action
Here is another jig design which is useful for cleaning up the face sides of mitre joints. Again the emphasis is on reducing excess strain while working on the joint. As before this jig design can be scaled up or down according to your needs.
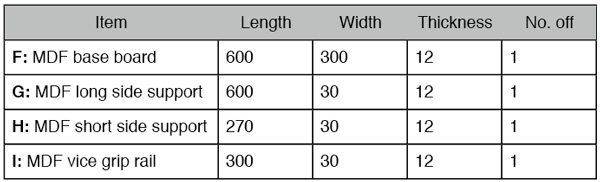
This jig is much simpler than the last one and won’t take long to make. First cut the main components. My cutting list for this jig was as follows (all dimensions in MM):
I made this jig using just rub joints with no clamps. It’s very easy and was finished within a few minutes. Simply glue the long side support (G) and short side support (H) to the left and top sides (for left handed use invert left and right) of the base board (F) and leave the glue to dry. On the underside glue the vice grip rail (I) centrally from left to right. Leave 24 hours for the glue to harden because the joints will be stressed during use.
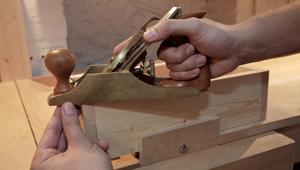
Locate the vice grip rail in your bench vice and tighten. You now have a secure corner to rest your mitred frame against while cleaning up the joints with a smoothing plane or cabinet scraper. The area of the jig that protrudes passed the vice front allows the use of clamps when working with larger mitred frames.
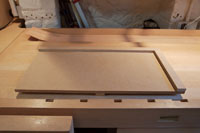
1. Top side construction showing the two fence edges
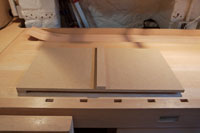
2. Bottom side construction showing central batten for fastening in a bench vice
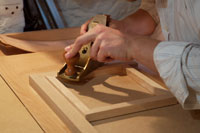
3. Using the jig to clean up a mitred frame
Happy mitering!
Click here for Part 1 – Making and using a mitre keying jig
Click here to watch a video of the mitre key jig in action
- Log in or register to post comments


| Articles | Articles | Articles | More | Subscriptions | Resources |