Outdoor pizza kitchen
If you’re looking to make an outdoor project that’s not only straightforward but uses readily available timber, Geoff Ryan’s handy outdoor table, which can be tailored to meet individual requirements, is sure to fit the bill
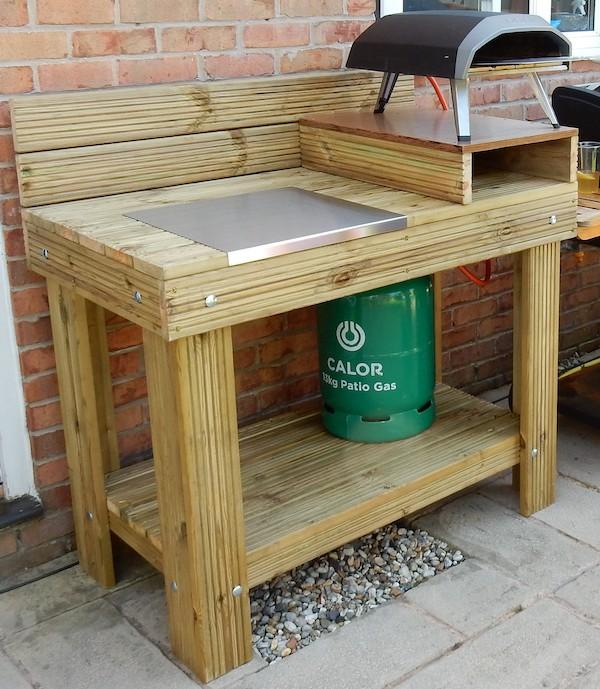
With a family gathering imminent, my daughter asked if I could build an outdoor table, which a pizza oven could then be placed on. This would also be my son-in-law, Adam’s, birthday present. As they live 50 miles away, the unit needed to be easily dismantlable for ease of transporting and a bottom shelf was required to hold a gas bottle.
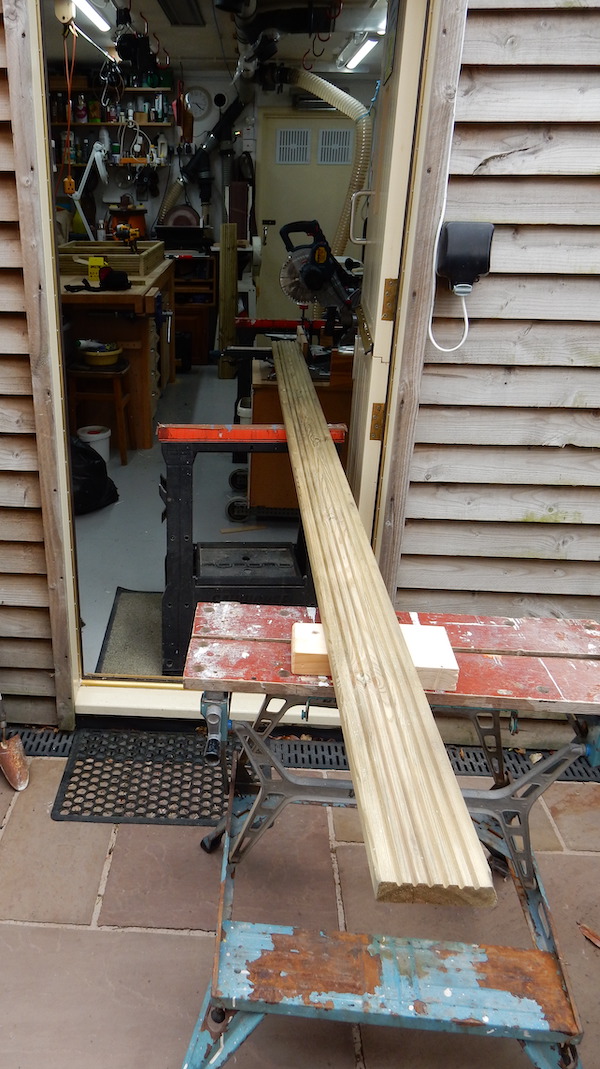
The easiest, most readily available material is treated softwood decking and after a quick sketch to determine dimensions and requirements, I purchased 5 × 3.8m lengths.
STEP 1
It’s no accident that when building my workshop, I positioned the doorway in the middle and mounted the mitre saw on a wheeled stand, to permit the handling of very long lengths. This also works with my tablesaw, and the door at the far end of the workshop opens into a timber store, which allows me to easily rip down long boards when required
STEP 2
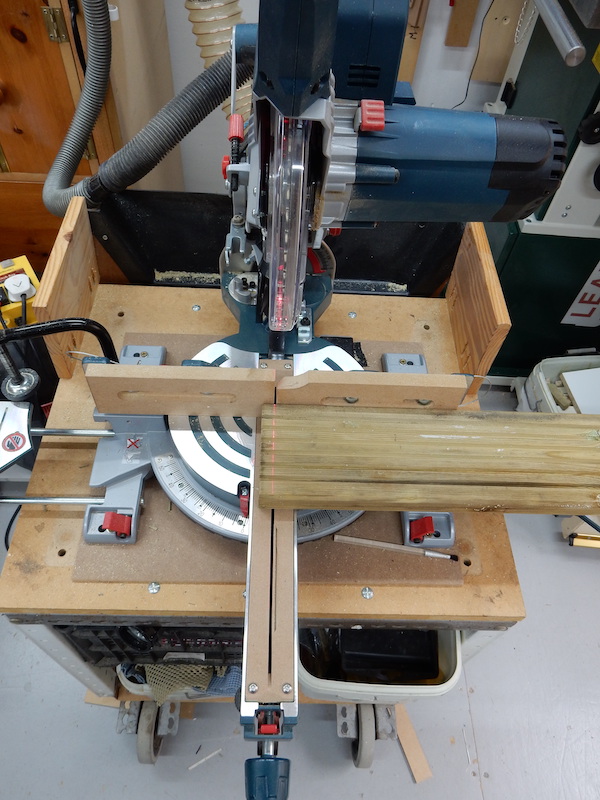
Trim the ends of each board to ensure they’re square; this also allows you to remove any splits or damage
STEP 3
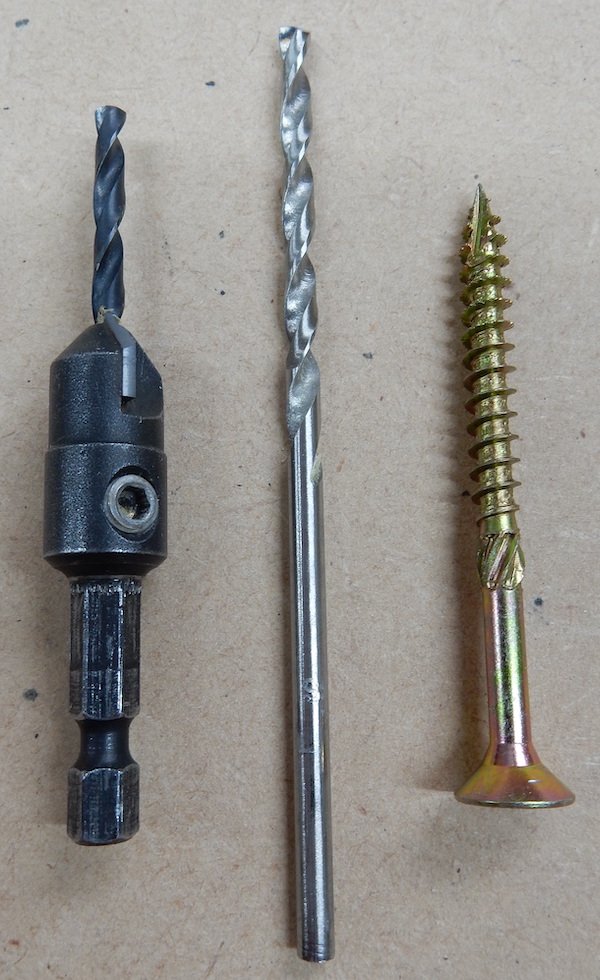
Apart from the mitre saw, the only other essentials are a couple of drills and a countersink. The corners of the top and shelf are simply screwed together, which means you’re screwing into end-grain. A pilot hole is essential here to prevent the wood splitting
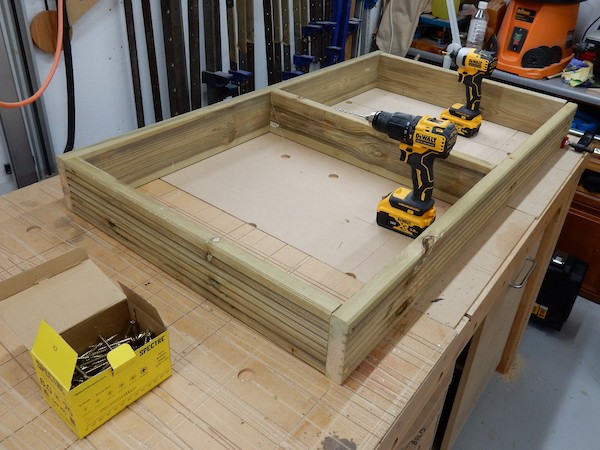
STEP 4
The top frame is straightforward to assemble, with a centre board to prevent the top boards sagging in the middle
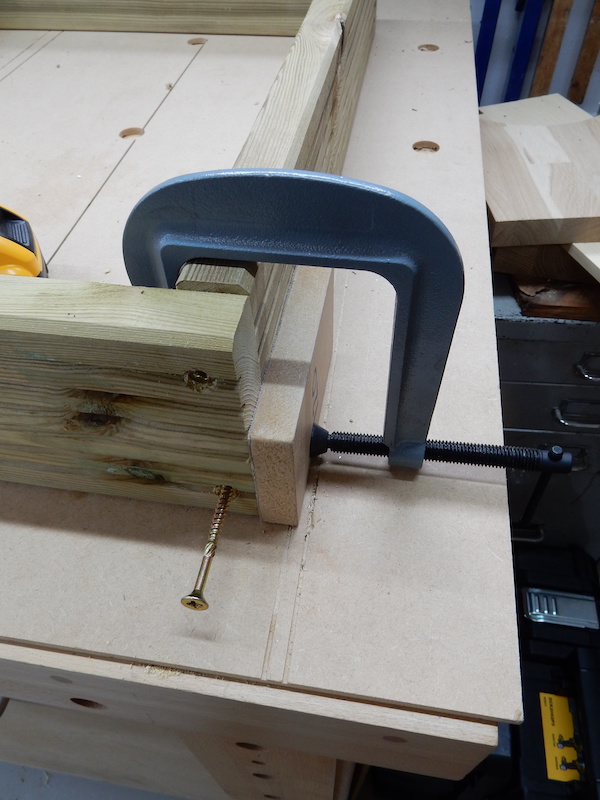
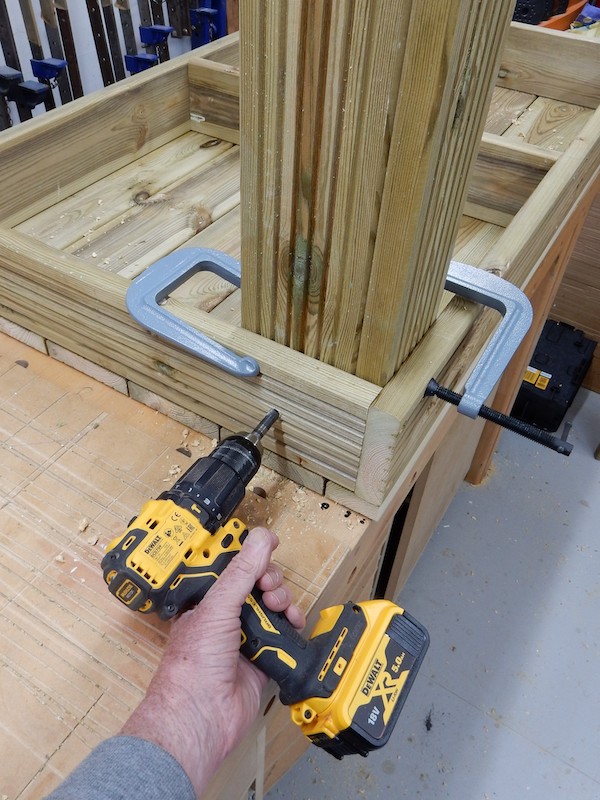
STEP 5
A block clamped to the side helps to keep the corner aligned while drilling and screwing together
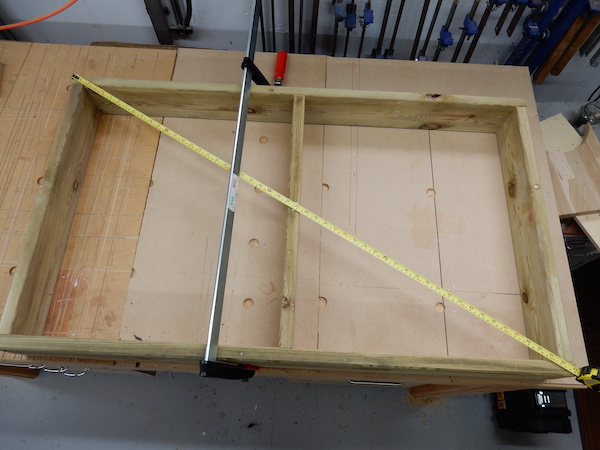
STEP 6
A measurement across both diagonals proves that the frame is square
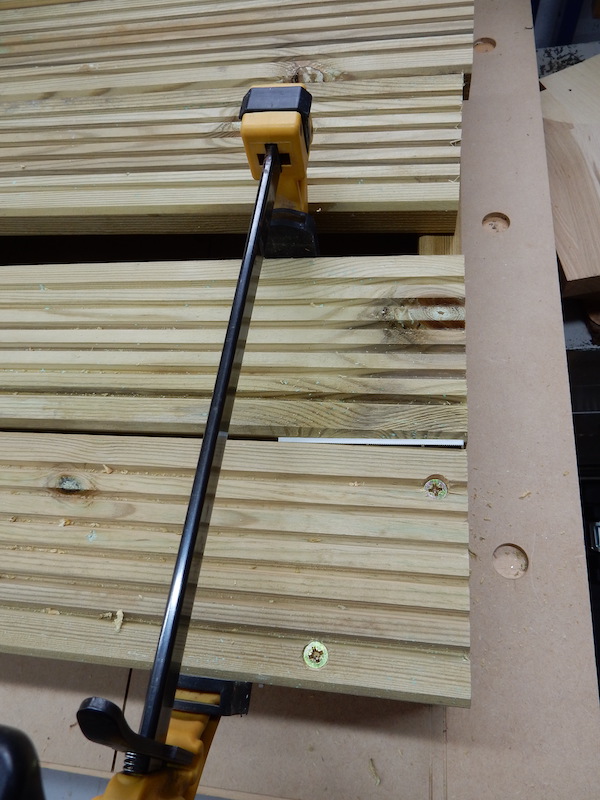
STEP 7
After fixing the front, top board in position, use spacers to keep the remaining boards aligned
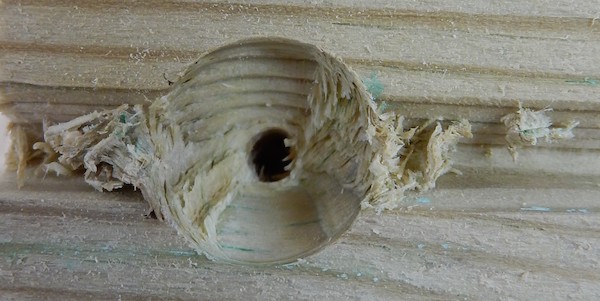
STEP 8
Decking sold in timber merchants is often stored outside and can be quite wet as a result. I found that the countersink didn’t cut cleanly...
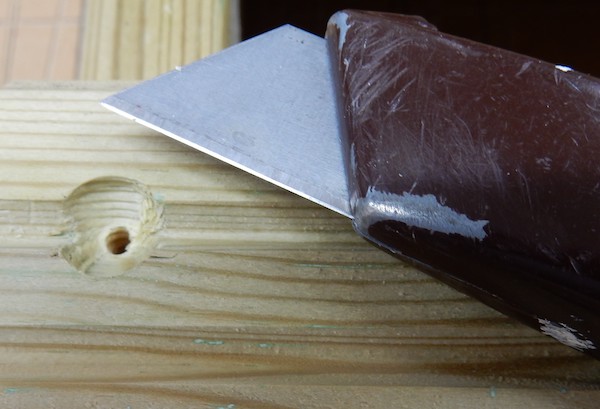
STEP 9
... so instead resorted to a sharp knife for trimming and tidying the ragged fibres
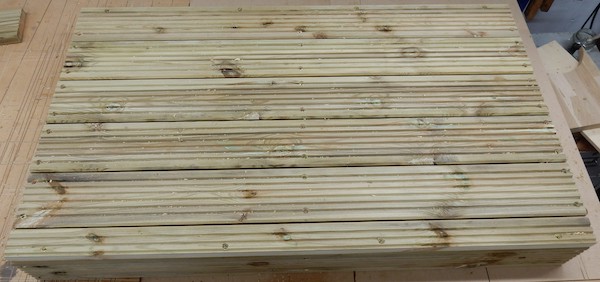
STEP 10
The completed top. Note that at the back edge, nearest the camera, a board has been ripped down to fit

STEP 11
The shelf is built in a similar manner, but the frame is made from decking ripped in half along its length. Note also that the shelf fits inside the legs so is therefore smaller than the top, which sits over the legs
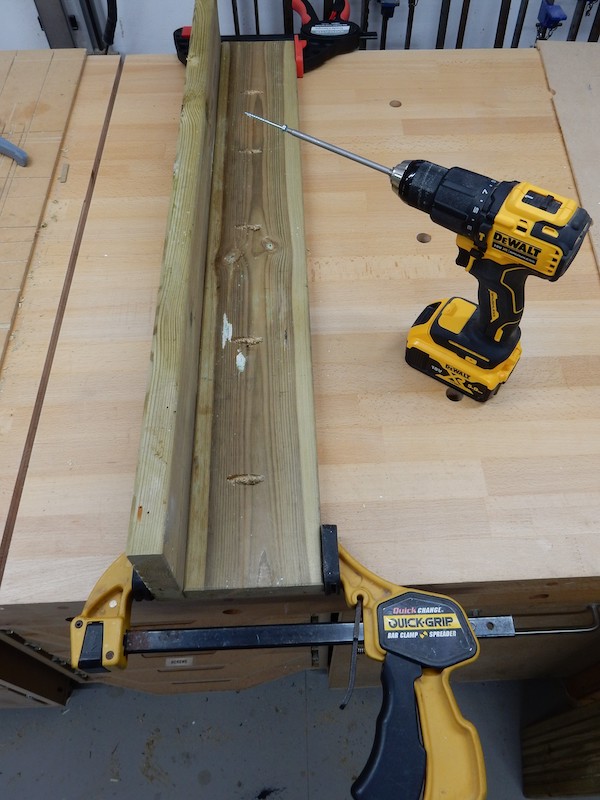
STEP 12
The legs consist of two lengths of decking screwed together. I used a pocket-hole jig, but if you don’t have one available, an alternative method is to screw them from the outer edge. These screws don’t need to impart any great strength as this’ll be achieved when the legs are bolted into the top and shelf using coach bolts with large washers placed on the inside
STEP 13
The legs are fixed in place using coach bolts and after drilling the required holes, each leg needs to be numbered to ensure it goes back in the right place. It’s important to ensure not to drill holes where the screws holding the corners are positioned...

STEP 14
Although the decking is already treated, it’s a good idea to give it an additional soaking in wood preserver. I used clear wood preserver but you could use a coloured one for a more dramatic effect. I left all parts out in the sun for several days to ensure maximum dryness. You might also notice some extra components here – I added a back panel to the kitchen to stop items falling down and getting lost – and this is clearly visible in step 16
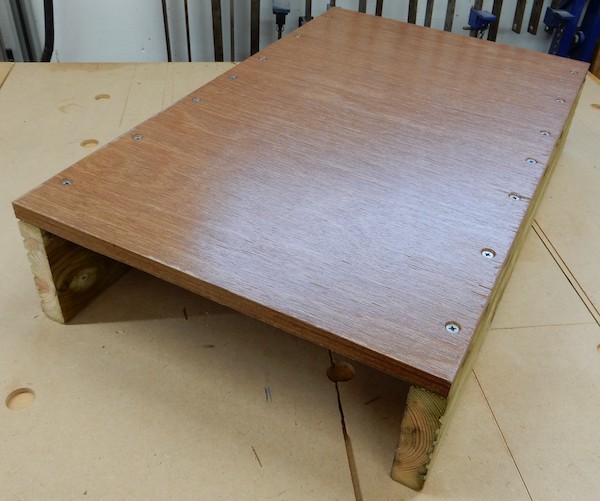
STEP 15
The last item required was a raised shelf, which brings up the height of the pizza oven so that it’s easier to keep an eye on progress. I was going to make this using the same decking material, but found an offcut of marine ply, which I proceeded to treat with three coats of outdoor varnish
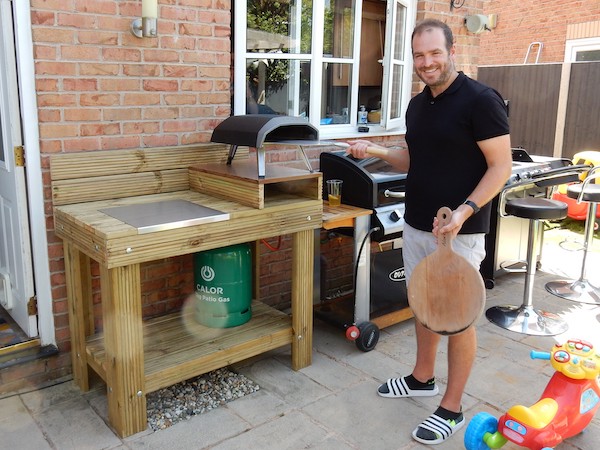
STEP 16
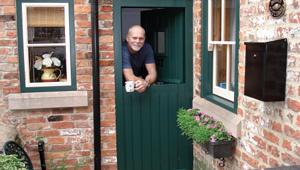
The happy chef holding a pizza serving paddle I made for him last year, laser engraved with ‘Adam’s Pizza’. Also note the stainless steel worktop plate – this one cost approximately £40 but there’s a wide range of sizes available. Once all the coach bolts are tightened up, the whole unit is very rigid.
Next on my ‘to do’ list is the addition of an enclosed cupboard, which will hide the gas bottle.I haven’t given any dimensions for the project, as if you’re considering building something similar, it’s really up to personal requirements in terms of how big you choose to make it.
All in all, the build took one day, not including a trip to the timber merchants to purchase wood and coach bolts
- Log in or register to post comments


| Articles | Articles | Articles | More | Subscriptions | Resources |