In praise of the spokeshave
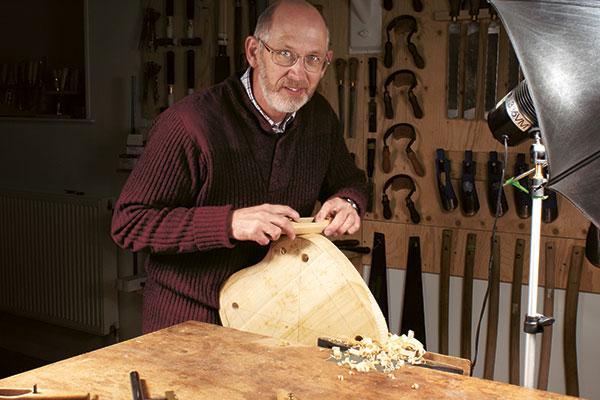
A plane is to a cabinetmaker what a spokeshave is to a Windsor chairmaker. Sounds like one of those annoying statements in an IQ test, where you have to fill in one of the words, doesn’t it? All I mean is that planes and spokeshaves are key tools in both disciplines. Windsors have almost no flat surfaces, so my workshop has just a couple of Record planes, two wooden-bodied scrub planes and two block planes.
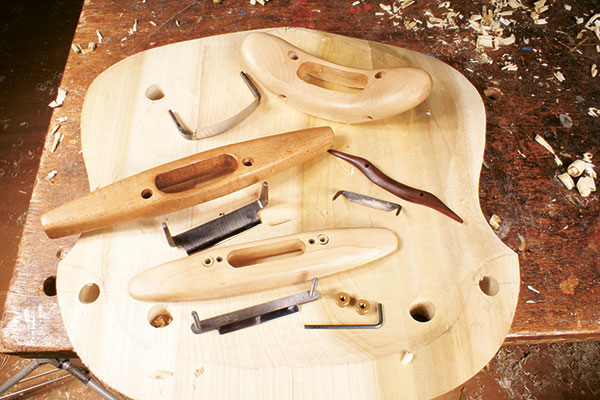
The only technical task I perform using these is jointing small blocks of wood for gluing onto the arms of some of my chairs, to make hands. The joint has to be first class, as it must endure considerable stresses every time a sitter pushes him/herself up and out of the chair. But despite the fact I don’t have much use for a wide range of planes in the workshop, the spokeshave is essentially just a small plane itself, with a short wooden or brass nose in front of the blade. Unlike its cousin, however, it’s designed to mainly create curved surfaces, either concave or convex.
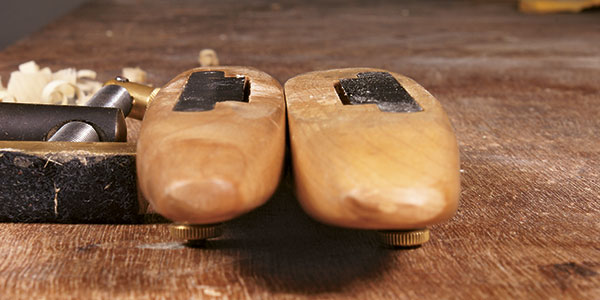
In all its shapes and sizes, the spokeshave is my favourite workshop tool; however, it must have a wooden body, which isn’t an arbitrary preference of one material over another: the blades of wooden ’shaves are held at a much lower angle than their metal counterparts, and therefore cut the wood more easily. Also, there’s the fact that wooden ’shaves look so much better, and feel nicer in the hand than metal versions.
Customising
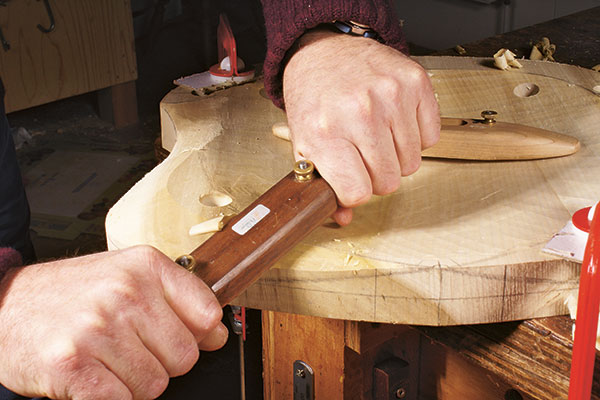
Apart from some wonderful, tiny Chinese spokeshaves used throughout a chair build, I’ve made all the ones in my workshop, including the travishers – curved spokeshaves for hollowing seats. My designs have evolved from the traditional to a new and distinctive style, which works very well. The major difference is that I’ve done away with the handles. Students unused to these tools tend to grab the handles with both fists, leading to disappointment at not being able to make fine cuts.
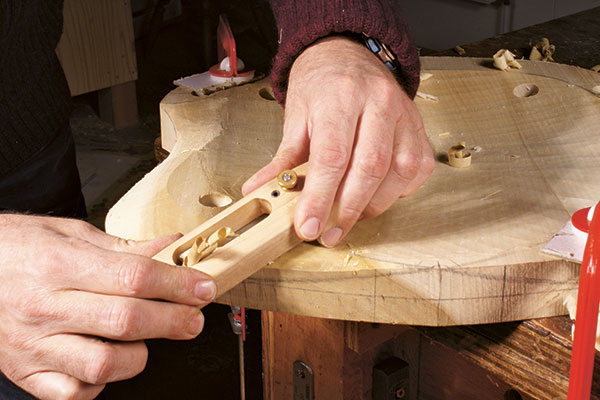
These tools should be held with the fingertips as close to the centre as possible, directly in front of and behind the blade. Using this approach, your fingers will have maximum feedback from the cutting blade, allowing you to make constant adjustments to the cutting angle. I have spokeshaves that work brilliantly on green wood, which is very soft. However, as a result, they’ll then be far too aggressive when used on dry wood – especially end-grain – and will chatter horribly. The difference is the angle between blade and nose, which is greater for softer wood, and almost non-existent for hard end-grain.
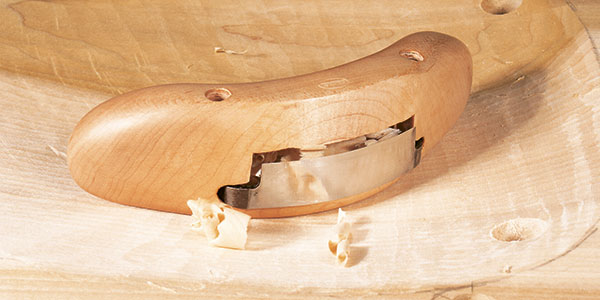
Final adjustments
If you buy an old second-hand tool, don’t hesitate to take a block plane to the nose and flatten it, adjusting the angle to your preference. If the nose has become too hollow, it’s not worth buying; however, there’s often more wood that can be planed than you first think. You may find that having planed the nose, you have to enlarge the throat to allow shavings to pass through between nose and blade, but careful work with a chisel will soon remedy this. If you specialise in concave work, you can carefully round the nose slightly to fit the curves you’re working on. Bear in mind that the travisher is curved in two directions, allowing it to hollow a seat, but it isn’t suitable for the concave curve of a bow, for example.
Provided your blade is sharp, the nose has the correct angle, and shavings can flow through the tool, you should be in business.
Just don’t forget that skewing the blade across the direction of travel – as you probably do instinctively with a plane – will usually ensure a smoother cut. Tune your tool well and you’ll soon be searching for wood to shape!
- Log in or register to post comments

