Sash cramp problems & solutions
Around 1970, I was given a pair of sash cramps by an elderly lady, whose late husband had previously used them for many years. I went on to purchase another four from a shop selling second-hand tools, which appeared to be even older than the original pair. Despite their age, however, all are little different to those available today.
Over the years, I’ve experienced various problems when using sash cramps, so thought the time had come to find some solutions. Regardless of whether the sash cramps you’re using are old or new, these solutions should hopefully prove useful.
Achieving these incurred no cost as I was able to source all the required wood from available scraps, except for some nuts, bolts and washers. Less hassle while gluing affords more time prior to curing, especially in the case of epoxy resin.
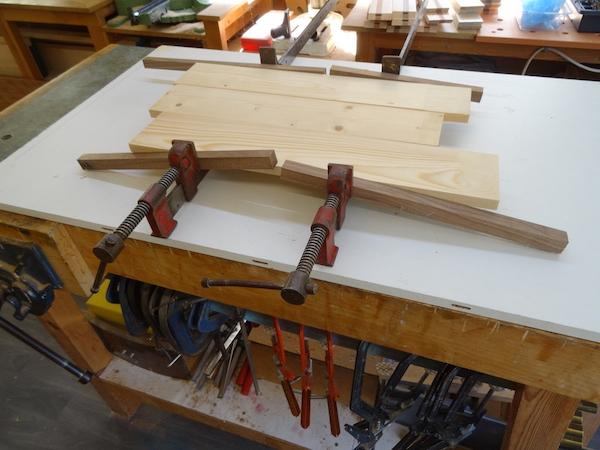
PROBLEM 1: Cramps fall over
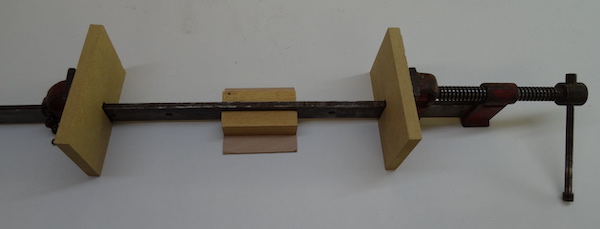
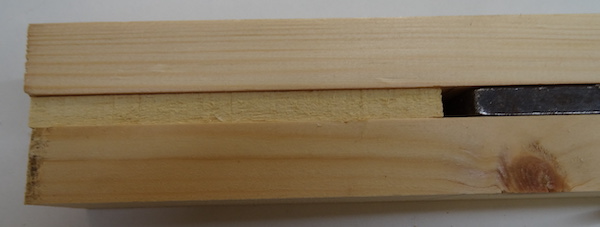
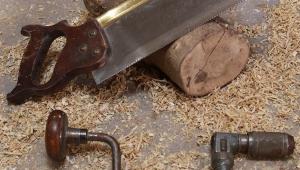
On numerous occasions, I’ve placed sash cramps on my bench, then put boards on them to be cramped together, and while positioned or during gluing, these have fallen over sideways (photo 1). This has always been an irritation, especially during my time building racing dinghies, which required laminated rudder blades and centre boards for strength, and even today when it comes to joining boards for pieces of furniture.
To prevent this happening, support is needed for each cramp. One support is sufficient for short cramps but for long ones, two may be beneficial. There needs to be a 5mm gap between both the bench and cramp bar.
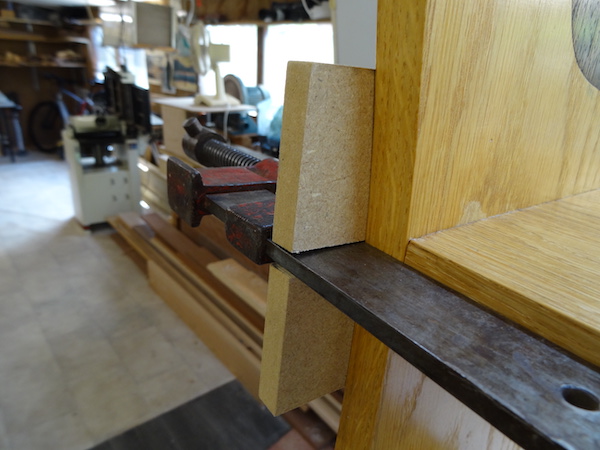
To create a support, you’ll need a 3.8mm piece of plywood scrap cut to 80mm square, which is appropriate for the base, although a piece of hardboard or MDF will also suffice. Two pieces of any timber species are required, each cut to 80mm long × 20mm wide × 25mm high.
The width isn’t critical but the height, when placed on the base, shouldn’t exceed the height of the sash bar when placed in the upright position. Glue and pin the wood to the base, ensuring to leave a gap for the cramp bar to sit in (photo 2).
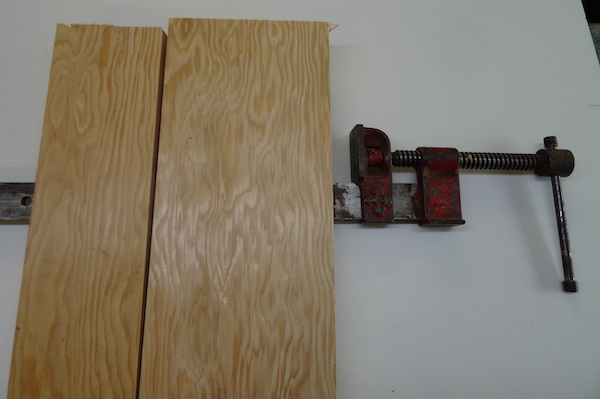
PROBLEM 2: Scrap wood fails to position well
This solution is suitable when putting boards together. To avoid bruising the workpiece, it’s usual to place a piece of scrap between both this and the cramp jaws. In the process, the scrap wood falls out of position and is only correctly positioned when tension is created during cramp tightening.
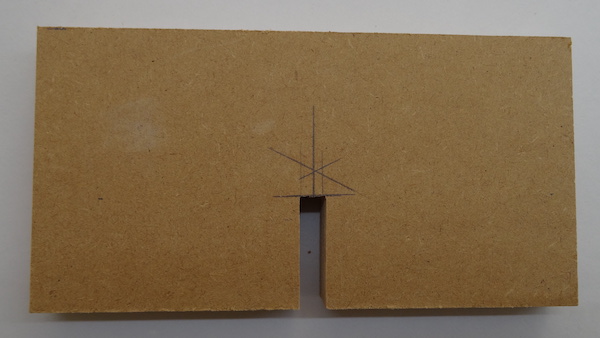
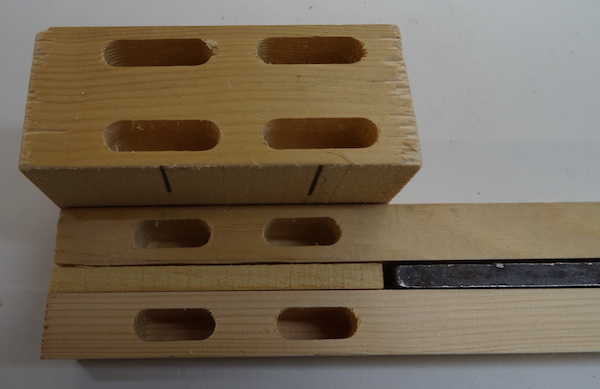
To remedy this, for each cramp, cut two pieces of 15mm or 18mm plywood, chipboard or MDF. Cut each piece so that it’s 120mm long × 80mm wide, then use a tenon or bandsaw to make a 5mm slot, or so that it matches the cramp bar’s width.
Older cramps often have wider bars so the slot may therefore need widening. Use a chisel at the top of the slot to remove waste (photo 3). Place the pieces on the cramp, so they’re up against the jaws with their bottoms sitting on the bench (photo 4). The cramps are now ready for winding compression.
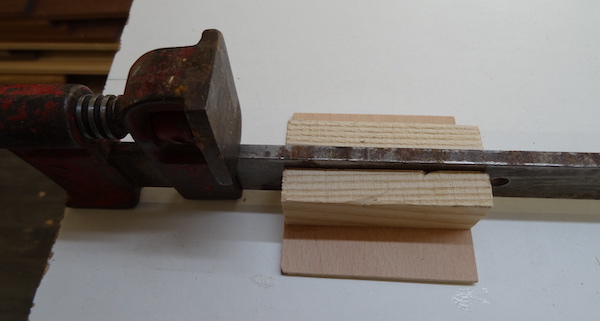
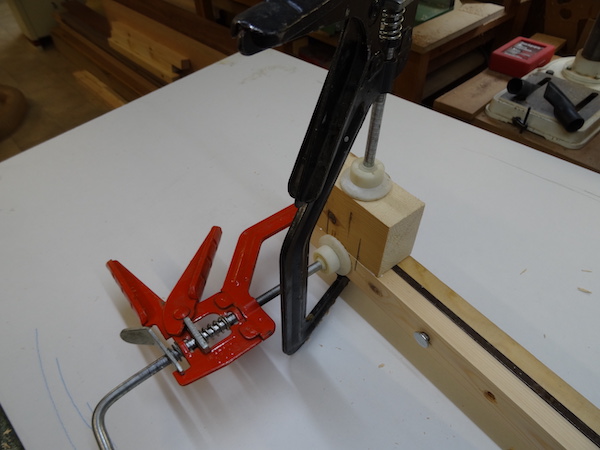
PROBLEM 3: An extra pair of hands
In other situations, holding a cramp plus scrap wood in order to prevent workpiece bruising may give rise to feeling that another pair of hands is required. The simple solution is to use the same items as those suggested for problem two (photo 5).
PROBLEM 4: Cramps are too short
If your cramps aren’t long enough, there are two ways of overcoming this problem. The first and simplest is to join – bolt – two of them together (photo 6). You may only have a limited number of cramps for a job, in which case it’ll be necessary to make extensions for each of them.
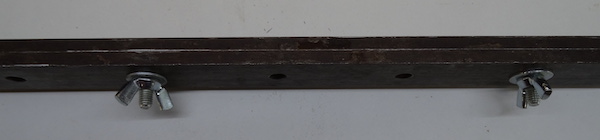
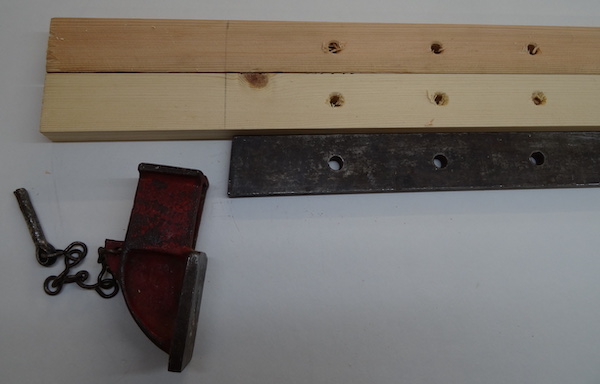
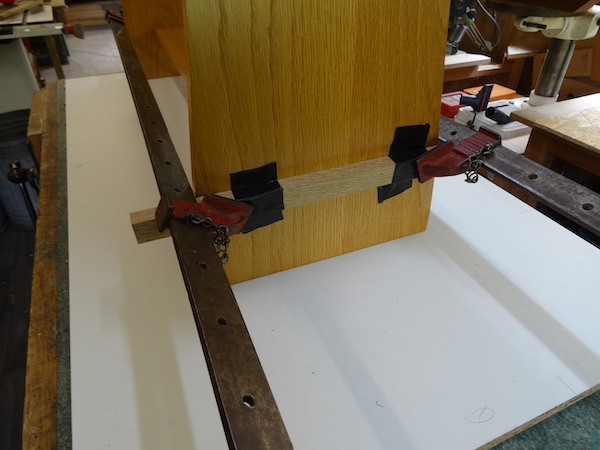
It’s suggested that the wooden extension pieces are 800mm long, but this could be lesser or greater. Thickness shouldn’t be less than 20mm and the height 30mm, but not more than that of the cramp shaft. For both pieces of wood, drill out holes to match those on the cramp shaft (photo 7). Attach each side with nuts, bolts and washers, then glue a spacer to match the shaft thickness between the two (photo 9).
Next, make a wooden jaw of suitable thickness – 90mm long × 60mm – and glue in position using screws, Dominoes – as I did (photos 9 & 10) – or biscuits. Adjust the extension as appropriate during use, and for those golfing enthusiasts, it’s handy to know that this can double up as a makeshift putter!
PROBLEM 5: Gluing shelves, etc.
Cramps for the outer parts of shelves or carcasses can be effective, but pressure is required in the centre. To achieve necessary pressure in both the centre and sides, straight-grained oak or similar is best suited as it needs to bend without splitting.
Two pieces of wood 600mm long, 30 × 30mm or thereabouts, will suffice. Create a curve along one edge of each so that the centre remains at 30mm, and the ends 28mm (photo 11).

Tape the pieces of wood with the curvature against the workpiece, attach and tighten one cramp, then do the same with the other. The wood will bend to create pressure from end to end (photo 12). Happy cramping!
- Log in or register to post comments


| Articles | Articles | Articles | More | Subscriptions | Resources |