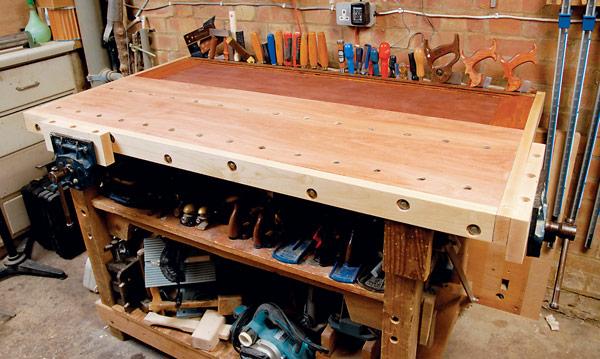
Bench-top makeover
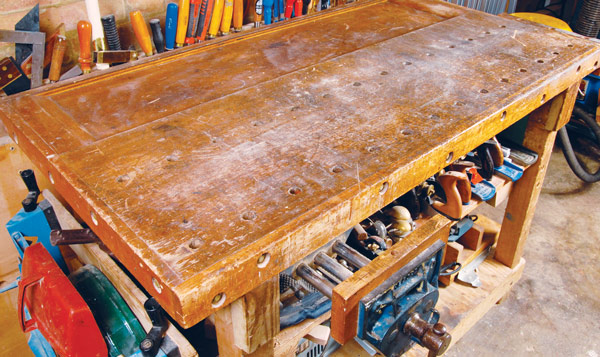
Before refurbishment: needing a little TLC
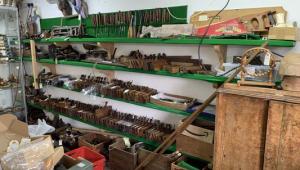
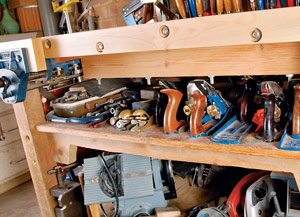
The stand is a simple pine framework with halving joints connected by coach bolts, so it can be dismantled if I ever need to move it. The end frames are braced with diagonal steel bars, giving excellent rigidity. There are two full-depth shelves to keep tools close to hand; planes and sharpening kit are conveniently stored on the upper shelf, and heavier and less frequently used items are on the one below.
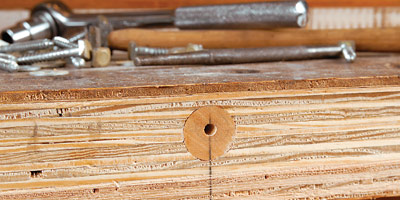
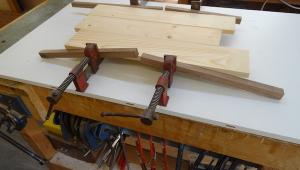
1. Beech plugs give a firm fixing for the edge lippings
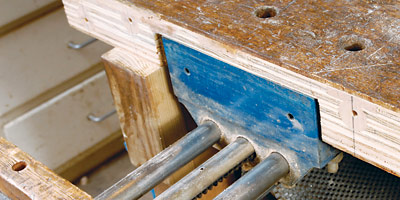
2. The vices are rebated into the top before fitting the lippings
The front and right-hand end lippings also form the stationary jaws for the two vices. To allow this, the stationary vice jaws need to be rebated into the front edges of the top, photo 2. The bench dog holes in the top are 19mm diameter and take either Black & Decker or Axminster dogs.
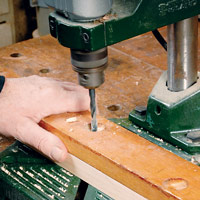
3. Using the old lippings as templates for drilling the new bolt holes
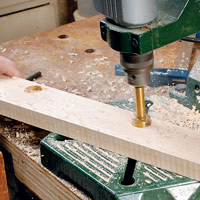
4. Counterboring the holes for the heads of the coach bolt
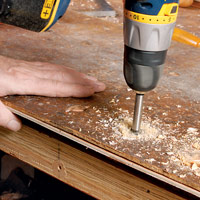
5. Again, the old top can be used as a template for the bench dog holes
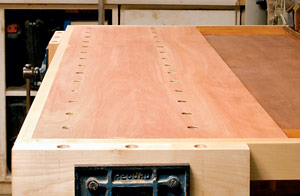
6. The pinned 6mm ply top can be easily replaced in the future
7. Bolting bracing beams under the top prevents it sagging
Now, after just one day of attention, the bench is ready for another decade of woodworking service.
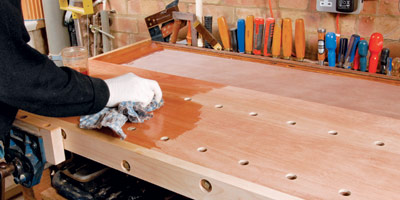
8. A couple of coats of an oil/varnish mixture gives adequate protection
- Log in or register to post comments