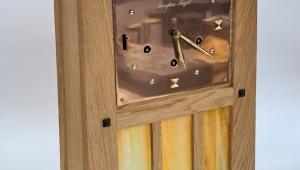
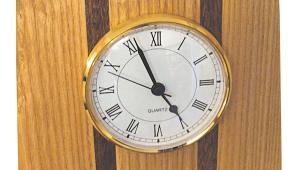
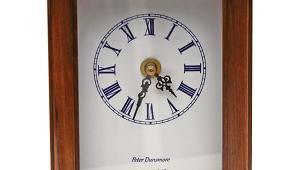
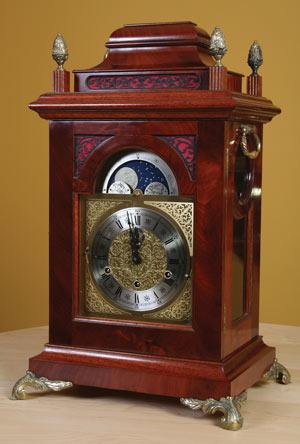
Georgian-style bell-top clock
Start by making the half-lapped frame assembly, which consists of upper and lower rails joined to two stiles. Glue it together and while it dries cut a 152mm-diameter circular template from a piece of 12mm MDF. Use double-sided tape to stick it onto a piece of slightly oversize mahogany; I use DUCK tape as it peels away from the timber easily without leaving any residue. You can now use a bearing-guided trimmer to clean up the edges of the mahogany and form an ovolo edge moulding with a 5mm rounding-over bit (mine's a TITMAN ROCB5). As with most of the detailed work on this project, you'll get the best results if you're able to perform these operations on a small router table fitted with a fine height adjustment facility.
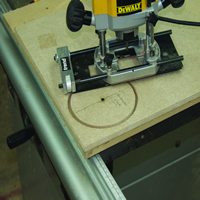
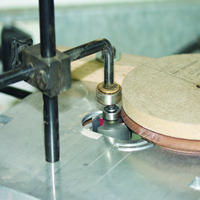
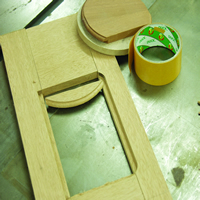
Using a router to make up the components.
The beading strip which creates a rebate for the glass is made by moulding the edge of a 12.5 x 6mm strip of wood with the rounding-over bit. For better control, try cutting and planing the strip to size, and then fitting it to the edge of a wider board with double-sided tape. This provides the necessary support on the router table, and when the edge has been moulded it can simply be removed and used. Next, rebate the frame stiles and the lower rail for the beading strip.
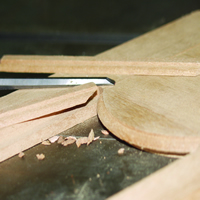
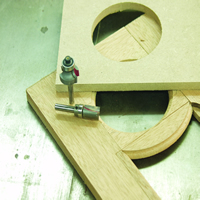
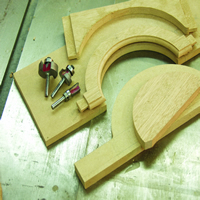
Cutting out the curved profiles.
Glufilm is a great aid to veneering. Essentially, it's a sheet of dry adhesive on a backing of paper that's cut to shape and tacked in place with a warm iron. The backing paper is then removed, and the veneer is laid in place on top and pressed into place using a warm iron - the wool setting is about the right temperature, and five or six seconds will do the job without risk of splitting the veneer - followed by a roller. The main advantage of this method is that should something go wrong, the application of a little heat allows the veneer to be repositioned or removed and replaced.
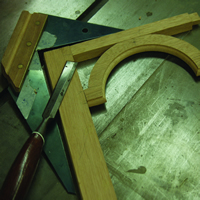
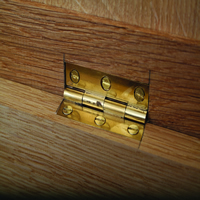
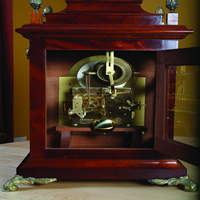
Checking alignment, fitting the hinges and the clock mechanism visible from the rear of the clock.
Originally, a clock of this size would have housed a movement similar to the Kieninger RWU03 movement, which strikes on nine bells instead of the more common bars. This makes for a much deeper movement, and consequently a larger case. As well as telling the time, the original movements would also have played tunes, which is why pieces of this sort were commonly known as musical clocks. If you prefer something simpler, however, the standard 200mm break-arch dial will accept many other movements, although a smaller movement wont look quite as impressive when viewed through the sidelights. After all, watching the bells being rung was part of the clock's appeal.
Making the upper and lower mouldings Both mouldings are straight forward to make, and are typical for the period of this clock. A small strip of 3mm-thick timber is mitred and glued in place over the main moulding after the main section was glued around the clock base. The upper moulding was made in two pieces. The half-round beading is made in the same way as that for the dust-guard on the rear door. The ogee is formed using a cutter (in my case, a Titman OG1920), and a small half-round beading is glued in place to complete the moulding. Remember to fit the upper moulding after the door is in place so that the moulding can be positioned accurately, and to fit the half-round beading in place after the main moulding has been fitted so that you'll have a suitably flat surface for the clamps you'll need to hold the mouldings in place.
- Log in or register to post comments
