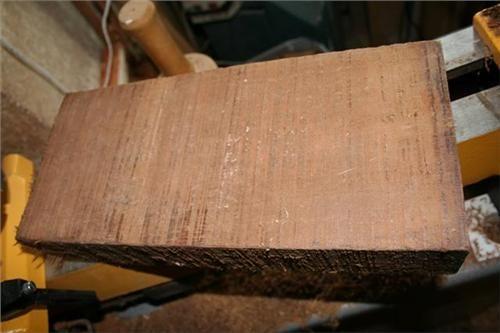
1. To turn the ball you will need a piece of timber the size of the required ball plus 2mm X diameter plus 20 – 30mm. (picture 76) & a template to the required radius of the ball
2. Next mount the timber between centres and turn the timber to a round of the required size, this needs to be as accurate as possible to maintain the end size of the ball. (Picture 86, below)
3. Measure & mark the centre of the timber with a pencil, from this point turn the timber to the required radius using the template, it is important to make this cut as accurate as possible. (picture 93, below)
4. Repeat the same process on the other end of the timber again pay particular attention to accuracy the more accurate now the less work later. You should now have a ball with two stumps (picture 101, below)
5. For the next step you will need two “cup chucks” these are two scrap timbers turned to a sufficient diameter to hold the ball but not to impede the cutting of the grooves, and on the end of each there needs to be an inverted radius similar to that of the ball (pictures 200, 196 & 207 below)
6. We can now remount the ball remembering to cut the stumps back so as not to foul the tool rest (picture 108, below) this photo has not had the ends cut back yet this is to show the ideal way to remount the timber to maintain a good balance.
7. When the lathe is turned on you will notice on the horizon a “ghost line” this is the only timber to be turn away. Keep rotating the ball and turning away the ghost line, the more you do this the more accurate the ball will be, but don’t turn any deeper. (picture 110, below)
Part 2, The Lattice
8. Using the same “cup chucks” as for turning the ball, again mount the ball between centres, however in order to turn the smallest grooves it may be necessary to use hot glue to fix the ball to the head end of the cup chuck prior to marking out, we can then measure to find the centre point,
9. Now with a 3mm parting tool equally straddling the line and always, pointing to the centre of the ball we can turn the fist groove to a depth of approximately 4mm, then with a small ruler measure a gap of 3mm before then again cutting a groove to the same depth & in the same way. Repeat the process around the tailstock end of the ball, it will be necessary to remove the tool rest to turn the last grooves.
10. Next turn the ball round and using the grooves to centre the ball remount it to the scrap timber, you can now repeat the process to turn the grooves to the second half of the ball (picture 115, below)
11. Again using the hot glue and with the ball turned by 90 degrees remount the ball to a scrap timber, then cut the ball in half with a small parting tool (picture 117 & 119, below)
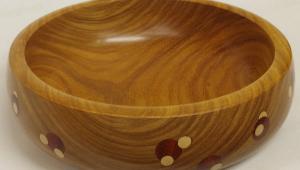
12. Next we can turn out the inside of the lattice in the same way you would a bowl paying particular attention to the wall thickness your inner wall needs to be 4mm.
13. Now again with the tool at 90 degrees to the wall & starting about 5mm in from the top edge, we can cut our 1st groove to a depth of 4mm but take it easy as you reach your final depth, if your turning has been accurate up to now and you don’t rush in to deep you will feel a light skip in the chisel and you may see the grove become lighter, this is the point where it pierces the outer groves, stop and check this from now on take very light cuts & check regularly it will break if you are to harsh with your tooling. (picture 121, below) Repeat the process leaving 3mm sections between grooves,
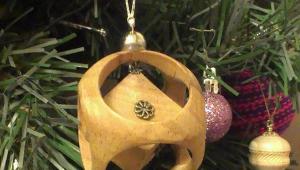
14. If all goes well you should end up with a curved lattice, if you don’t or it breaks, don’t worry they will often take several attempts to get right, also remember they will take a bit of cleaning up with a Needle files and a sharp knife. (picture 141, below)
There are a couple of tips, (picture 123, below) shows a tool rest made from an old hollow turning tool (The Beaver, from Crown Tools) I had an accident with mine and broke the cutter so I cut it off and made a tool rest, works great.
Also Ashley Iles sell a 3mm bead cutting tool which can be used to round over the beads as in the pictures, this is a tool well worth adding to your tool set.
Finally the best parting tool for the beads I have found is the one Robert Sorby make the handle length is small enough to work in tight spaces without compromising on the length of the steel, sadly mine was lost in the time I was away from the lathe but Crown do a good alternative slightly to long to get into small spaces but works, don’t opt for too small a tool you need a tool you can get a firm grip on to work well.
I have tried to break this down to 14 steps, it is not always easy to get the point across in a short text so if you need any further help just ask and I will get back as quick as possible
Lastly if you want a more in depth explanation to follow there was an article written in Practical Woodworking, June 96, I don’t know if it is still available in back orders or maybe someone might have a copy.
Good luck and enjoy.
Ralph
.jpg)