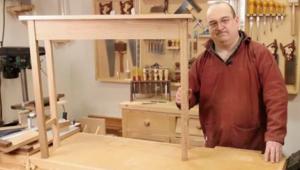
Project dovetail
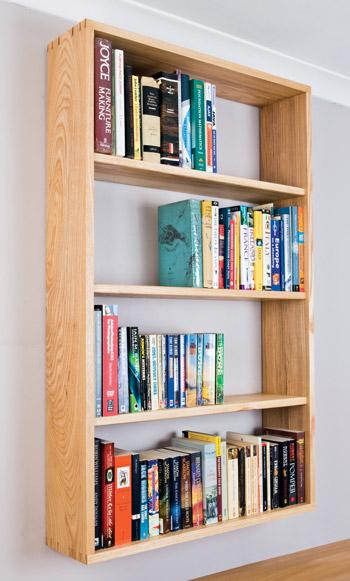
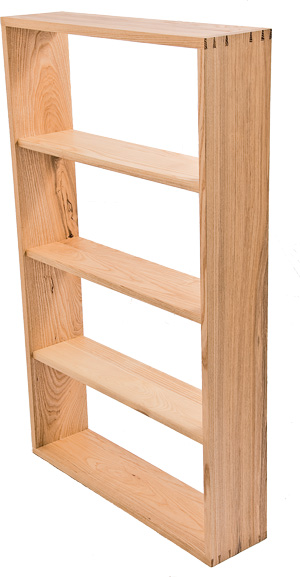
I’ve used English ash because I have a stockpile of it in the workshop that I’m working through. I opted for dovetails, not just because I need the practice, but for their strength too. They’re one of the few joints that don’t need diagonal bracing. In other words, by using dovetails these shelves don’t need any kind of back panel for support.
Click here for a guide to making the bench hook / shooting board jig.
Next on the to do list; I used a mitre saw with trenching facility to cut the shoulders on the end of the shelves to fit the 12mm housings.
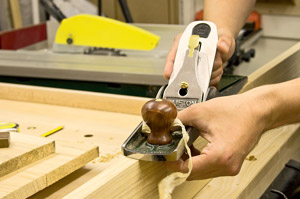
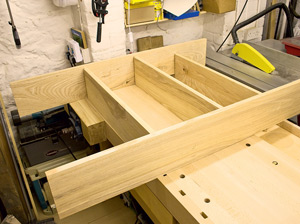
Dry assemble the shelves and sides to check the fit. If like mine, they’re slightly too tight, use a shoulder plane or paring chisel to trim them to a nice snug fit.
Pic 1. Shooting boards with a fore plane ready for rub jointing
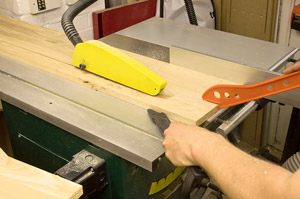
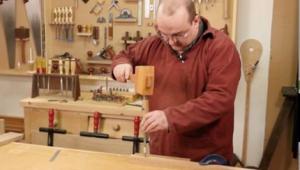
Pic 2. Finishing a cut on the table saw with push sticks
There are many ways to cut this humble joint. Some people like to cut the pins first then deal with the tails. I like to do it the other way around because it helps me visualise the tail spacing before doing anything else.
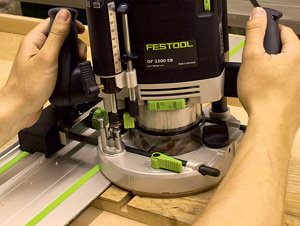
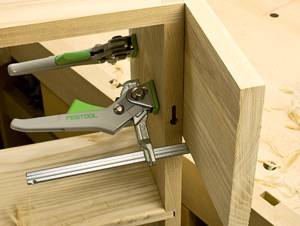
Pic 3. Using a router to cut the stopped housings, make sure the guide is clamped firm
Pic 4. Squaring off the stopped housings with a bevel edge chisel

Pic 5. Checking the fit, aim to have slightly tight fit and pare back with shoulder plane or paring chisel
Pic 6. And here we are, tweaking the fit with the shoulder plane
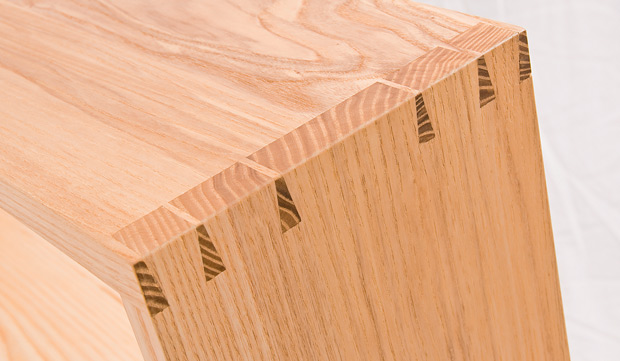
Pic 7. The finished dovetails
A) For aesthetic reasons I keep the spacing between tails to a minimum because machine cut dovetails on the best commercially available dovetail jigs can’t cut much below a 6mm gap between tails, translating into a fairly wide minimum pin width. We can use this to our advantage! If you see a set of dovetails with very narrow pins you’ll know, and others will know, that they must have been cut by hand.
B) Vary the width of your tails. I tend to create my tails wider in the middle and narrower the closer they get to each edge. The theory is that this creates more support where the stress is greatest i.e. those dovetails nearer an edge will have more stresses exerted on them because they’re not so supported by the next in line. In practice however, I think this rule makes for a more interesting layout and emphasizes the fact they’re cut by hand.
Use a marking gauge to mark the thickness of your material. Leave the marking gauge set because you’ll need to do exactly the same thing when marking out your pins, photo 8.
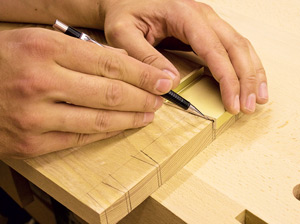
Mark out your tails using either a sliding bevel or a marking template. A Veritas dovetail marker makes life easier, photo 9.
If you’re using a sliding bevel it should be set at a ratio of 1:8 for hardwoods and 1:6 for softwoods.
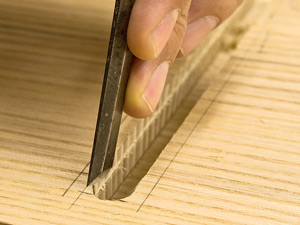
Mark a pencil line across the end grain with a square as a visual guide to keep your saw cut square when cutting, photo 10.
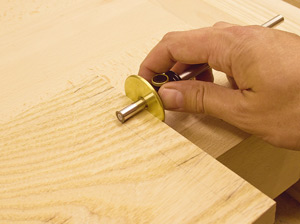
Pic 8. Marking out the depth of the tails with a Veritas marking gauge
Pic 9. Using a Veritas dovetail marker with preset 1:8 ratio for hardwoods
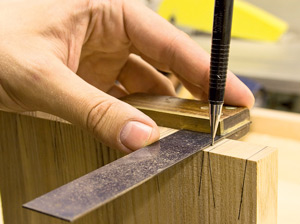
Pic 10. Using a square and pencil to mark tail cutting lines
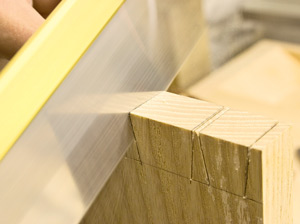
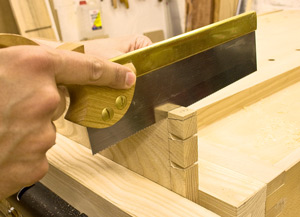
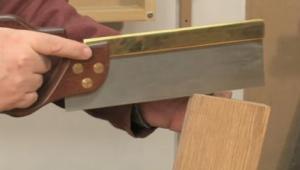
Pic 11. Using a dovetail saw to cut the tails
Remove waste with a coping saw, photo 12.
Cut away the two external pin areas and pare these back with a sharp chisel, photo 13.
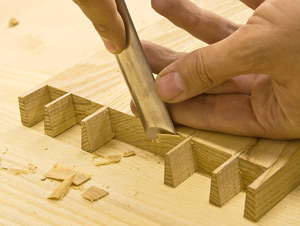
Lay the work face down on a piece of scrap material and chisel down to the line created with the marking gauge. When chiseling remember to cut no more than about half way, then turn your workpiece over and work from the other side so that both external cuts are clean, photo 14. It can help to secure your workpiece with a clamp.
If your initial saw cuts aren’t as accurate as you’d like, place the workpiece in the vice and carefully pair them with a sharp chisel.
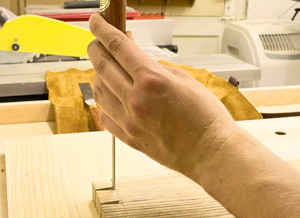
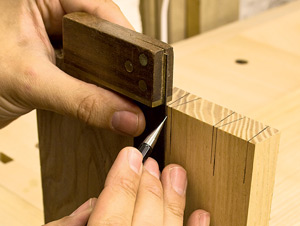
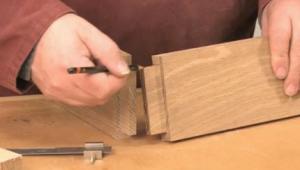
Now the pins. Hold the timber in the vice with the end grain facing upwards, photo 15, then place the finished tails over the end grain. Pack this up on the workbench to allow downward pressure to be exerted with one hand while your free hand scores a line with a craft knife along the tail sides.
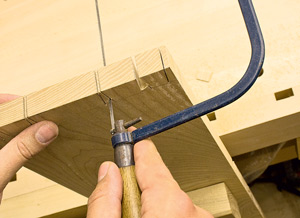
Pic. 12 Cutting out waste between tails with a coping saw
Pic. 13 Using a crosscut saw to remove the shoulder waste
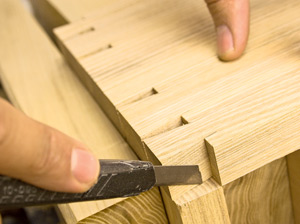
Pic. 14 Chiseling down to the score line, leave a little shaving as the final cut, taking a lot of care
Pic. 15 Marking the pins from the already cut tails with a craft knife
Now take your pre-set marking gauge and scribe the areas to be cut to create the pins.
dovetails. It’s so easy to cut on the wrong side of the line, trust me, I’ve done it! So here’s what to do; with the tail positions clearly marked, use a pencil to crosshatch these areas as a reminder of which parts are waste and which side of the line to cut.
Cut out the waste as before with a dovetail and a coping saw, photos 17 & 18. Then chisel to the scribe line as accurately as you can, photos 19 & 20.
You now have a tight fitting set of dovetails! If they’re too tight use a sharp chisel to pare back the pins until you have a snug fit.

Pic 16. Using a small square to pencil-in the vertical cuts
Pic 17. Use a dovetail or a gents saw to cut the pins, again remember to cut on the waste side
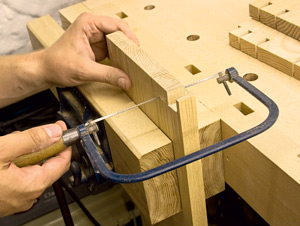
Pic 18. Using a coping saw cut out the waste, don’t worry about getting close to the line ...
Pic 19. ... as you’ll be cleaning up and cutting down to the line of the pins with a set of sharp chisels
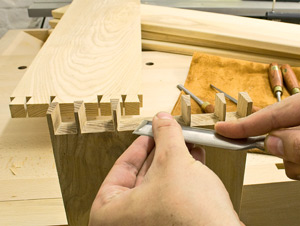
Pic 20. Fit the joint together, if it’s too
tight pare back until you have a snug fit
I used a small round-over bit in a quarter inch router to soften the shelf fronts. It’s surprising how much these subtle touches can add up to a pleasing whole, photo 23.
Prior to gluing the shelves, make sure that all components are clean. When all is done, try partially assembling everything dry just to make sure nothing has been forgotten. Note: only ever push the dovetails halfway home during a dry assembly, this ensures the best possible fit when gluing up.
Dovetails don’t need cramping but housings do, so make sure you have enough clamps ready to go, photo 25.
Give the glue enough time to cure before cleaning up, then spend a bit of time getting the surface right before applying any finish.
So that’s one shelf down, only two to go!
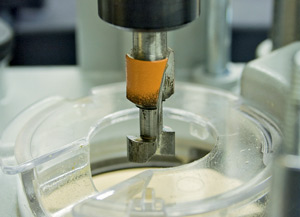
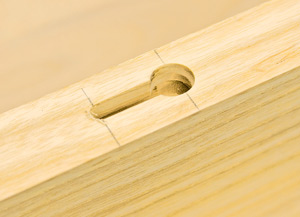
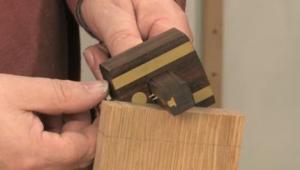
Pic 21. I use a CMT keyhole cutter for creating concealed wall fixings
Pic 22. This is the completed keyhole ready for use
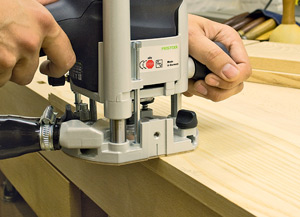
Pic 23. Using a small router with round-over cutter to soften the shelf fronts
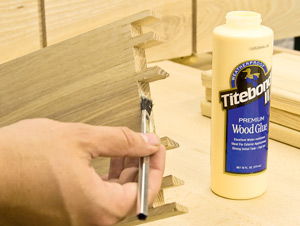
Pic 24. Applying glue to the dovetails – I use as little as possible
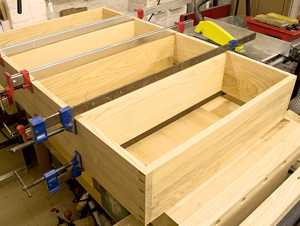
Pic 25. Cramping up the housing joints – the dovetails don’t need cramping
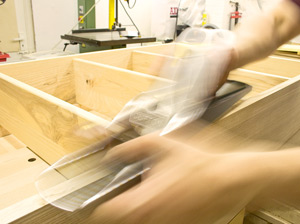
Pic 26. Cleaning up the edges with a fore plane – cleaner and superior to sanding

Pic 27. Clamp a board fl ush to the dovetails when cleaning up to avoid end grain splitting out
Pic 28. Finally cleaning up dovetails with a scraper. Then it’s only a matter of applying the finish
- Log in or register to post comments


| Articles | Articles | Articles | More | Subscriptions | Resources |