Triple decker
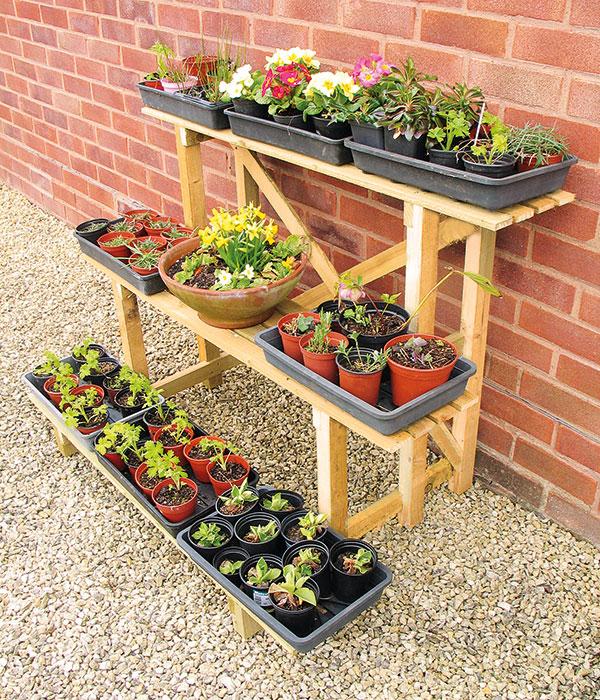
The frames that form the ends of each of my stands measure around 850mm wide × 760mm high × 690mm from front to back. You can of course vary these dimensions if you wish, and the overall width can be made to suit the sizes of your seed trays and whatever display space you have available. If you have plenty, you can build a whole series of stands. Measured gaps between each unit will allow the seed trays to overlap, thus saving timber.
Make do & mend
In order to ensure a long life, I chose to make this project from preservative-treated softwood. If you have some odd stock around, it could be made from anything. The sizes aren’t critical, either. I had to cut some of mine down in cross-section to make the legs. Safety note: In the photos, the saw guard has been removed for clarity, but should always be used when cutting stock.
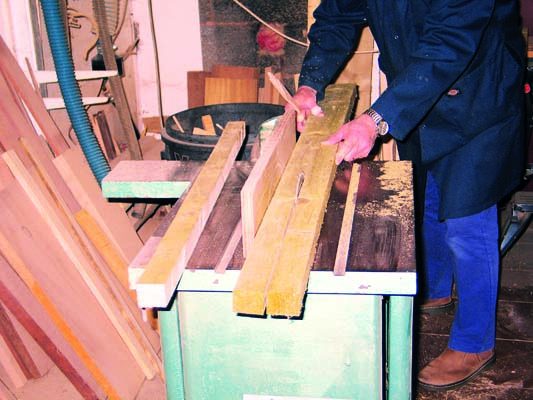
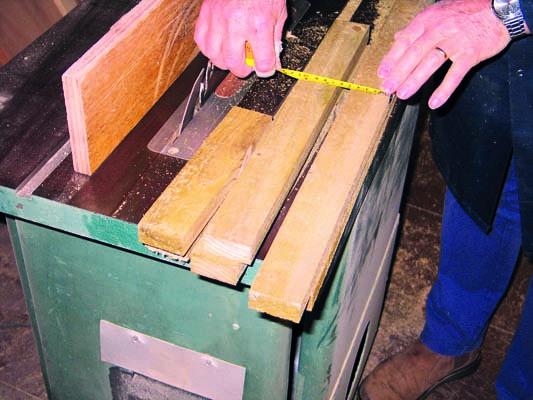
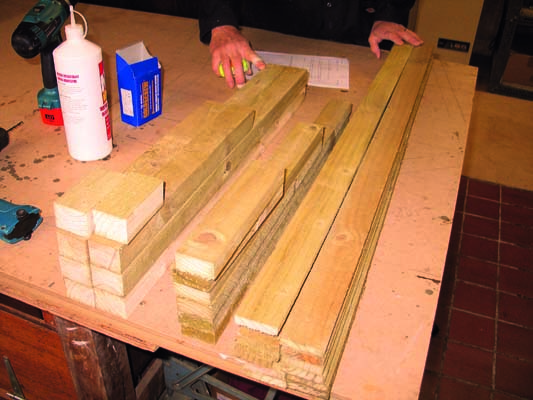
The next step is to cut all components to length. Variation in the widths of the legs and slats isn’t important. However, to aid the trenching process later, it’s best to make all the rails the same width. You might have to plane or saw them to a regular size. Once all these bits and pieces are to hand, the partial housing joints on the legs can be cut.
Extra strength
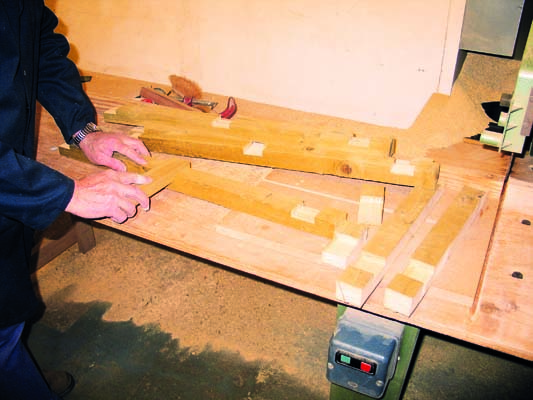
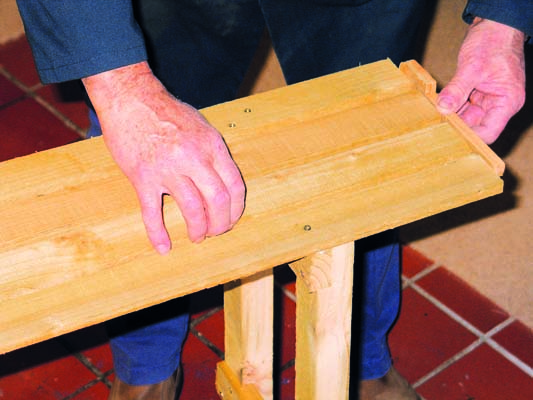
Cutting these housing joints to take the rails isn’t absolutely necessary. A simple face-to-face joint made with glue and screws would suffice. I just like the extra strength and security the partly-recessed joint affords. I have the benefit of a pull-over cross-cut power saw that can be raised or lowered. This cuts the trenches very quickly, but these joints can just as easily be cut by hand.

If you’re using a powered saw, start by cutting the top rail housing in each of the legs. The depth of each joint shouldn’t be more than about 12mm or so. They work as a locking mechanism to ensure the rails are in the correct place and are fixed firmly to the legs. Once the top joints have been cut, use the short front leg to mark the position of the matching joint on the intermediate and long legs. With this lower joint cut, use the intermediate leg to mark out the position of the middle joint on the four longer legs. Check that the rails fit snugly into each of the joints, then it’s job’s done.
Assembly time
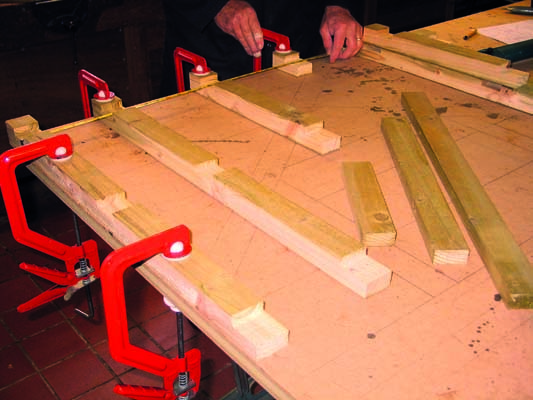
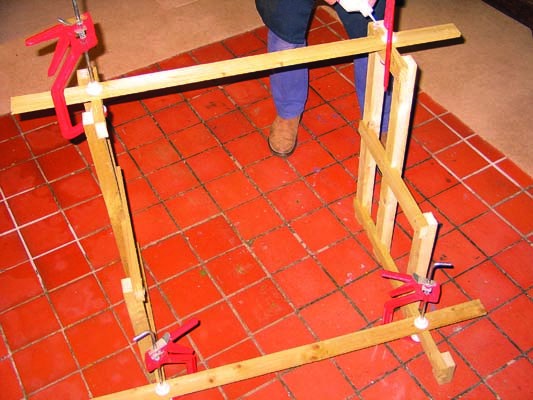
If possible, tackle the assembly on a flat bench surface – it makes life a lot easier! Cramp the first rear leg onto the bench top. It helps if the bench top has a corner to it; if not, mark a square corner onto the surface and work off that. Now cramp the second rear leg to the bench top at the correct spacing from the first one. I put mine 215mm apart so the rear top slat could be set to hang over the back edge by 12mm. Cramp the intermediate and short legs so they’re square and parallel to the others. If you’ve got it right, each rail will now fit in place, perhaps requiring a little easing.

Start at the top of the frame. Use glue and screws for the first rail, pre-drilling the holes in the rails to avoid splitting. Work your way down to the bottom rail, then make the other end frame as a mirror image of the first one. Set these two assembled frames to one side until the glue has set.
Creating the shelves
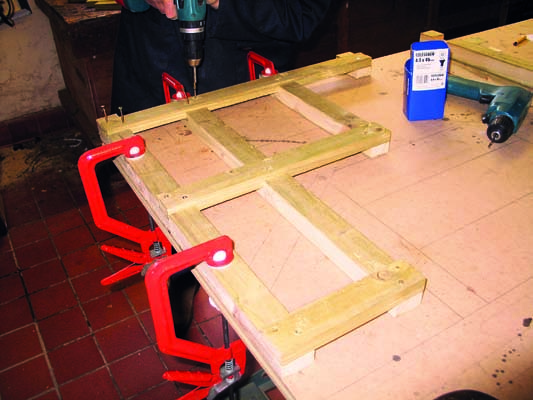
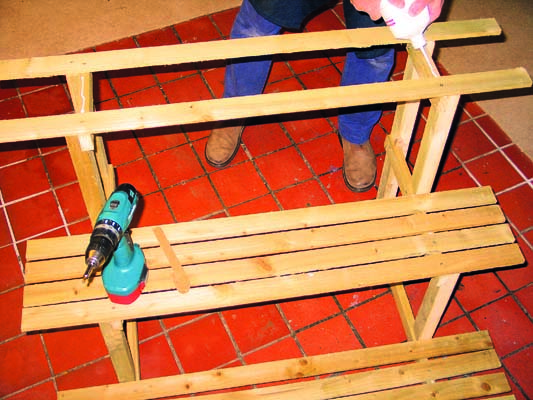
The next task to tackle is the slats, which need to be cut to whichever length you’ve chosen. Don’t make them too long or they may sag under the weight of watered seed trays; mine were about 850mm long. On a large flat surface, stand one end frame up, then the other, and dry-cramp a slat across the middle of the top and bottom rails. Make minor adjustments to give an even overhang at each end.
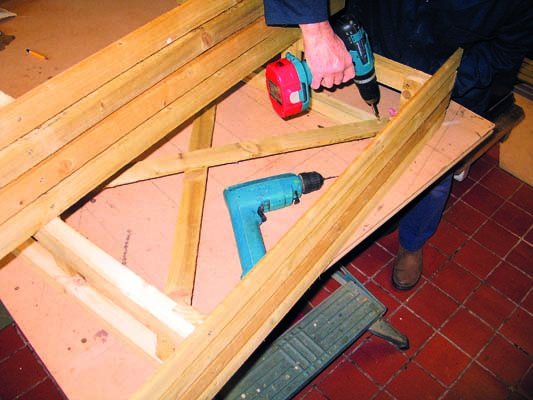
Begin by gluing and screwing the rear slat on each of the rail platforms, then remove the cramps and fix the front slats in place. Apply a line of glue along the top of the remaining rails and position the last two slats on each level by eye. Use a short offcut to line up the ends of the slats, then screw them on. Once you’re happy that the whole assembly is now square and standing level, leave it again for the glue to set. Later on, one or more diagonal braces can be fitted across the back inside faces of the legs to make sure the finished stand is as stable as possible. If you wish, give the whole thing a good coat of preservative, then you’re ready to start using the stand.
- Log in or register to post comments


| Articles | Articles | Articles | More | Subscriptions | Resources |