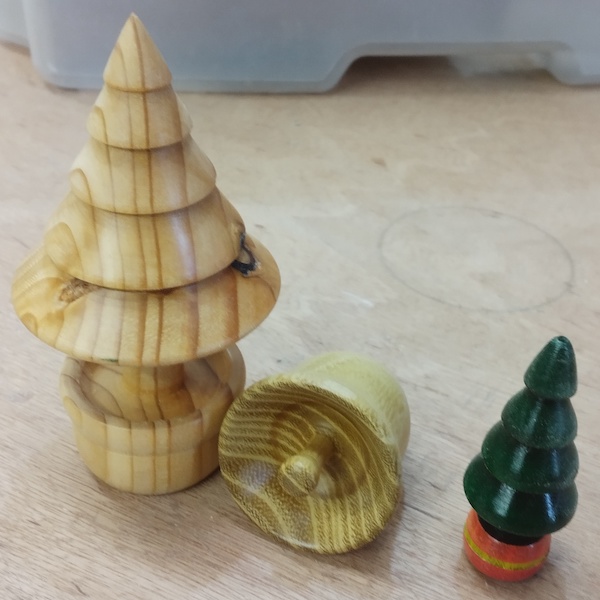
Turned up for Christmas – part 2
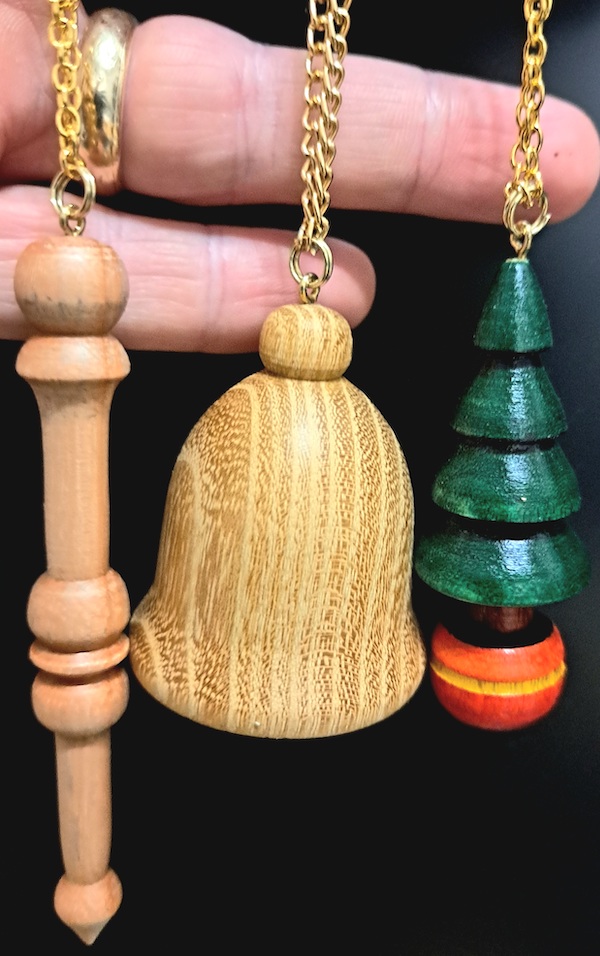
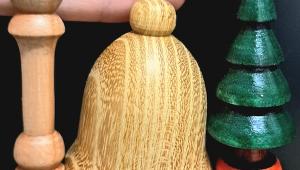
Icicle

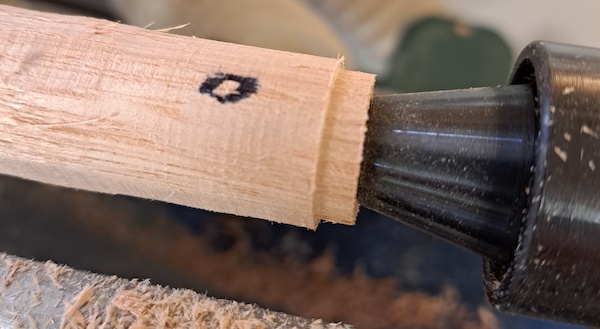
21 The next decoration is my take on an icicle. Starting with a pen blank held in the chuck jaws, I roughed it down to a cylinder. This time, instead of the pointed rotating centre, I used a ring centre to avoid splitting the wood as I worked
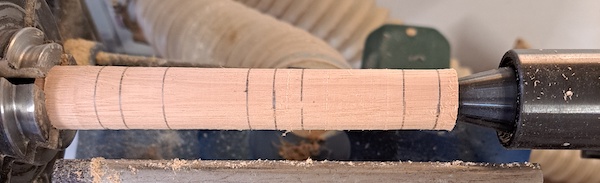
22 Once round, I marked off a few areas along the blank’s length – at both ends and in the middle – then began to create the desired shape
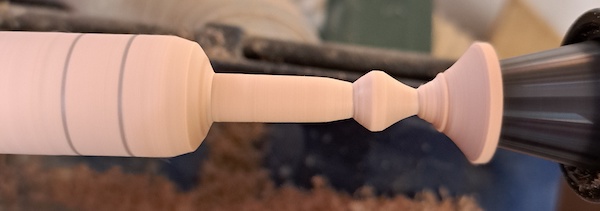
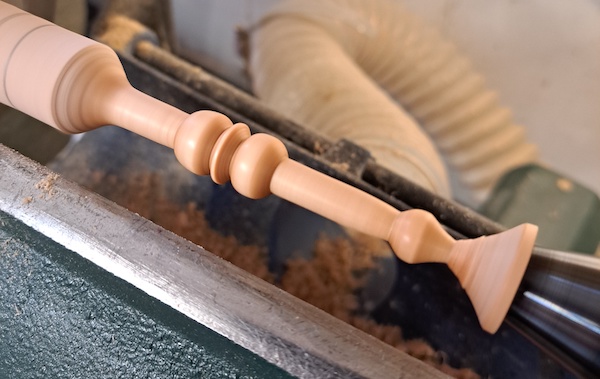
23 With spindle work like this, it’s best to start at the tailstock end and work towards the headstock, sanding and finishing as much as possible as you go. I began with a teardrop, leaving enough material at the tip to hold the wood on a rotating centre. I then thinned the cylinder towards the middle
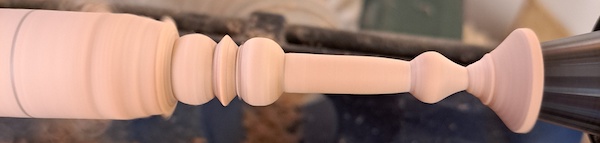
24 I turned a bead halfway down the spindle’s length, followed by a disc, then a second bead
25 Once I’d thinned the cylinder at the rear, I finished the completed parts, first to 400 grit, then using Yorkshire Grit
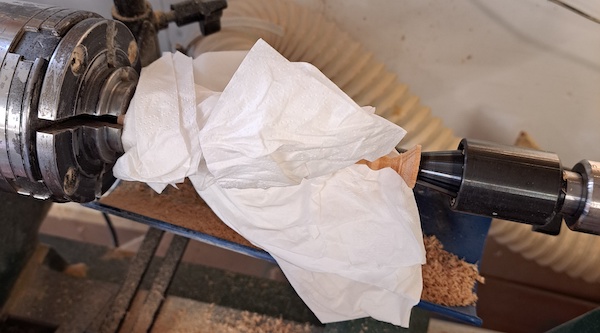
26 It was at this point I had a slight accident. I say slight only because I use paper towel for applying waxes, etc. The tissue was grabbed by the spinning wood and wrapped itself around the piece, and being tissue, was easily pulled out of my hand. Had I been using a cloth or other material, it’s more likely that my hand would’ve been caught in the fabric and pulled into the lathe, thus resulting in serious injury
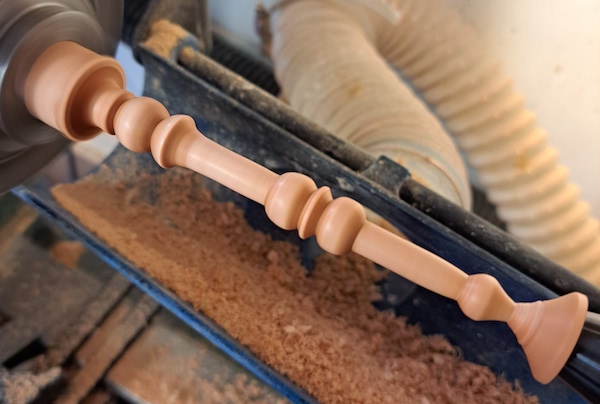
27 With the paper towel removed, I finished turning the top, adding a half bead and cove followed by a full bead, all of which was finished as per the previous steps
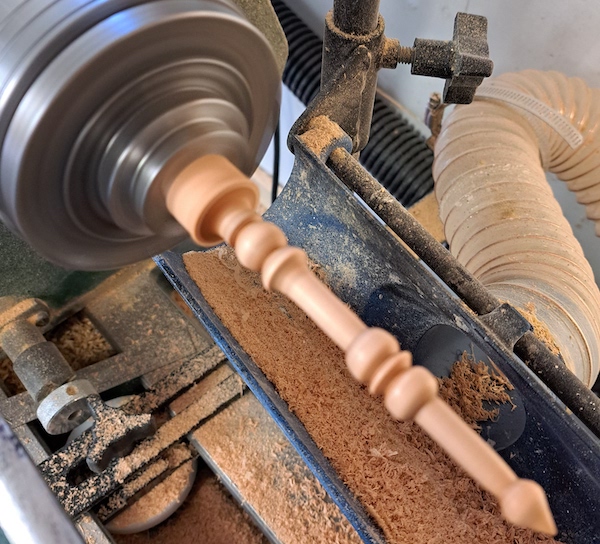
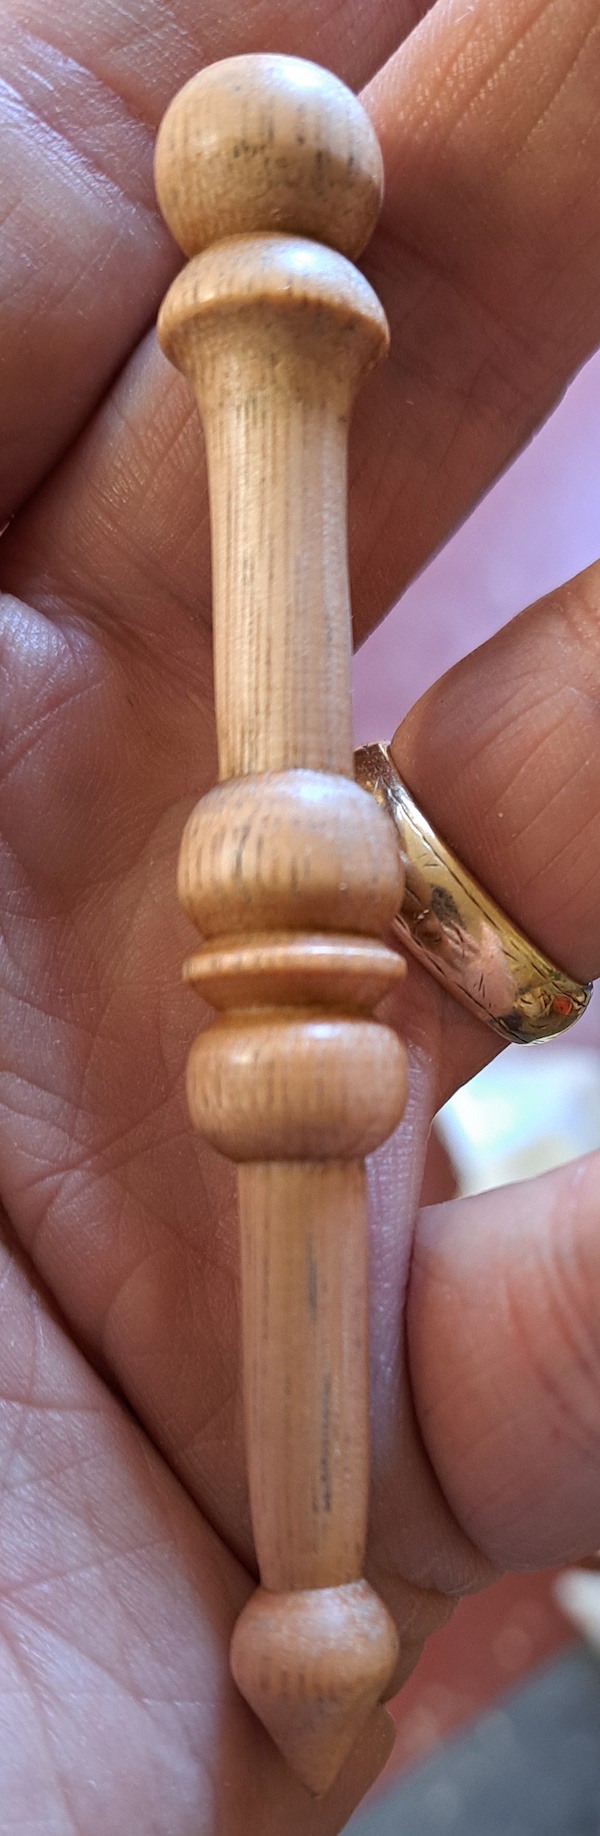
28 To part off, I first shaped the teardrop a little more until it reached a point and the waste fell away. Don’t leave the point sharp – I rounded mine off using a small piece of abrasive. The icicle can then be parted off and any exposed wood rubbed with some Yorkshire Grit

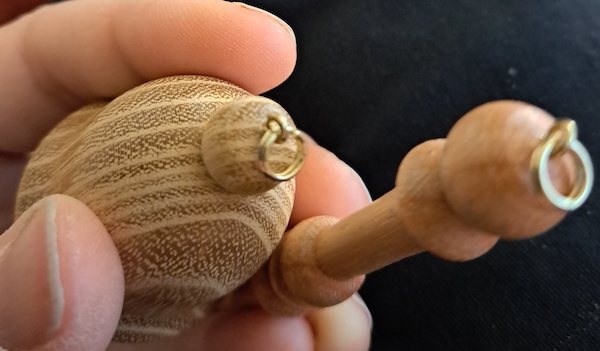
29 All of the hanging decorations were treated in the same manner. Using a small jeweller’s hand twist drill, I made a hole in the top, into which was screwed a small eyelet before attaching a jump ring
30 Finally, I measured off a length of chain and attached both ends to the jump ring. Splitting the jump ring can be a bit fiddly – I used a pair of needle-nosed pliers to hold the chain link while I did this
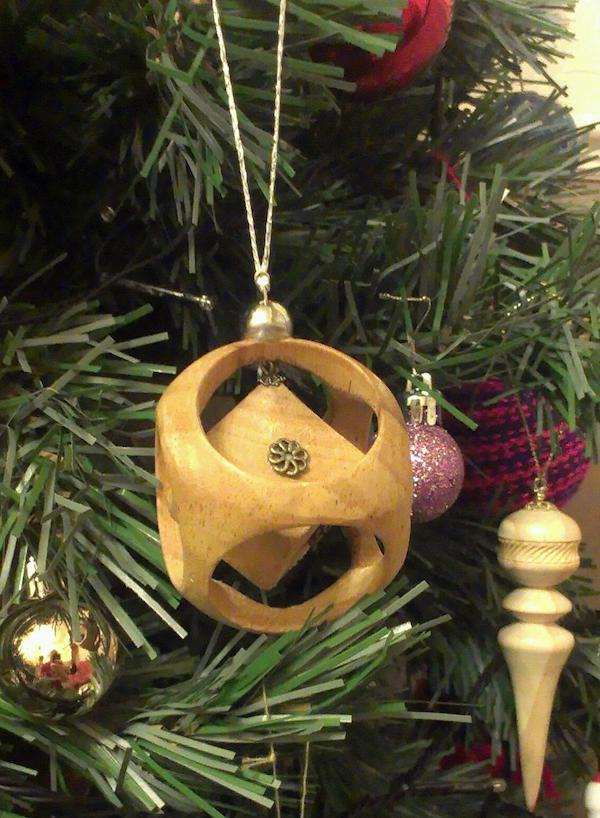
Suspended cube
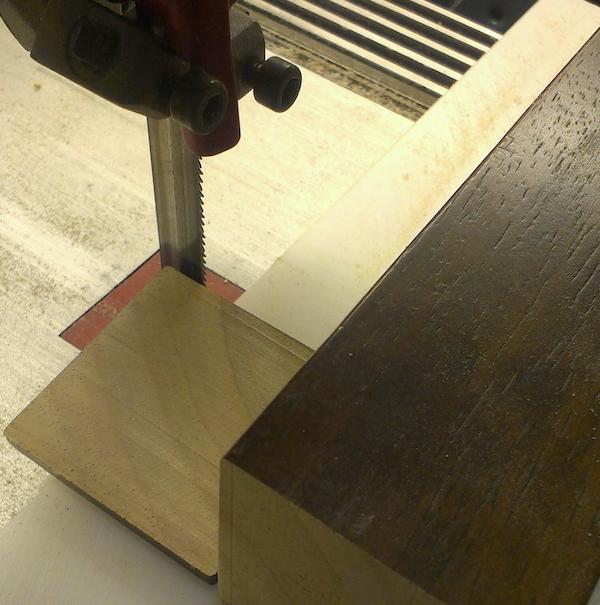

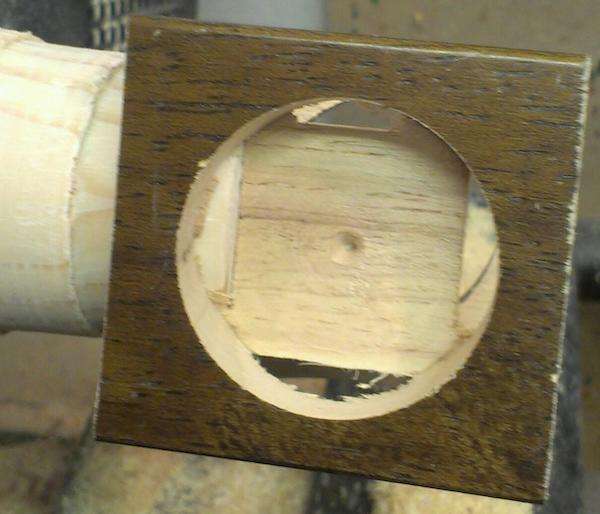
31 The last of my decorations is a little different – a cube inside a turned framework. I started with an old table leg and squared off the end on the bandsaw. I then used the end I’d just removed to set the length of the next cut to create a cube of wood
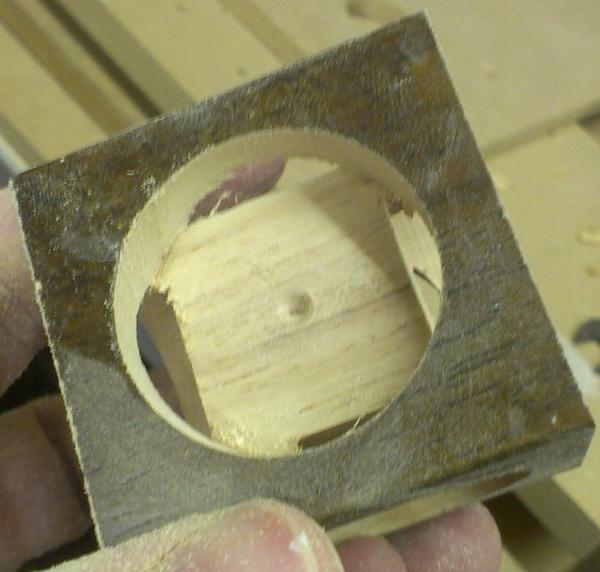
32 Next, I marked the centre of each of the cube’s faces and used a Forstner bit to drill holes in all of these. Depth is important here: there’s probably an equation you can use to work this out, but it’s easier to take it slow, drilling each face a few millimetres at a time until you reach the point at which the cube formed in the middle is attached to the frame by just 2mm or so in each corner
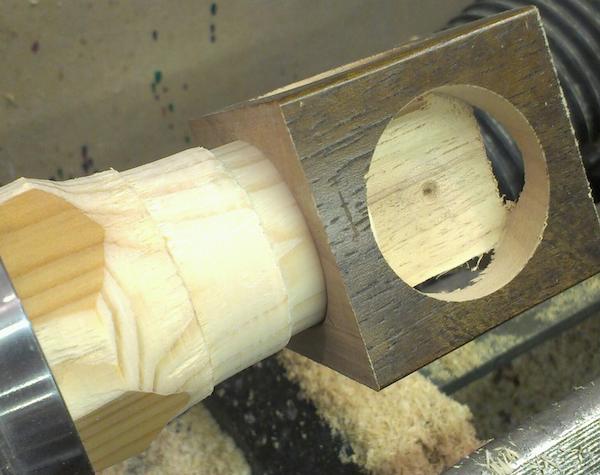
33 To turn the outside, rough a piece of scrap wood so it’s a little larger than the diameter of your Forstner bit – you want to make a jam chuck and mount the piece on it. Each of the central cube’s faces will have a indent left by the drill, which you can use to help hold it on the jam chuck, with a rotating centre placed in the tailstock
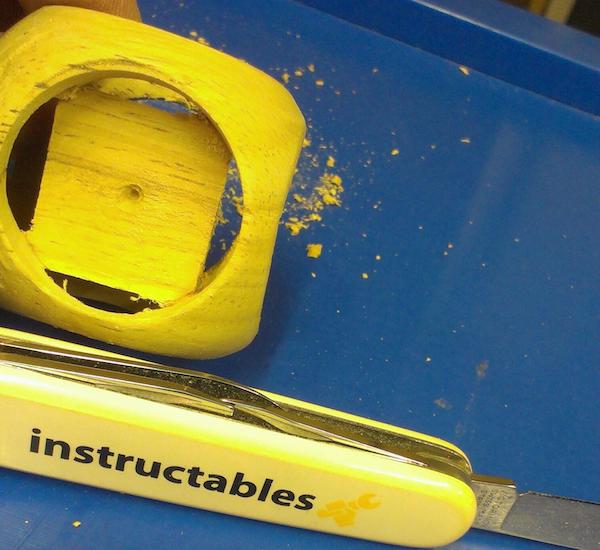
34 Start turning the cube to a cylinder, ensuring not to make the edges too thin towards the hole in the middle. Once happy, turn the decoration 90°, remount on the jam chuck and turn again. The choice is yours – you can either leave the shape as it is, or curve it over at the ends, in order to get as close to a sphere as possible. The next job, using a suitable knife, is to carefully separate the central cube from its frame. Once removed, a fair bit of sanding is required to tidy up the inner surfaces
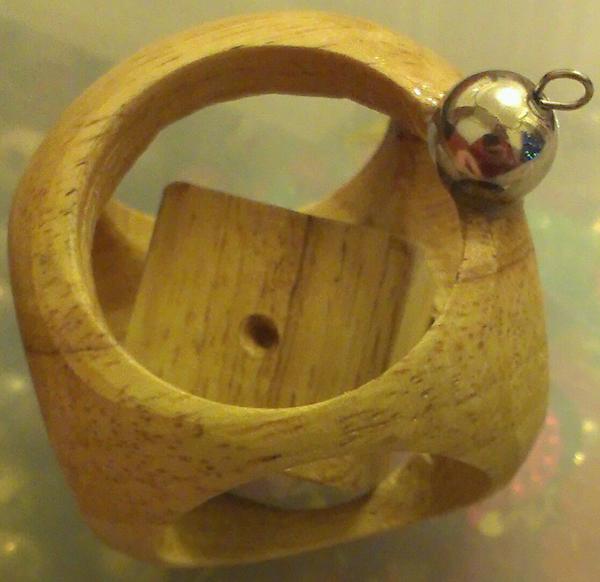
35 You now need to hang it from something – I drilled an indent into the middle of one of the sides, just enough that a jewellery bead would sit there. I then glued this in place and passed a piece of wire through with a loop at each end
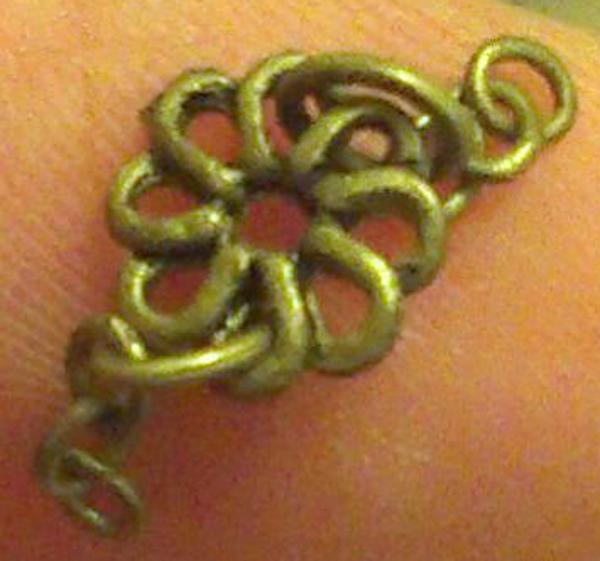
36 To hide the dents in the cube’s faces, I purchased an old necklace from a charity shop, broke it up and glued a link on each face
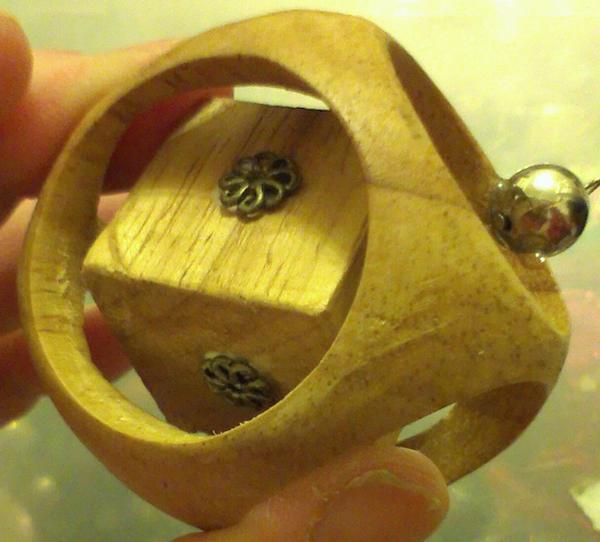
37 To suspend the cube in the middle of the frame, I drilled a hole in one of the corners and inserted a piece of wire with a loop on the end. I then hooked this onto the loop of wire that passed through the bead
- Log in or register to post comments


| Articles | Articles | Articles | More | Subscriptions | Resources |