Still pottering on...
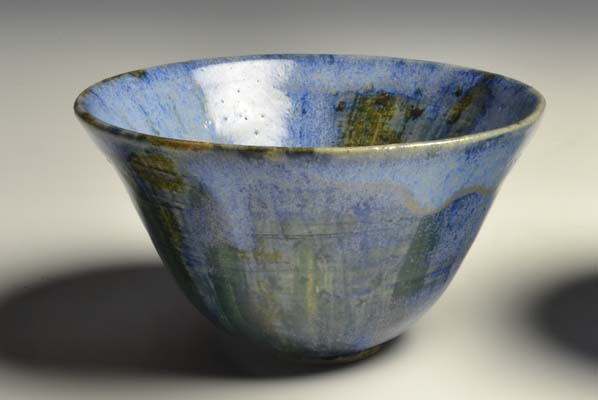
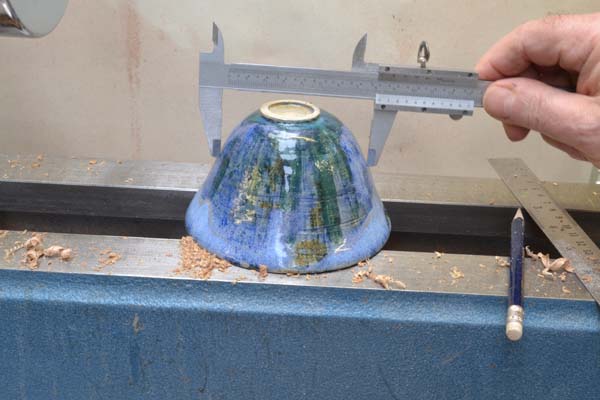
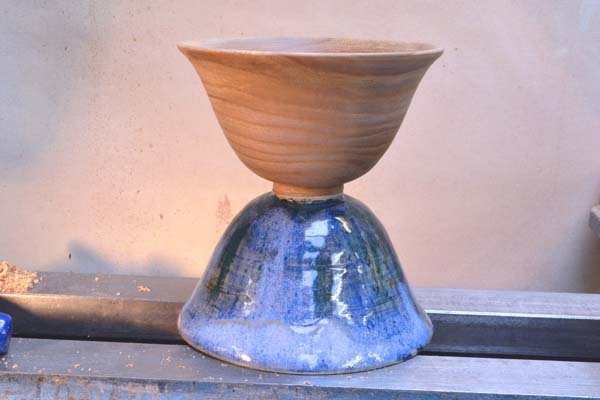
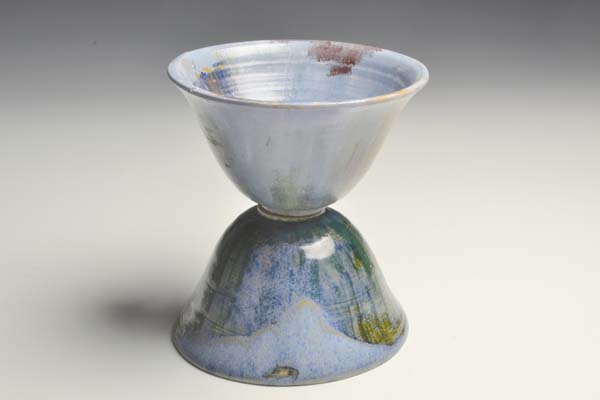
My daughter took up pottery a few years ago and one of the early practice pieces she made was the little pot shown in photo 1, glazed with a few random colours, then fired. Hoping for the instant success that beginners often wish for, on taking it out of the kiln she wasn’t much impressed by the pot. When she showed me, I commented on how I liked it, so she gave it to me, which is what I’d been angling for! To my eye it has a good shape and simple charm that’s enhanced, no doubt, by the family connection. As such, I’m happy to have it on display in my lounge.
Wood vs clay
I’ve had the pot for some time now and, looking at it again more recently, began to compare it to the small wooden bowls I sometimes make. I’ve never tried pottery but, in my ignorance, it seems to me that clay is much more flexible because if all goes horribly wrong, it can be balled up and a fresh start made. At least, I assume it can. Wood, on the other hand, is much less forgiving and a fresh start usually means a new piece of timber. Soft and pliable, clay is also more uniform in its consistency and can be shaped by hand quite easily without sharp tools, etc. It doesn’t have the grain of wood with its attendant problems but, unlike timber, has to be ‘fired’ in a kiln to vitrify the clay and harden the piece.
This firing allows opportunity for all sorts of problems to arise – pieces distort, they may stick together and any colour applied remains a bit uncertain until the finished piece is seen. In terms of making techniques, there’s an obvious similarity between a potter’s wheel and a turner’s lathe: a potter may stop the wheel and modify the pot by hand, and a turner may stop the lathe and use other tools to alter the timber’s shape, although with greater difficulty. Making a pot is an additive process where clay is added as required whereas turning is subtractive, beginning with a lump of wood and removing whatever’s not required in order to create the finished piece. Unlike clay, wood removed by accident can’t be replaced.
It seems I may be saying that pottery is easier than woodturning, but I’m definitely not. Both require the learning of skills, but once these have been achieved, there’s the enormous matter of design. I’m sure that accomplished potters – like their woodturning counterparts – are constantly seeking inspiration for what to make next, and it’s this, more than anything, that separates the more exciting pieces from the rest. As a result of my musings, I began to wonder whether I could overcome these differences in both material and manufacture, and successfully imitate the pottery bowl in wood. You might well ask why anyone would want to do such a thing, and the answer in this case is simply ‘to see if I could’, but I was also looking to start a new project, so why not?Replicating the bowl
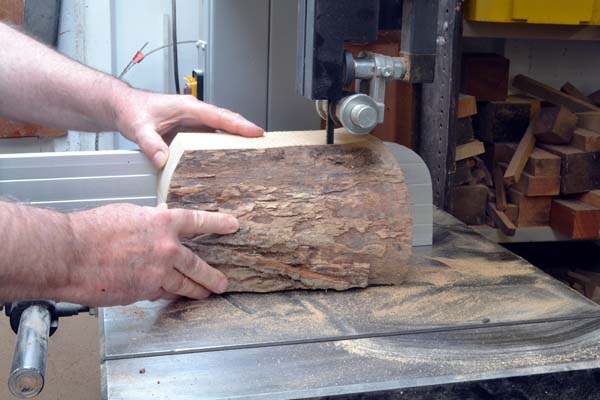
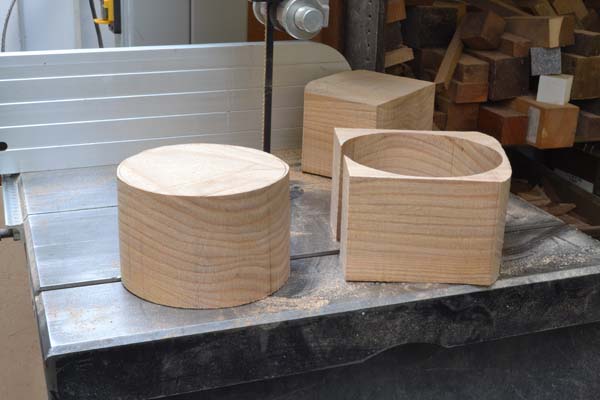
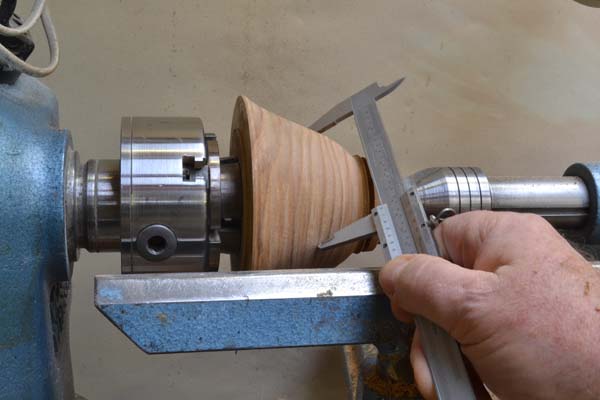
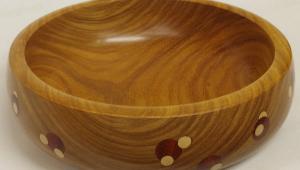
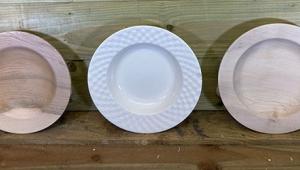
The bowl is 120mm diameter by 70mm high, and the first step was finding a piece of wood that was big enough to make it. I had a section from an elm log that was about right and, allowing for some waste, I began to cut a slab (photo 2), followed by a bowl blank (photo 3). With the blank mounted on a screw chuck, I turned it to 120mm diameter and, using a 13mm bowl gouge, began to shape the exterior. Making more or less an exact copy of a curve isn’t all that easy, so I had to make several diameter measurements from different points on the pottery bowl (photo 4), then transferred these to the wooden copy (photo 5). Little by little, the exterior shape was completed to my satisfaction (photo 6).
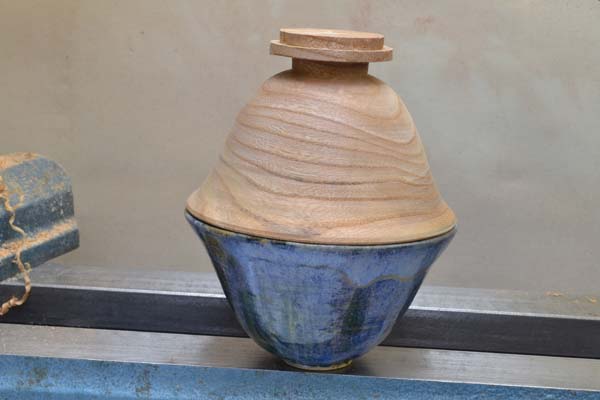
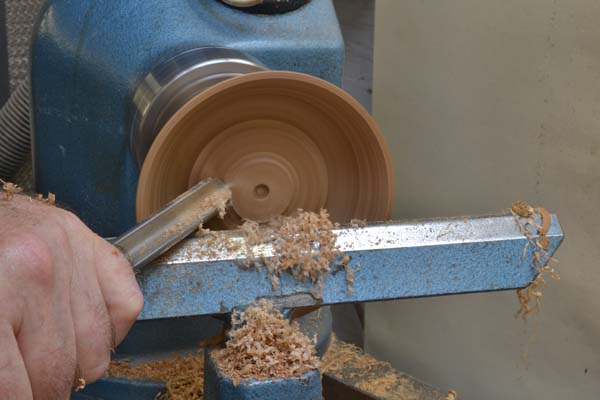
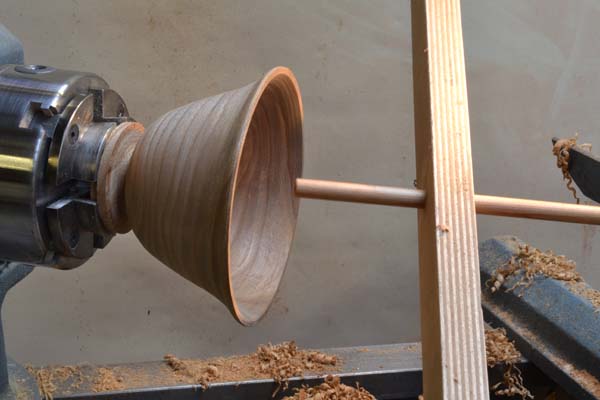
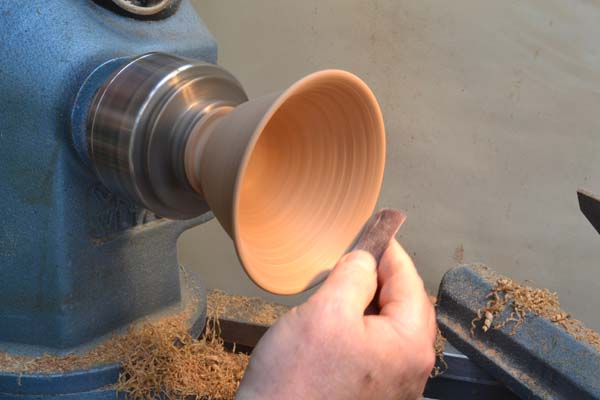
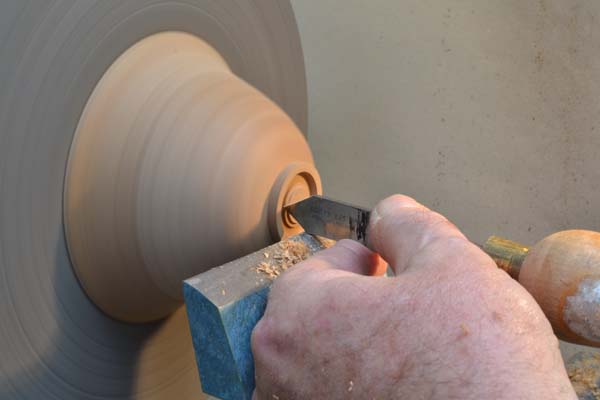
With the blank reversed into a four-jaw chuck, I moved on to shaping the interior using a bowl gouge (photo 7). Wall thickness was judged by feel, comparing the pottery bowl to my wooden version. Depth was checked using a homemade depth gauge, until both bowls were the same depth (photo 8) and the internal shape was as similar as I could get it. I sanded the rim gently to remove any sharp edges (photo 9), but when it came to the interior, I decided to leave some circular tool marks remaining, to simulate finger marks left in the clay when the pottery version was ‘thrown’ on the wheel. I used a vacuum chuck to reverse the bowl, but a jam chuck or Cole chuck could also be used. Using a parting tool, I tidied up the foot and hollowed the bowl, resembling the pottery version with its square-edged recess (photo 10). So far I was very pleased with how I’d managed to mimic the shape (photo 11). This was familiar territory for me and if I’d not been able to produce a fair copy, I would’ve been very disappointed.
Replicating colour
Replicating the colour of the bowl, however was another matter. Looking at the foot of the pot, I could see that, originally, the clay had been pale grey, so it seemed sensible to give my brown elm bowl a similar-coloured basecoat. Using acrylic paints, I mixed up a suitable grey and applied an even coating, inside and out (photo 12). This was left to dry before painting on further coats to build up the colour.
Studying the pot again, it appeared to have been coloured with browns, greens and yellow before overpainting this with a pale blue. Other than the blue, the individual colours were very hard to distinguish and I began by adding these same colours together, but not mixing them too thoroughly, so that traces of the individual colours, as well as the mixture, were present on my brush (photo 13). I added this in patches, roughly copying the inside and outside of the bowl (photo 14).
Once it’d had sufficient time to dry, I mixed a pale blue to resemble the main colour. I painted this over the remainder of the wooden bowl, overlapping the darker brown/green areas, which tended to show through the blue much like the original. Dabbing some areas lightly with a darker, brighter blue added to the effect (photo 15). Other than roughly following the pottery’s coloured areas, I wasn’t able to achieve this with any sort of precision.
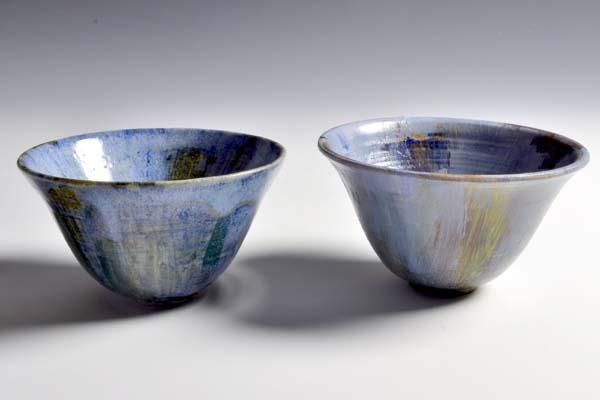
If the merged colours didn’t look right, I left them to dry and applied further paint. A major difference between pottery and the wooden bowls I make is that pottery is often, although not always, glazed and this little pot had a high gloss, smooth, shiny surface. Generally speaking, I don’t care for high gloss finishes on wooden bowls, opting instead for a soft sheen wax finish, and consequently I’m not very skilled at producing such an effect. In this case, I resorted to applying several thin coats of gloss melamine, thinned with cellulose thinners, using a small spray gun. The end result suited me and although my wooden bowl wasn’t as glossy as the pottery version, I thought the copying process had been a success (photo 16). It’s certainly convincing enough to fool most people who, viewing the pair side by side, only realise the difference once they’re picked up. The wooden bowl weighs considerably less than the pottery version and is much warmer to the touch.
A near-perfect replica
There was one remaining visual difference between the two bowls, however. The pottery one, hand finished, wasn’t perfectly round whereas my bowl, turned on the lathe, was. I couldn’t see any way of fixing this, but needn’t have worried as nature took care of it. The piece of elm I used mustn’t have been completely dry, and as a result, the bowl warped slightly after a week or so in the house... So much so that it now looks perfect!
- Log in or register to post comments


| Articles | Articles | Articles | More | Subscriptions | Resources |