Making rebate joints
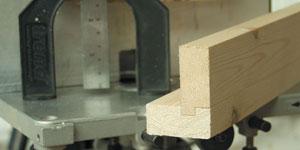
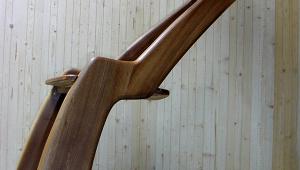
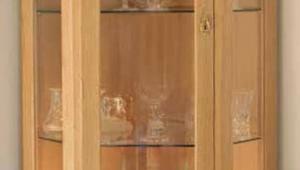
Another use for this joint is to secure two relatively narrow pieces together to provide additional strength and give the appearance of a much thicker piece when used as a corner leg.
Making the joint is straightforward and requires only one straight fluted cutter and a router table fitted with an adjustable fence and a fine height adjuster.
The diameter of the cutter will depend on the timbers being joined, but as a general rule a 10mm dia cutter would be suitable for all but the narrowest of timbers.
Although a home-made version is easy to make using scrap wood and a steel ruler, it’s hardly worth the effort as this version is both easy to use and relatively inexpensive.
1] Before cutting, decide which piece of wood is to have the groove cut along the length and which one is to have a rebate cut to form the tongue. Take the piece that’ll have the tongue formed and hold it against the fence and use the fine adjuster to place the edge of the cutter against the edge of the wood.
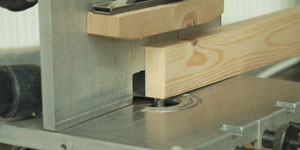
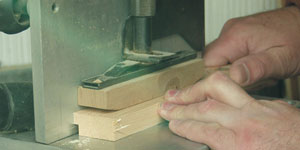
2] Adjust the depth of cut using the fine height adjuster so the cutter will cut a groove about 10mm deep. The depth isn’t critical at this stage as it’ll depend on the project in hand. Run the wood from right to left over the cutter pushing firmly against the fence. Depending on the density of the wood, it may be necessary to cut the groove in two or more passes.
3] Without altering the position of either the router or the fence, adjust the depth of cut to the outside edge of the groove just cut. The timber should be held on its edge, acting as a guide at this stage. This process sets the thickness of the tongue. Aim for a marginally greater depth to form a slightly looser joint, thus giving some room for the adhesive to swell the timber.
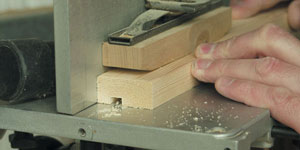
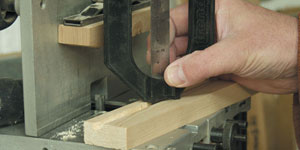
4] This stage can be set by eye quite satisfactorily, but some kind of measuring gauge makes it much easier and more accurate. The aim is to set the edge of the cutter away from the fence, equivalent to the depth of cut of the groove.
5] Here the measuring gauge is used to set the cutter the correct distance away from the fence using the fine adjuster on this particular table. On other tables it may be necessary to move the fence, and though this may be a little trickier on a home-made table, it just takes a little care. As for most techniques, it’s worth testing this on some scrap timber first.
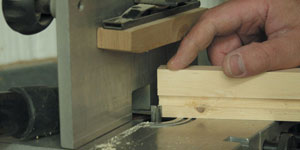
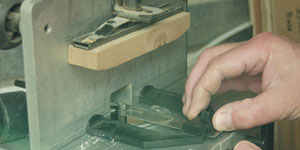
6] Push the timber against the fence and remove the waste timber. If this can’t be done in one pass, adjust the cutter position and remove a little timber first and then re-set the cutter. An alternative is to stick some thin plywood onto the fence on either side of the cutter and make the first pass, then remove the plywood and make the second pass.
- Log in or register to post comments


| Articles | Articles | Articles | More | Subscriptions | Resources |