Miniature steering wheel
My friend, who’s a big motor sport fan, recently asked if I could make a steering wheel for a restoration project. I assumed he meant a full-sized one, but it turned out to be for a Trigging pedal car from the late ‘50s or early ‘60s, which he’d bought for his young grandson. This proud grandfather wanted to get him behind the wheel of his first car as soon as he could crawl!
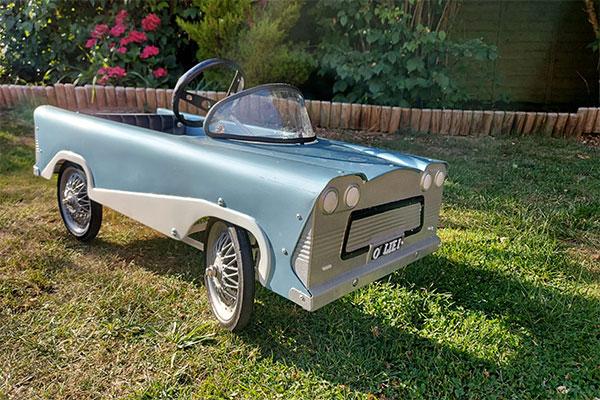
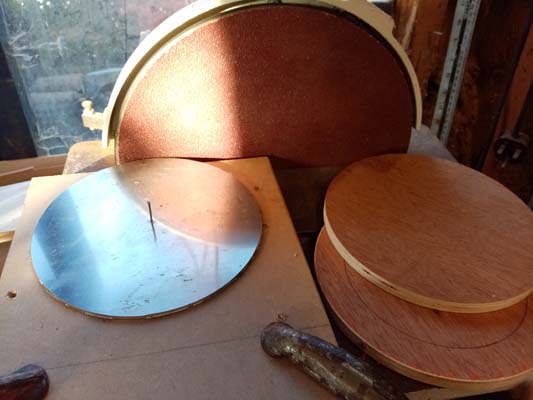
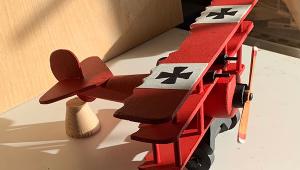
The project was in need of total restoration, but luckily I found a good online source selling spares for these miniature motors. The steering wheel was in desperate need of replacement, and sadly unavailable. Rather than try and replicate the original, I thought it might be fun to come up with a replica of one of the classic wood-rimmed steering wheels from Moto-Lita, which, despite the name, are made in the UK (photo 1).
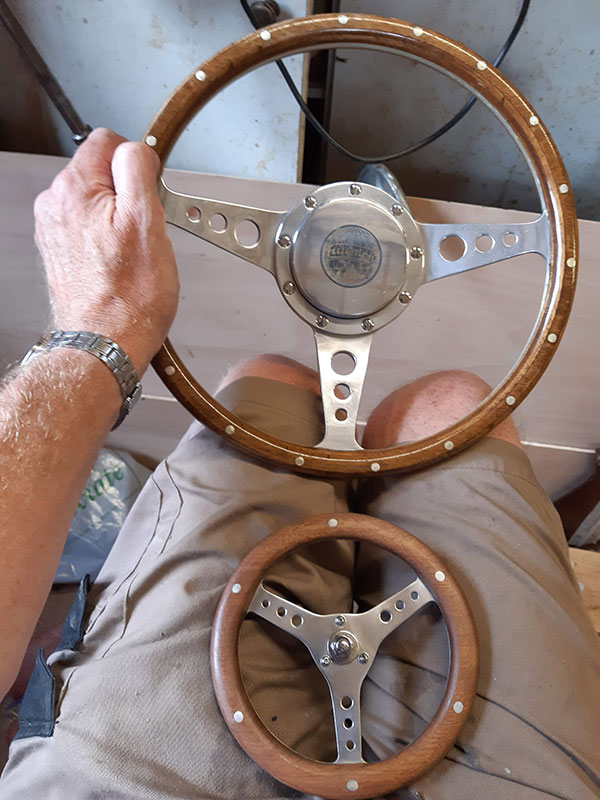

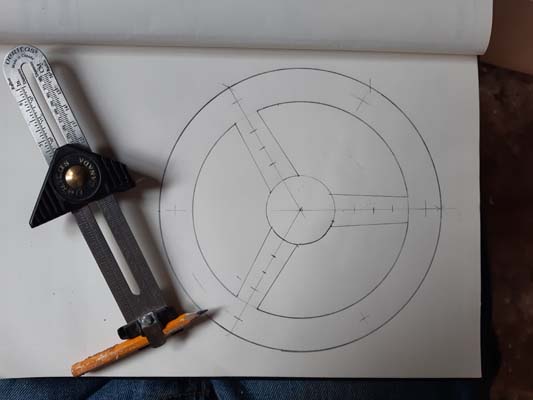
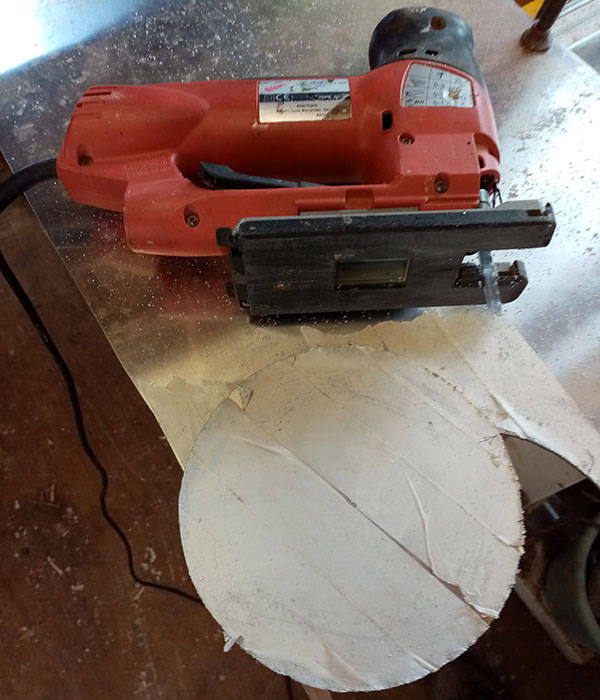
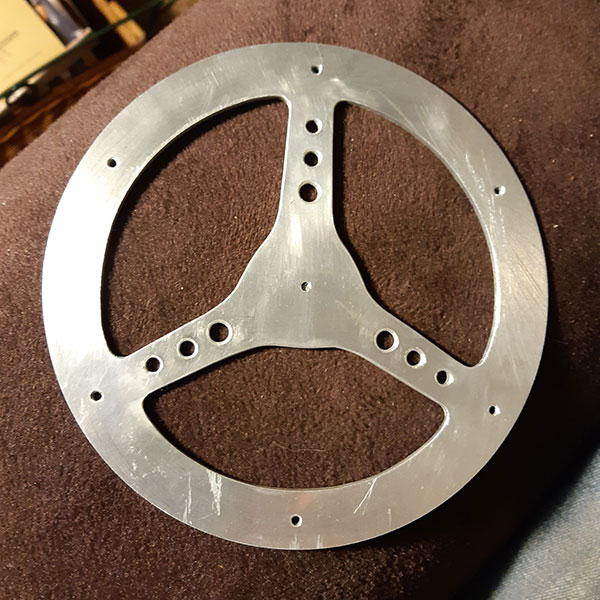
Unfortunately, there wasn’t enough left of the original wheel to establish the diameter (photo 2), but we had a stroke of luck finding someone with a similar pedal car that was in slightly better shape (photo 3). The diameter was 170mm, so this gave me a starting point for the design (photo 4). The drawing was fixed to the 3mm aluminium with Spraymount and cut out with my jigsaw, using a fine metal cutting blade. I set the pendulum motion on position 1 of 3, and progress was a little slow – any higher and things would get ‘interesting’! (photo 5).

Spinning the discs
As careful as I was, it was inevitable that I wouldn’t be able to cut a perfect circle, so I clamped a scrap piece of MDF to the base of my disc sander, drilled a hole in the centre of the aluminium and rotated it around a screw, which passed through the disc and into the MDF. This meant that the lowest part of the ‘circle’ was therefore in contact with the abrasive. Slowly rotating the aluminium against the revolving disc sander meant that I was able to cut the desired perfect circle (photo 6).
Turning full circle
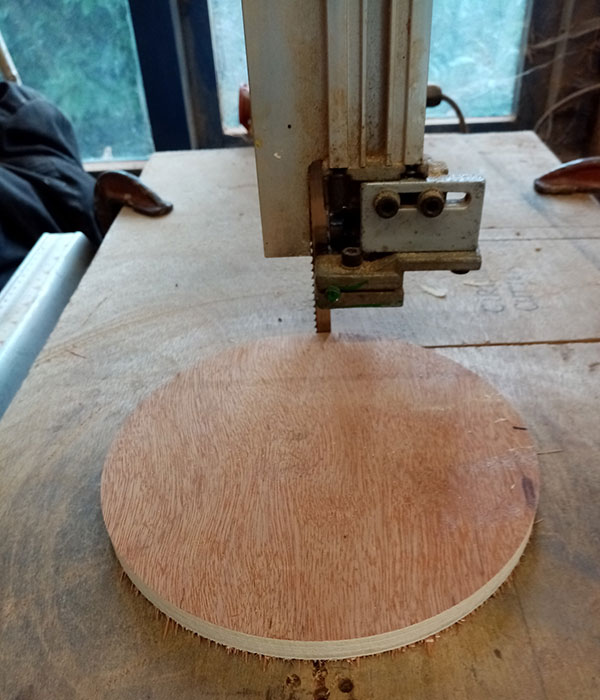
The inner circle wasn’t going to be as easy to resolve, however, so I started on the two wooden rings. I had a piece of mahogany to hand, which was wide enough to allow me to make two out of a single piece. I cut two slices allowing plenty of excess thickness and, using my ancient homemade circle cutter (photo 7), I cut two circles around 180mm in diameter and, after mounting on a faceplate, turned them to the correct diameter on my lathe. Marking the inner diameter and centreline, I turned the rings to a semi-circular or ‘D’ profile. Next, I temporarily attached them to the aluminium with masking tape and scribed the inner line, then followed the slightly tedious hand filing to match the wooden rings. As I’d cut as close to the line as possible, I didn’t have too much to do.
Sticky situations
I decided not to assemble it with epoxy as I could potentially end up in a sticky mess with the inevitable cleanup, so I drilled six equally spaced holes around the rim and countersunk them on the pillar drill, ensuring the depth stop was set to make sure they were all identical. The depth was set so that, when the screw was inserted, the bottom of the slot was level with the wood. I used some aluminium screws left over from another project; these were easier to file down in order to remove the slotted heads and would resemble the rivets used on the full-sized ones (photo 8).
Aluminium wood screws are incredibly difficult to find and I only tracked down one online supplier who could help, so if you’re planning to make something similar, you might choose to go down the sticky route! I had previously sanded the aluminium down to 1,200 grit via 400 and 600 used wet, finishing off by buffing on the lathe along with a good metal polish. I carried out final sanding of the wood down to 400 grit used dry, followed by two coats of Shellac sanding sealer, which I sanded with some worn 400 grit used dry to remove the ‘nibs’.
Several coats of Danish oil followed, which I applied with a soft cloth, wiping off the excess after 10 minutes with a clean cloth to prevent another sticky mess. This left a nice soft satin finish, which can be ‘topped’ up unlike the real ones supplied with a high gloss lacquer finish. In 30 years of owning one, I’ve had to return it to the manufacturer twice to be refinished!

Chequered flag in sight
With the finish line in sight, I proceeded to tap a 6mm thread on the original steering column and secured it with a 6mm stainless steel dome nut (photo 9). To prevent it rotating on the column, I added three 3mm stainless button head set screws held in place with Nyloc nuts. I was pleased with the end result as was my friend, who kindly said it had set the standard for the remainder of the restoration.
|
|
||||
- Log in or register to post comments


| Articles | Articles | Articles | More | Subscriptions | Resources |