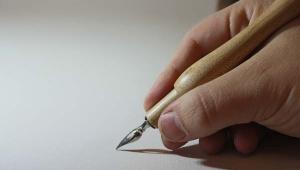
Pens – Thinking Outside the Boxiness
Pens – Thinking Outside the Boxiness
James Trimble suggests some great tips for turning pens and takes you through the process of turning your own nonconformist version
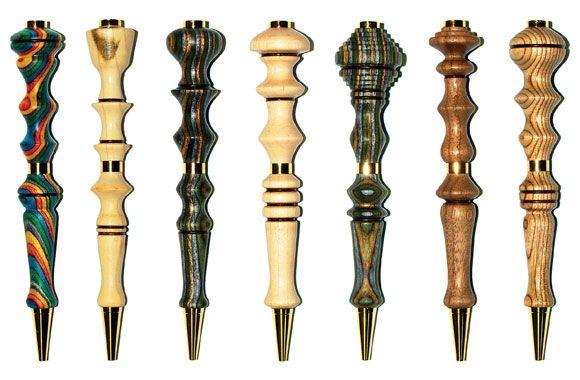
Turners tend to look on pens as a decorative but still very functional item. I wanted to find a way to be unique within the confines of this very simple art form. While looking for inspiration, I noticed that all of the pens online had one thing in common – they included a pocket clip. While the bottom half of a pen needs to fit one’s fingers, the only restriction on the shape of the top half was this clip. Designed for the business suits of an era when men ruled the office, the clip is now virtually obsolete. So, I simply eliminated it. Now my pens could evolve into something new, as I’ll go on to show in this article.
Ground-breaking tools
And speaking of new, the tools that I use are far from traditional. Based on a flat carbide insert, they never need sharpening, and I only need three: a hollower, a rougher and a detailer, which are made in the USA by Easy Wood Tools (see details at the end of the article). The hollower has a small round cutter, the rougher has a square insert, and the detailer has a diamond-shaped cutter. I tried other carbide insert tools, but they all have a concave profile that catches a lot. These flat- topped tools are as comfortable for beginners as they are for old pros. There’s nothing wrong with using traditional tools, however, as long as they’re very sharp and you take your time while using them.

1. Clamp each blank in turn in a vice and drill all the way through them
Kits & blanks
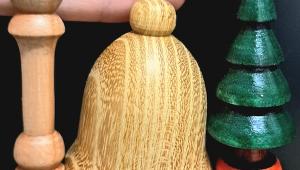
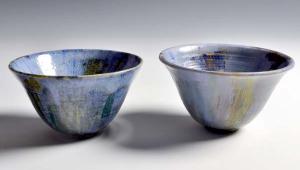
If you’d like to make some pens, it’s a good idea to buy the kits before you start cutting or buying blanks. There are two brass cylinders in each kit that determine the length of your blanks. The pen kit used here is the Apprentice Slimline kit from Craft Supplies USA. Most slim kits are similar, and they accept standard Cross-type ballpoint refills that are widely available in the UK. Aside from the kit, each pen requires two wood blanks: one for the top and one for the bottom. For each, start with something about 65mm long, and at least 20mm square, so you’ll have room to sculpt it. Coloured and dyed multiply blanks such as the ones used here are widely available from woodturning websites. You’ll also need a 7mm drill bit and an inexpensive pen arbor/mandrel. I’m going to guide you through turning one pen, and shown above you can see examples of others that are made in a similar fashion.

2. Secure the cylinders in the drilled holes with cyanoacrylate (CA) adhesive

3. When dry, sand the ends of the blanks flush to the brass cylinders

4. Use a drill bit to gently ream out the ends of the cylinders; a holding aid or clamp would be preferable
Prepare the blank
Cut two blanks to size and then chuck the 7mm drill bit in the drill press. If you have a drill chuck and a self-centring chuck for your lathe, you can certainly use that setup instead of the drill press. Clamp each blank in turn in a vice and drill all the way through them (photo 1). Use 120 grit abrasive to rough the outside of the two brass cylinders and then secure them in the drilled holes with cyanoacrylate (CA) adhesive (photo 2). They may need to be very gently tapped home with a hammer, or squeezed in a vice. When dry, sand the ends of the blanks flush to the brass cylinders (photo 3). Be careful here: if you sand into the brass, the blank will be too short to assemble as a pen. Next, use a drill bit to gently ream out the ends of the cylinders (photo 4). The idea here is to just remove any excess glue without changing the diameter of the cylinder. Size your drill bit accordingly.
Read the full article in The Woodworker August 2017
For more great articles subscribe to The Woodworker today
- Log in or register to post comments


| Articles | Articles | Articles | More | Subscriptions | Resources |